Dual vision / Dual monitoring
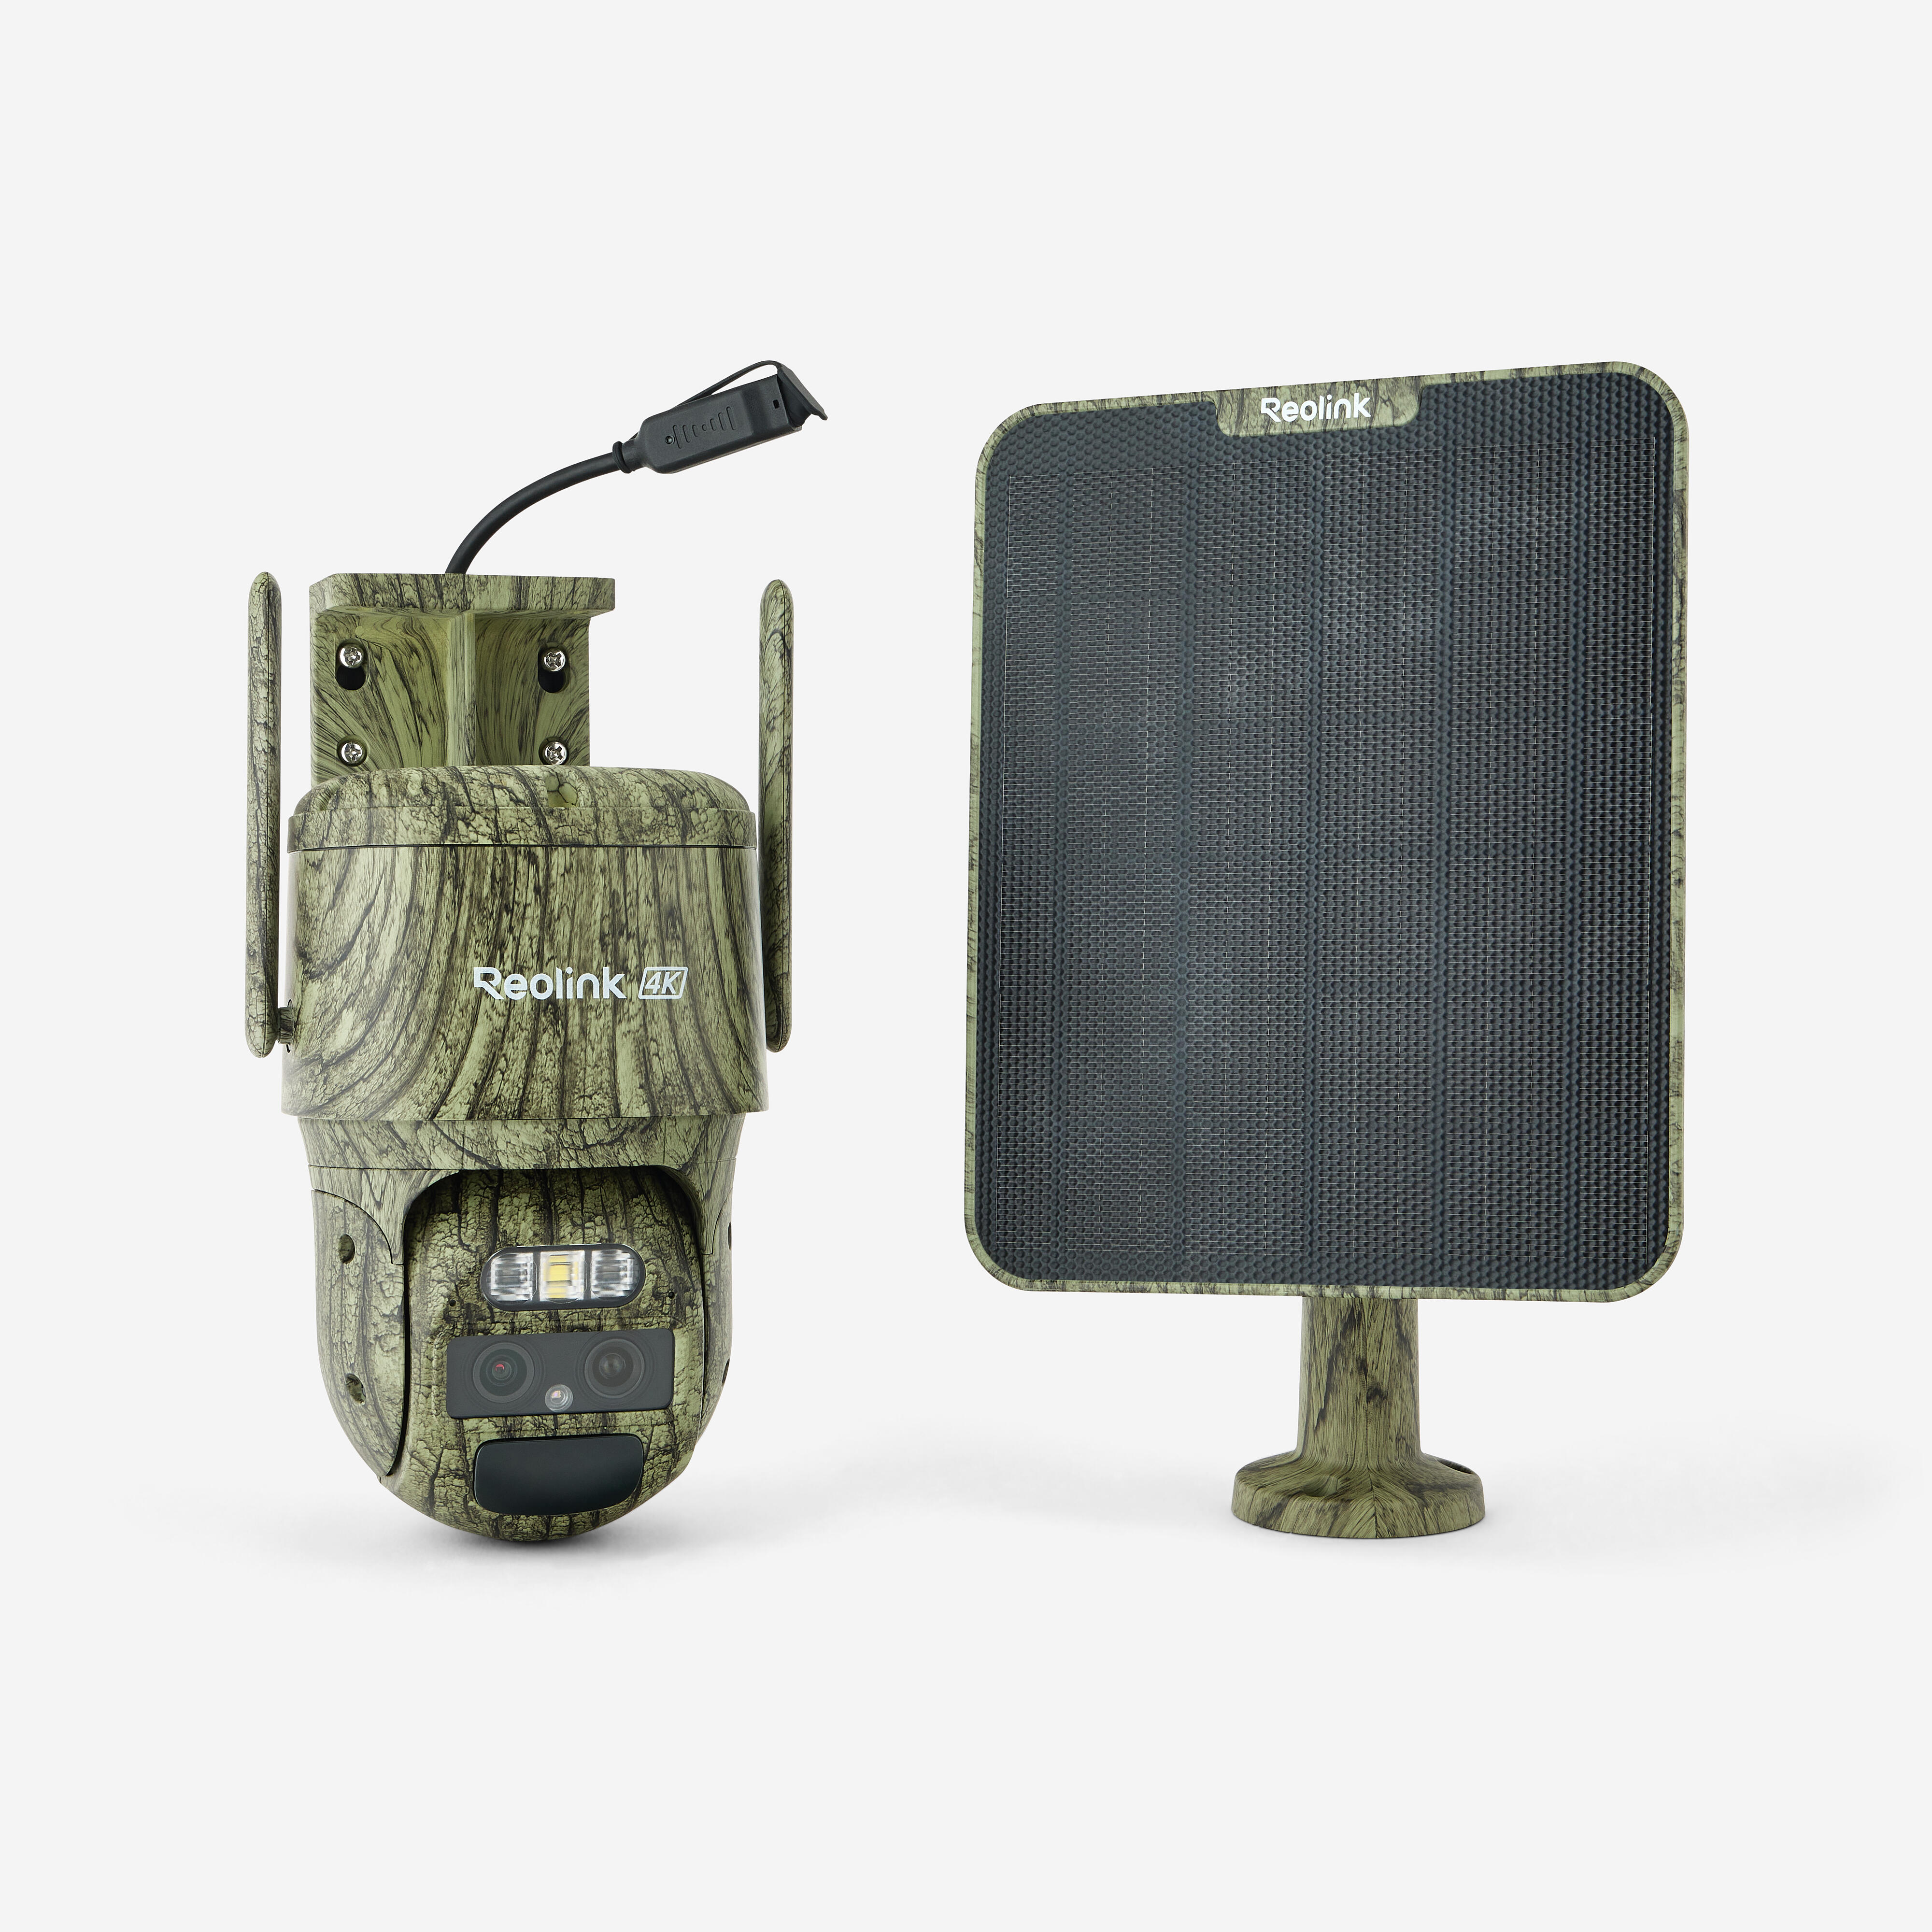
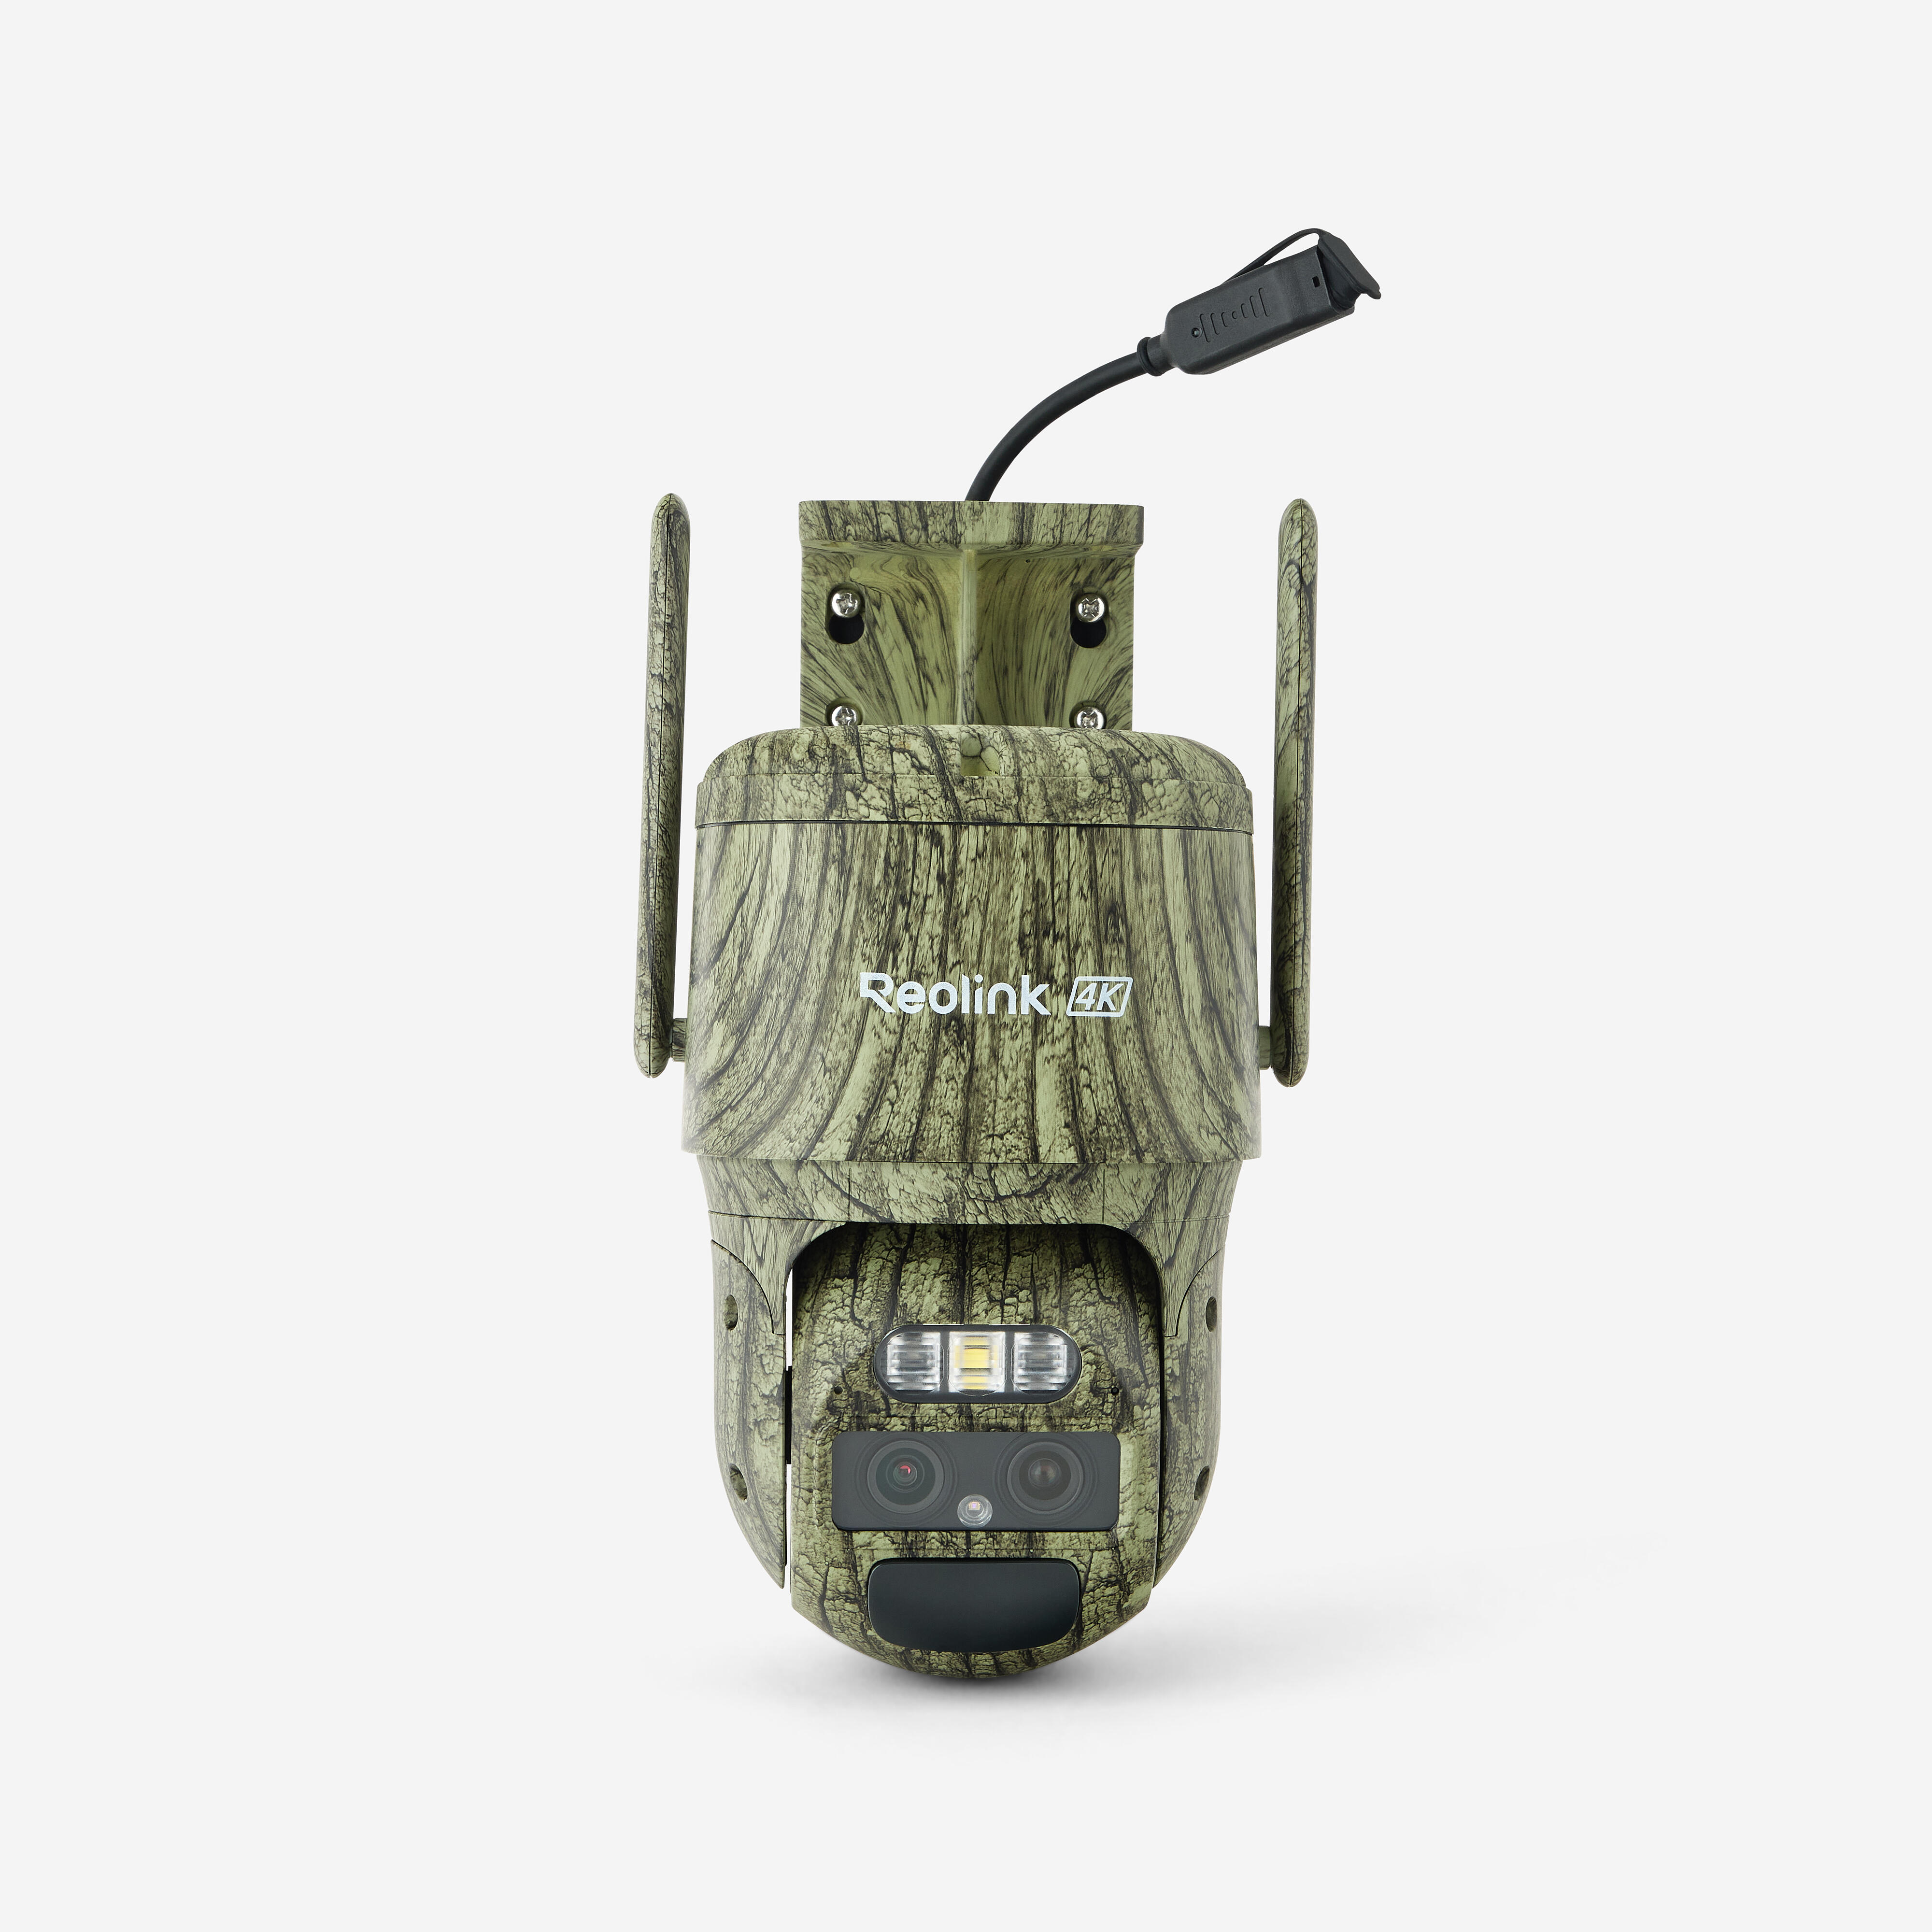
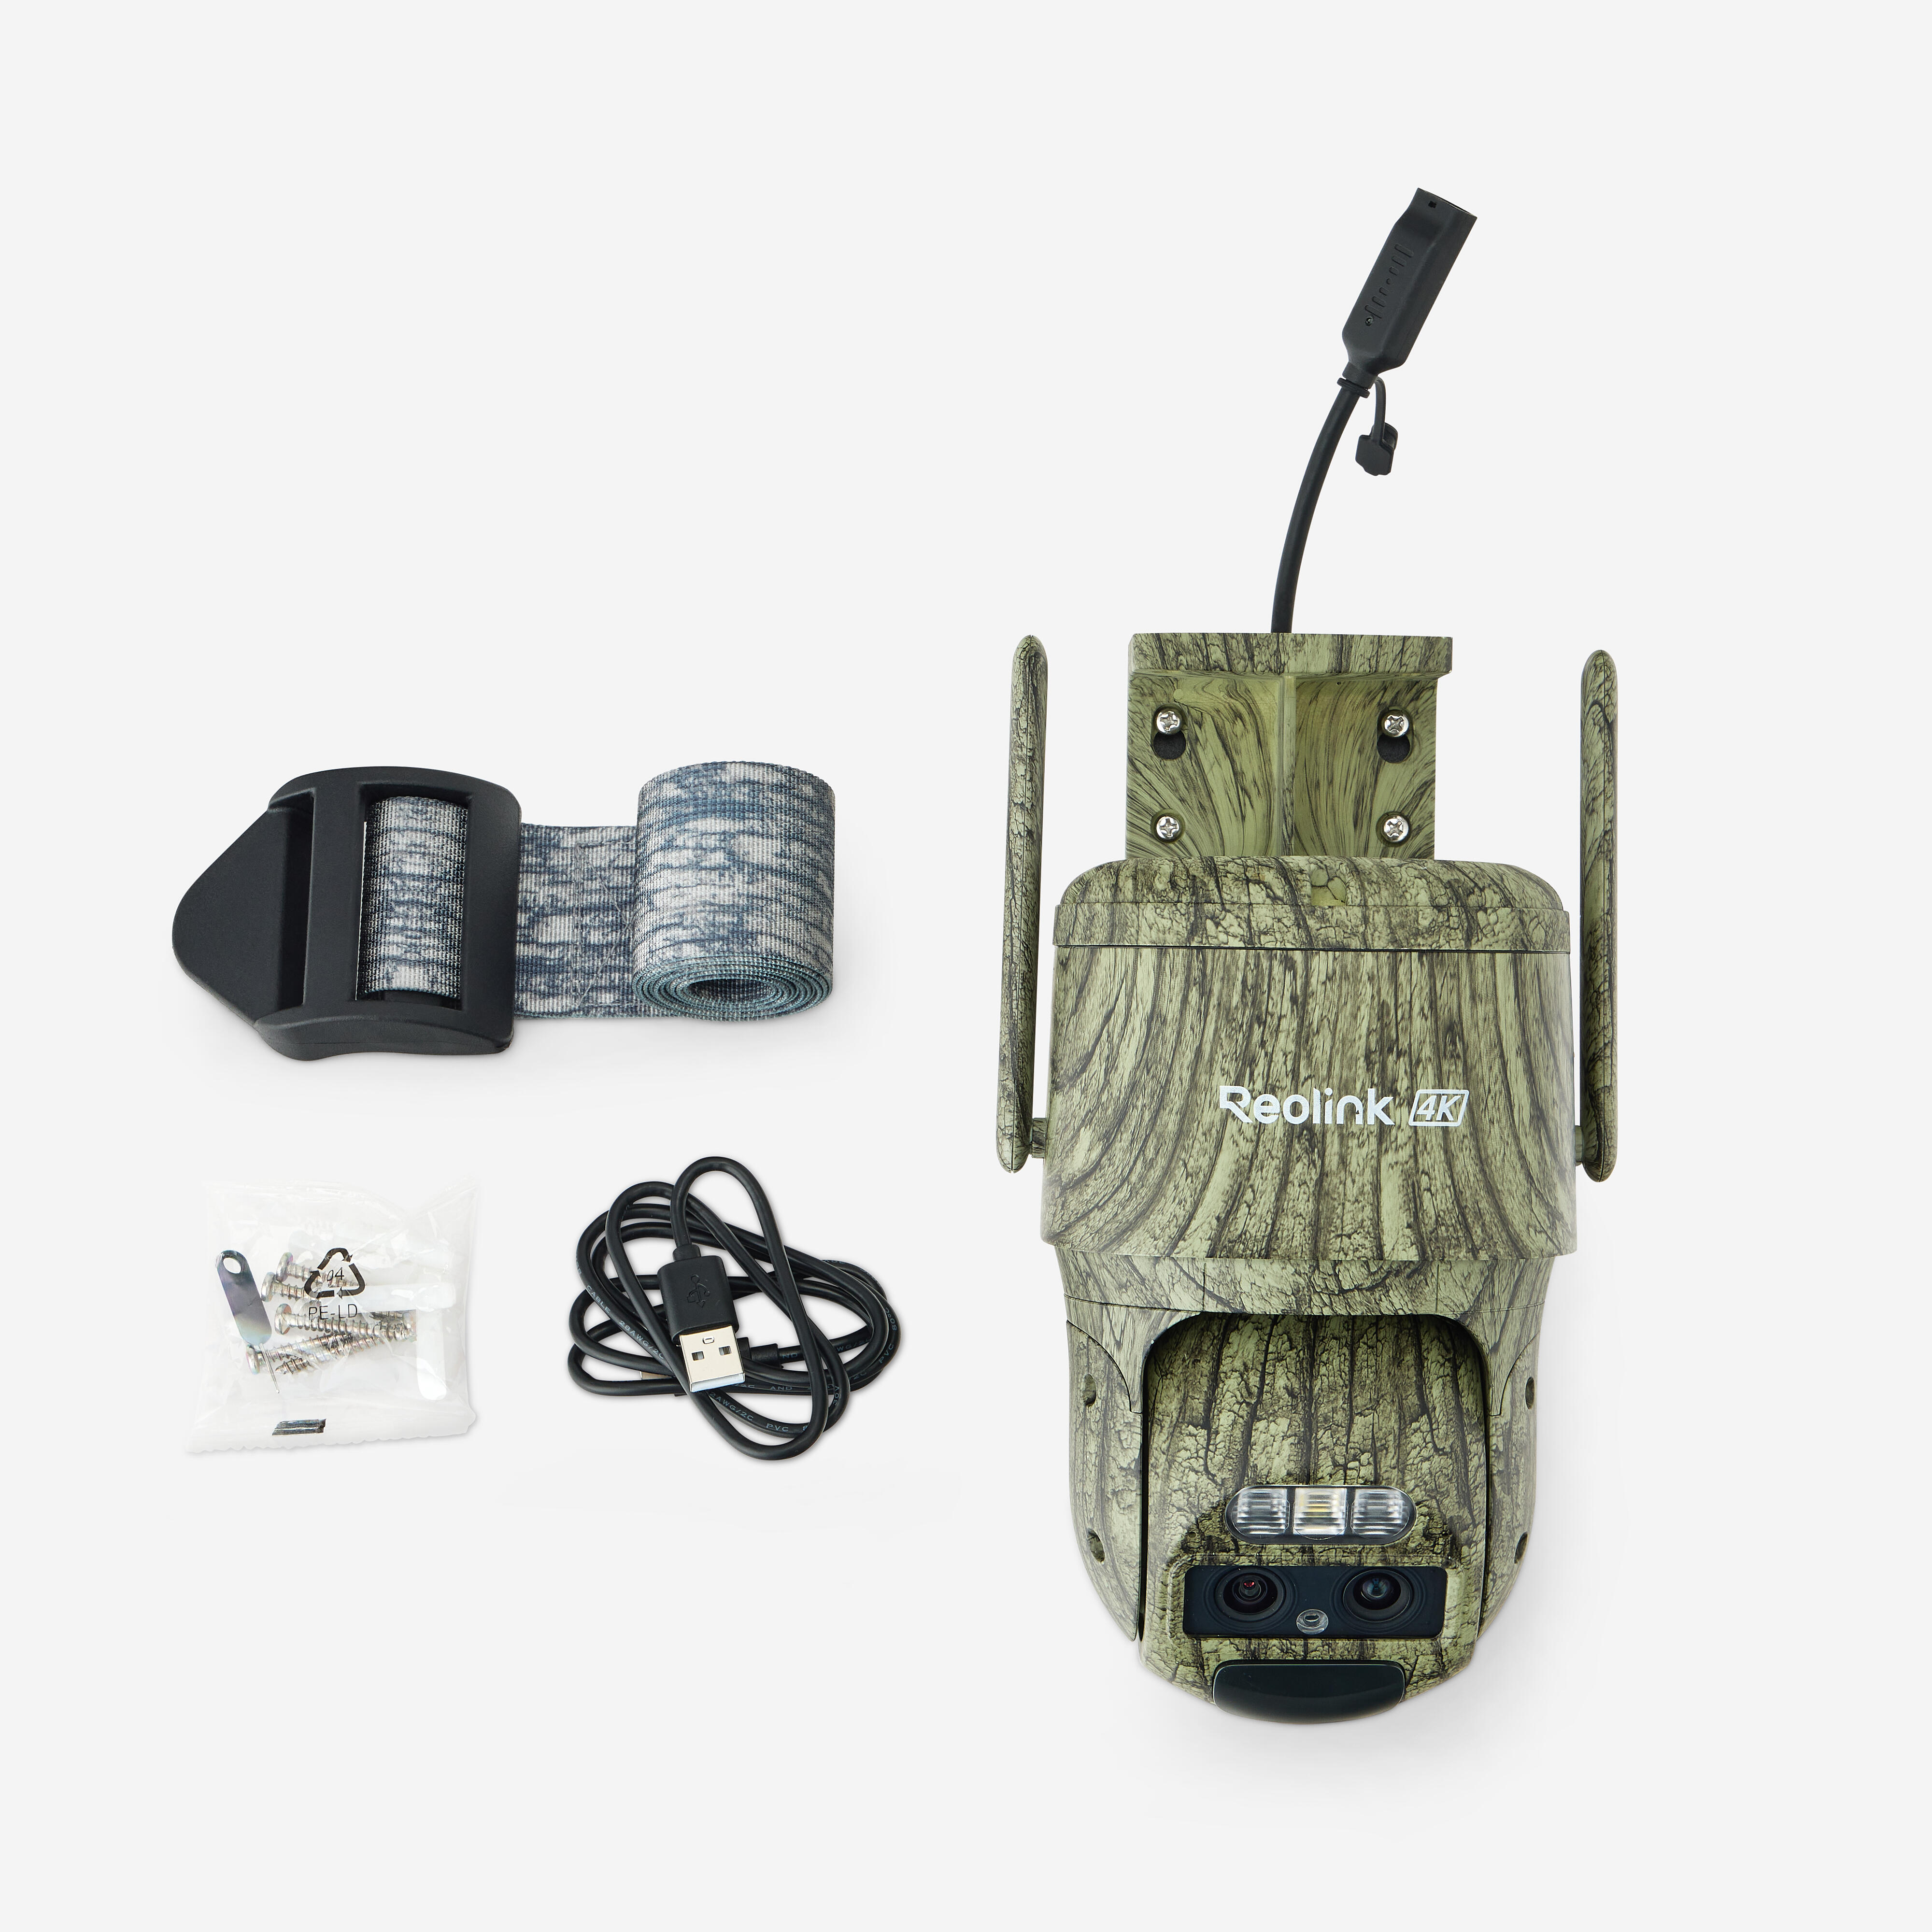
The TrackMix Series G770 camera is a dual-lens camera compatible with 4G LTE networks. It combines wide-angle and telephoto lenses, displaying both views on a single screen. With a 355° pan and a 90° tilt, it provides 360° coverage. The close-up view uses a 6x hybrid zoom and PT capabilities to track and focus on targets.
High image quality, day and night
The camera provides detailed 4K 8MP HD images 24 hours a day. At night, switch on the spotlight for colour night vision or switch it off for black-and-white night vision. Please note that the spotlight can be switched off manually.
Daytime vision
Colour night vision
Infrared night vision
Smart protection, personalised alerts
The camera distinguishes between people, vehicles, animals and other objects, and sends specific alerts. Customise motion detection zones and use two-way audio for instant communication during alerts.
Wireless, worry-free
The Reolink Trackmix Series G770 dual-lens camera connects via 4G LTE, meaning it can be used anywhere. Equipped with a battery and solar power, it is ideal for areas without Wi-Fi or power sources.
Complete control, anywhere and at any time
Real-time alerts
Receive instant push and email alerts when motion is detected, with adjustable sensitivity for accurate alerts.
Live view, anywhere
Access a smooth live view any time, anywhere. Keep an eye on your property and stay informed about its condition.
Customisable detection zones
Create custom detection zones to receive alerts for specific areas and eliminate distractions.
More features, more convenience
Magical time-lapse
Discover a magical world through time-lapse videos, where events such as sunrises or construction processes unfold in a matter of minutes or seconds.
Weatherproof against rain, snow and wind
This smart, weatherproof IP camera works perfectly both indoors and outdoors, even in harsh weather conditions.
Technical specifications (part 1/4)
Video and Audio
-image sensor: 1/3" CMOS sensor
-resolution: 3840×2160 (8 megapixels) @15fps
-video compression: H.264/H.265
-field of vision Horizontal: 108.4–38° / Vertical: 57.3–21.2°
-infrared night vision: LED: 6 pcs / 14 mil / 850 nm / Up to 10 metres
-Trigger: 0.5 s
-two-way audio
-digital zoom: 16
Technical specifications (part 2/4)
-Battery type: 7800 mAh rechargeable battery (battery life varies according to the settings, use and temperature)
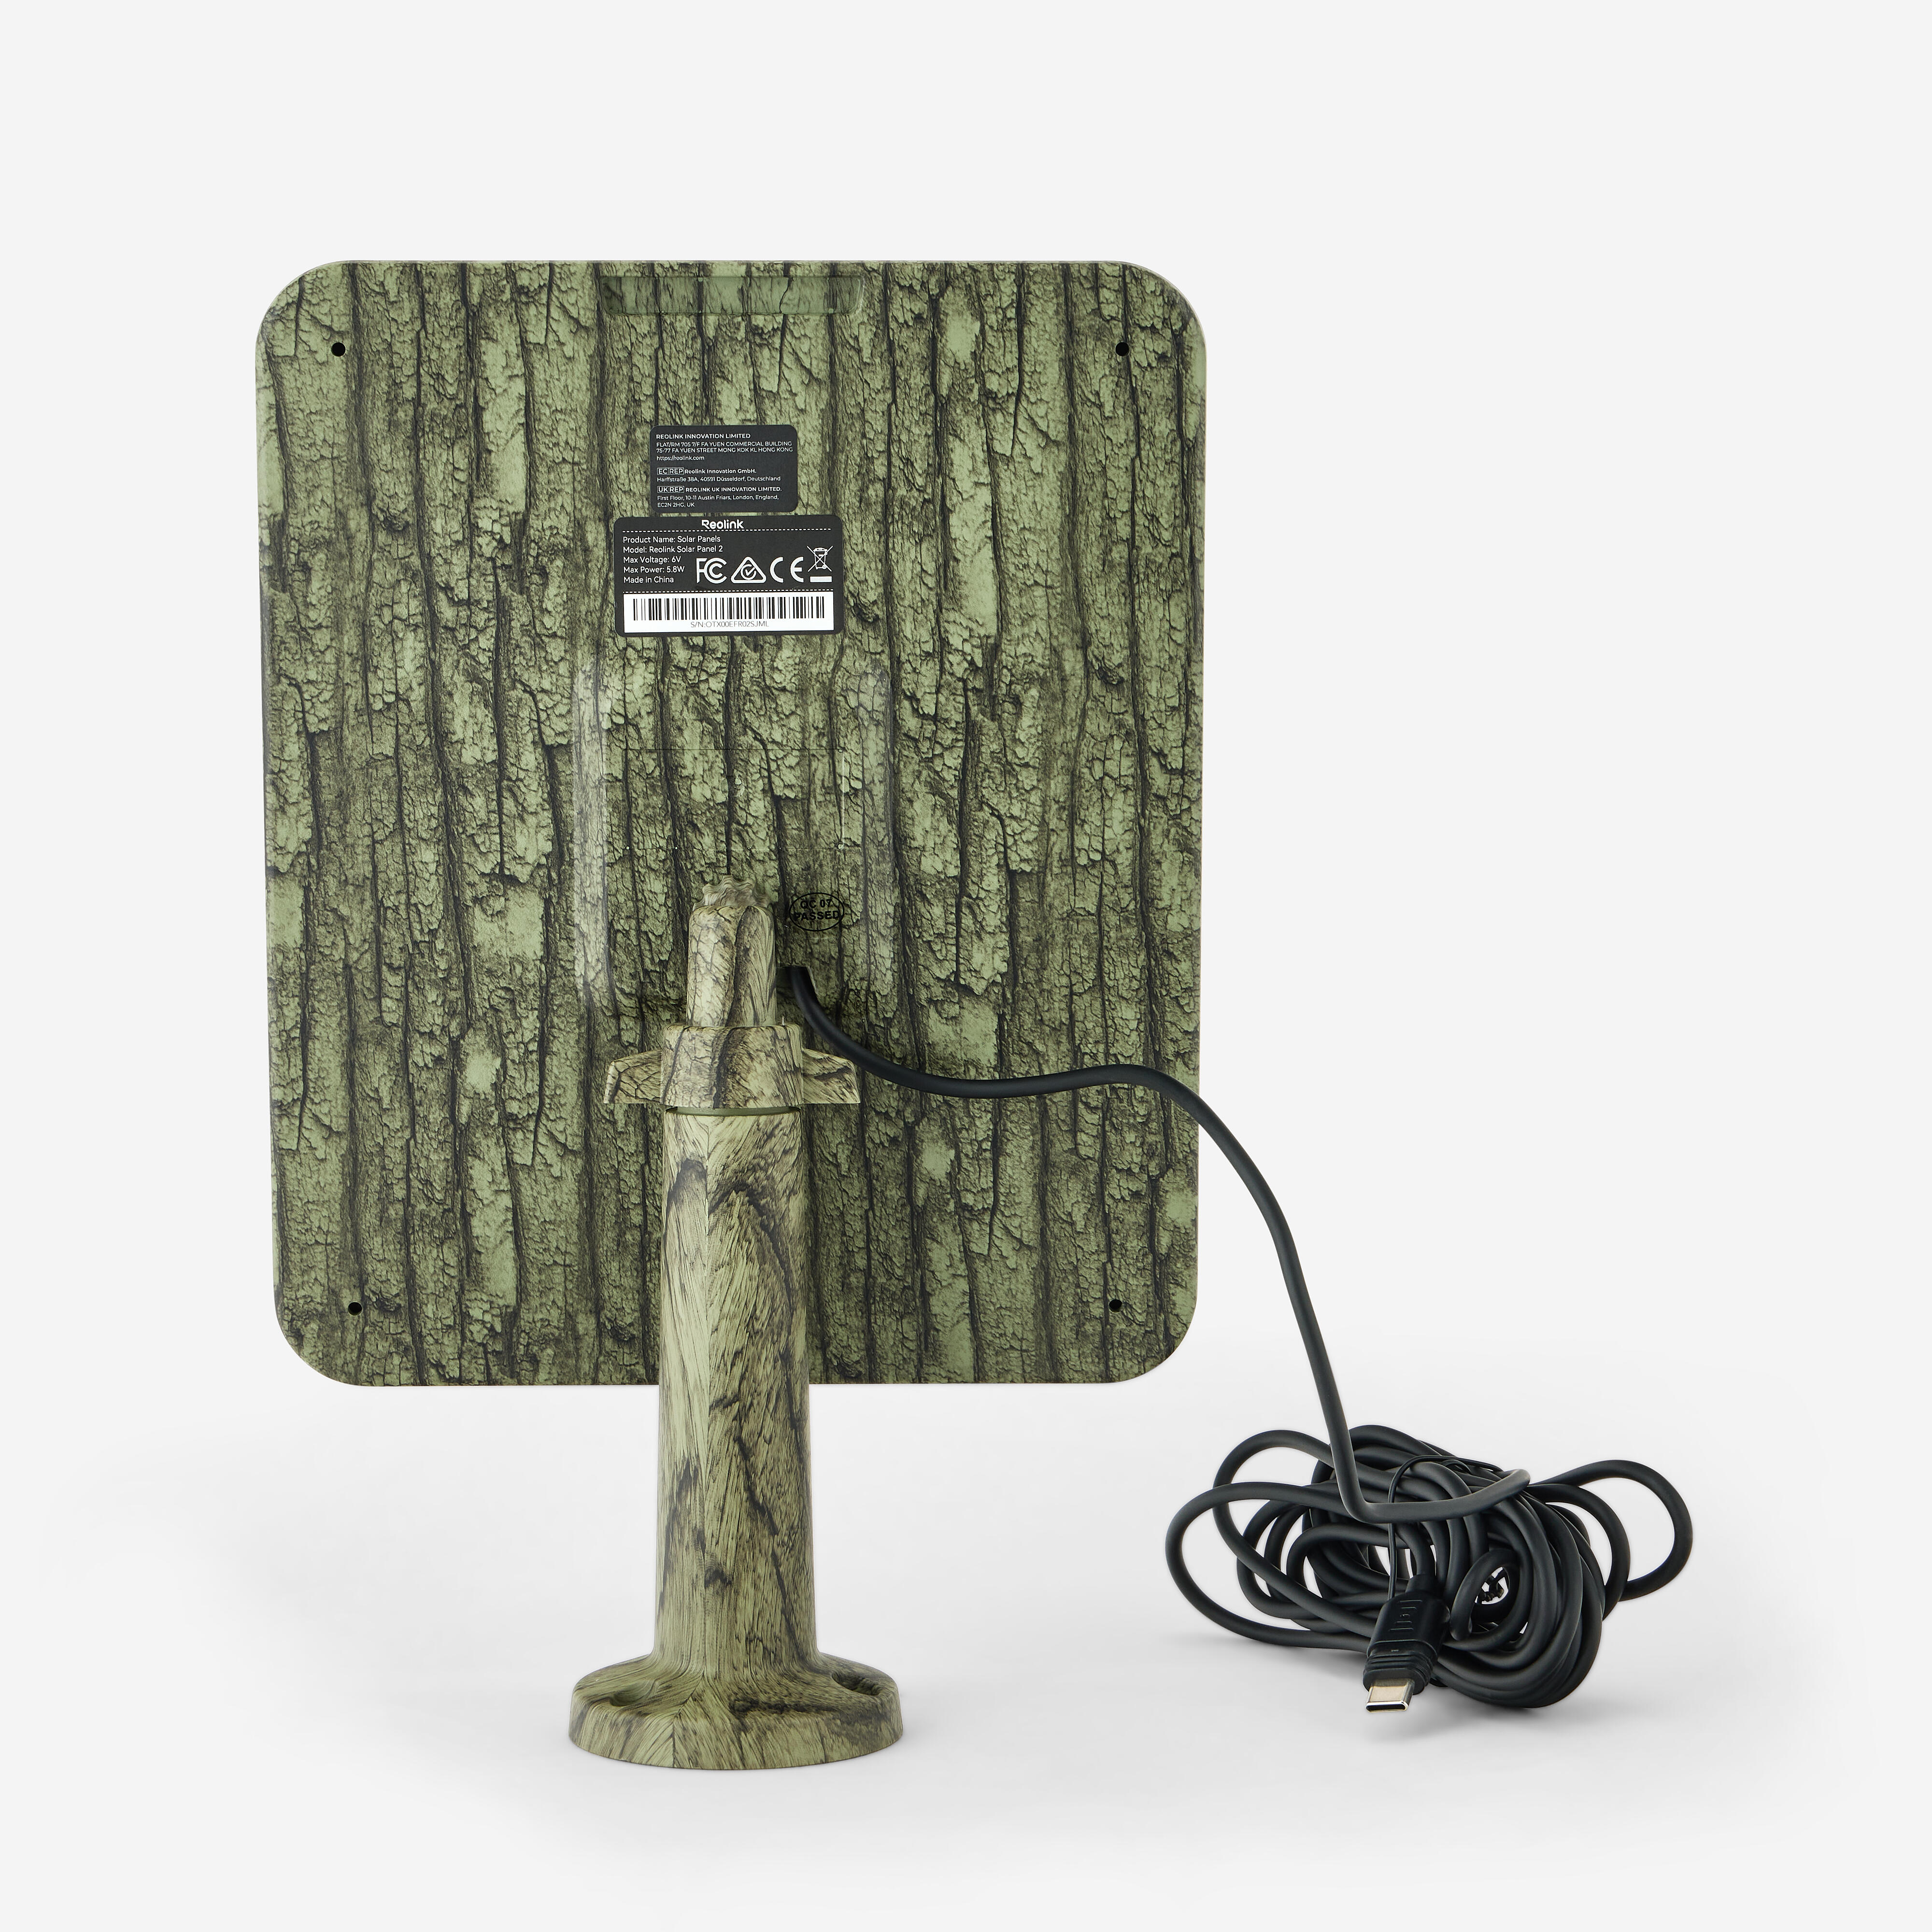
-Solar recharge: Reolink Solar Panel 2 (6W)
-Reset button: yes
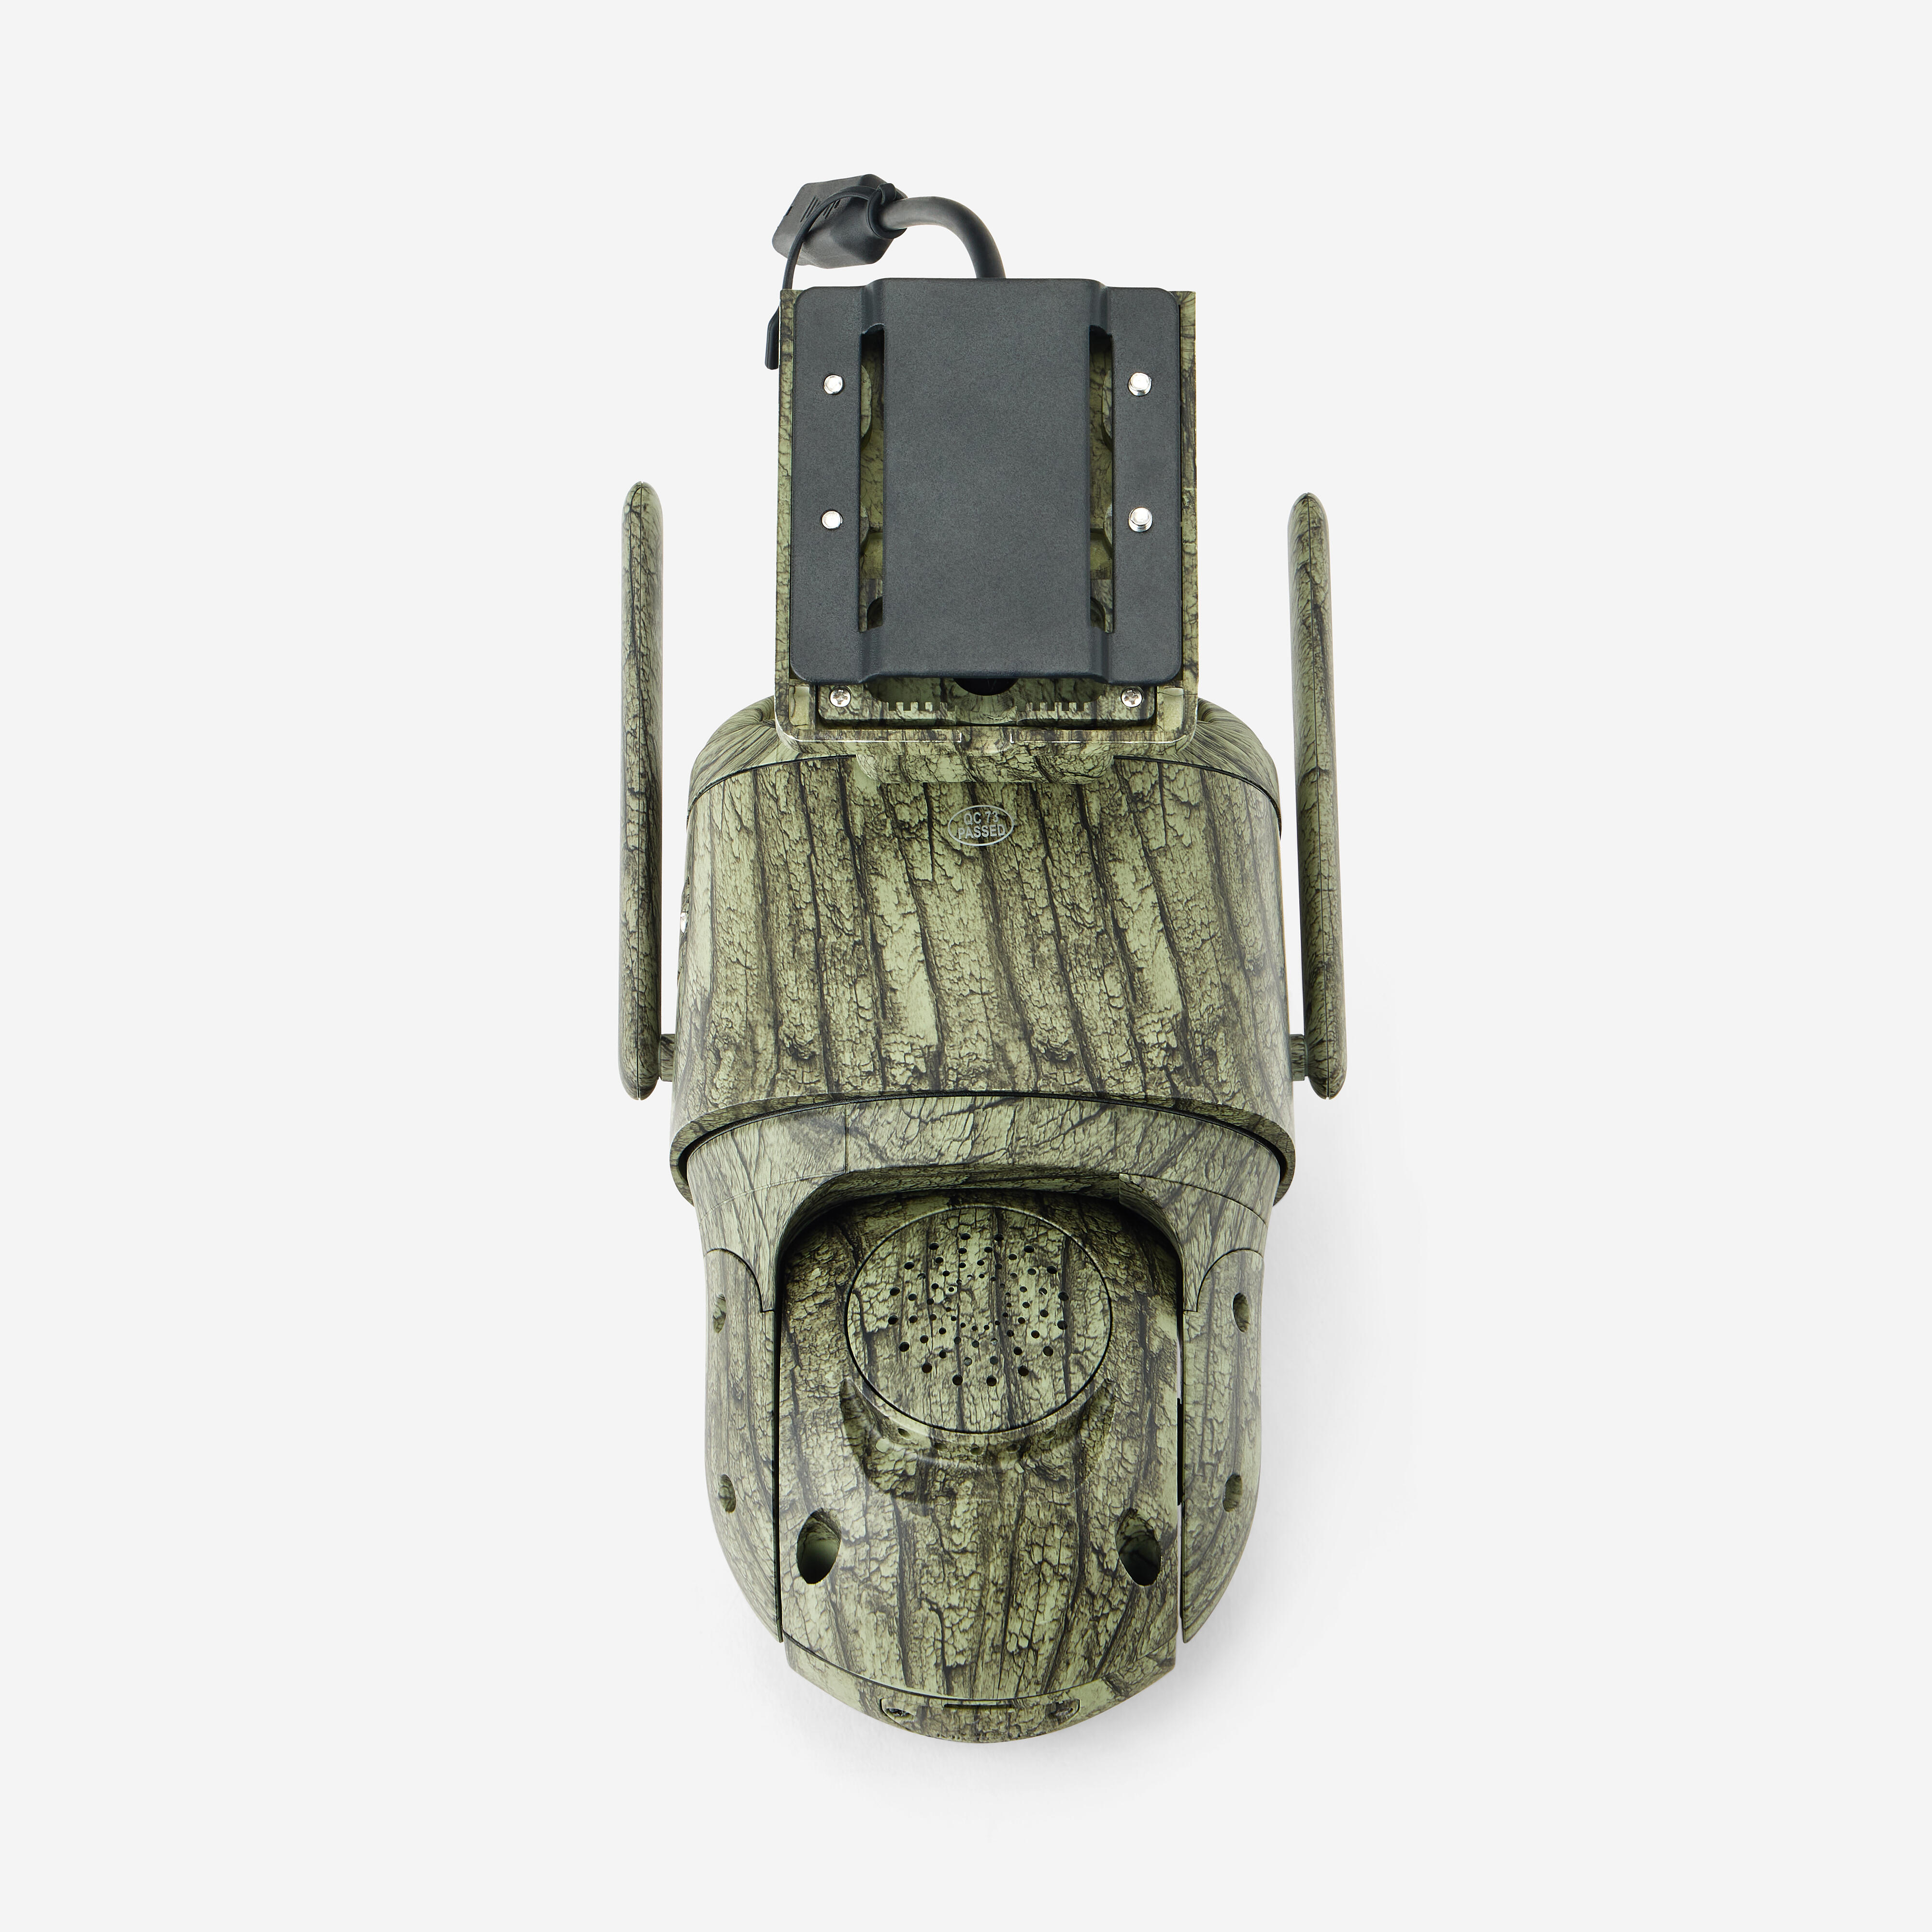
-audio input/output: built-in microphone and speakers
-3G/4G bandwidth: LTE FDD: B1/B3/B7/B8/B20 WCDMA: B1/B8
-Smart alarm: PIR detection / People detection / Vehicle detection
Technical specifications (part 3/4)
-PIR range: up to 10 metres
-PIR detection angle: 120° horizontal
-Recording modes: triggered recording: video, photo, photo/video
-Cloud storage: Yes, Reolink
-Operating temperature: -10°C to 55°C
-Watertight: YES IP65
-Dimensions: 75x194
-Weight: 450 g
Pack contents
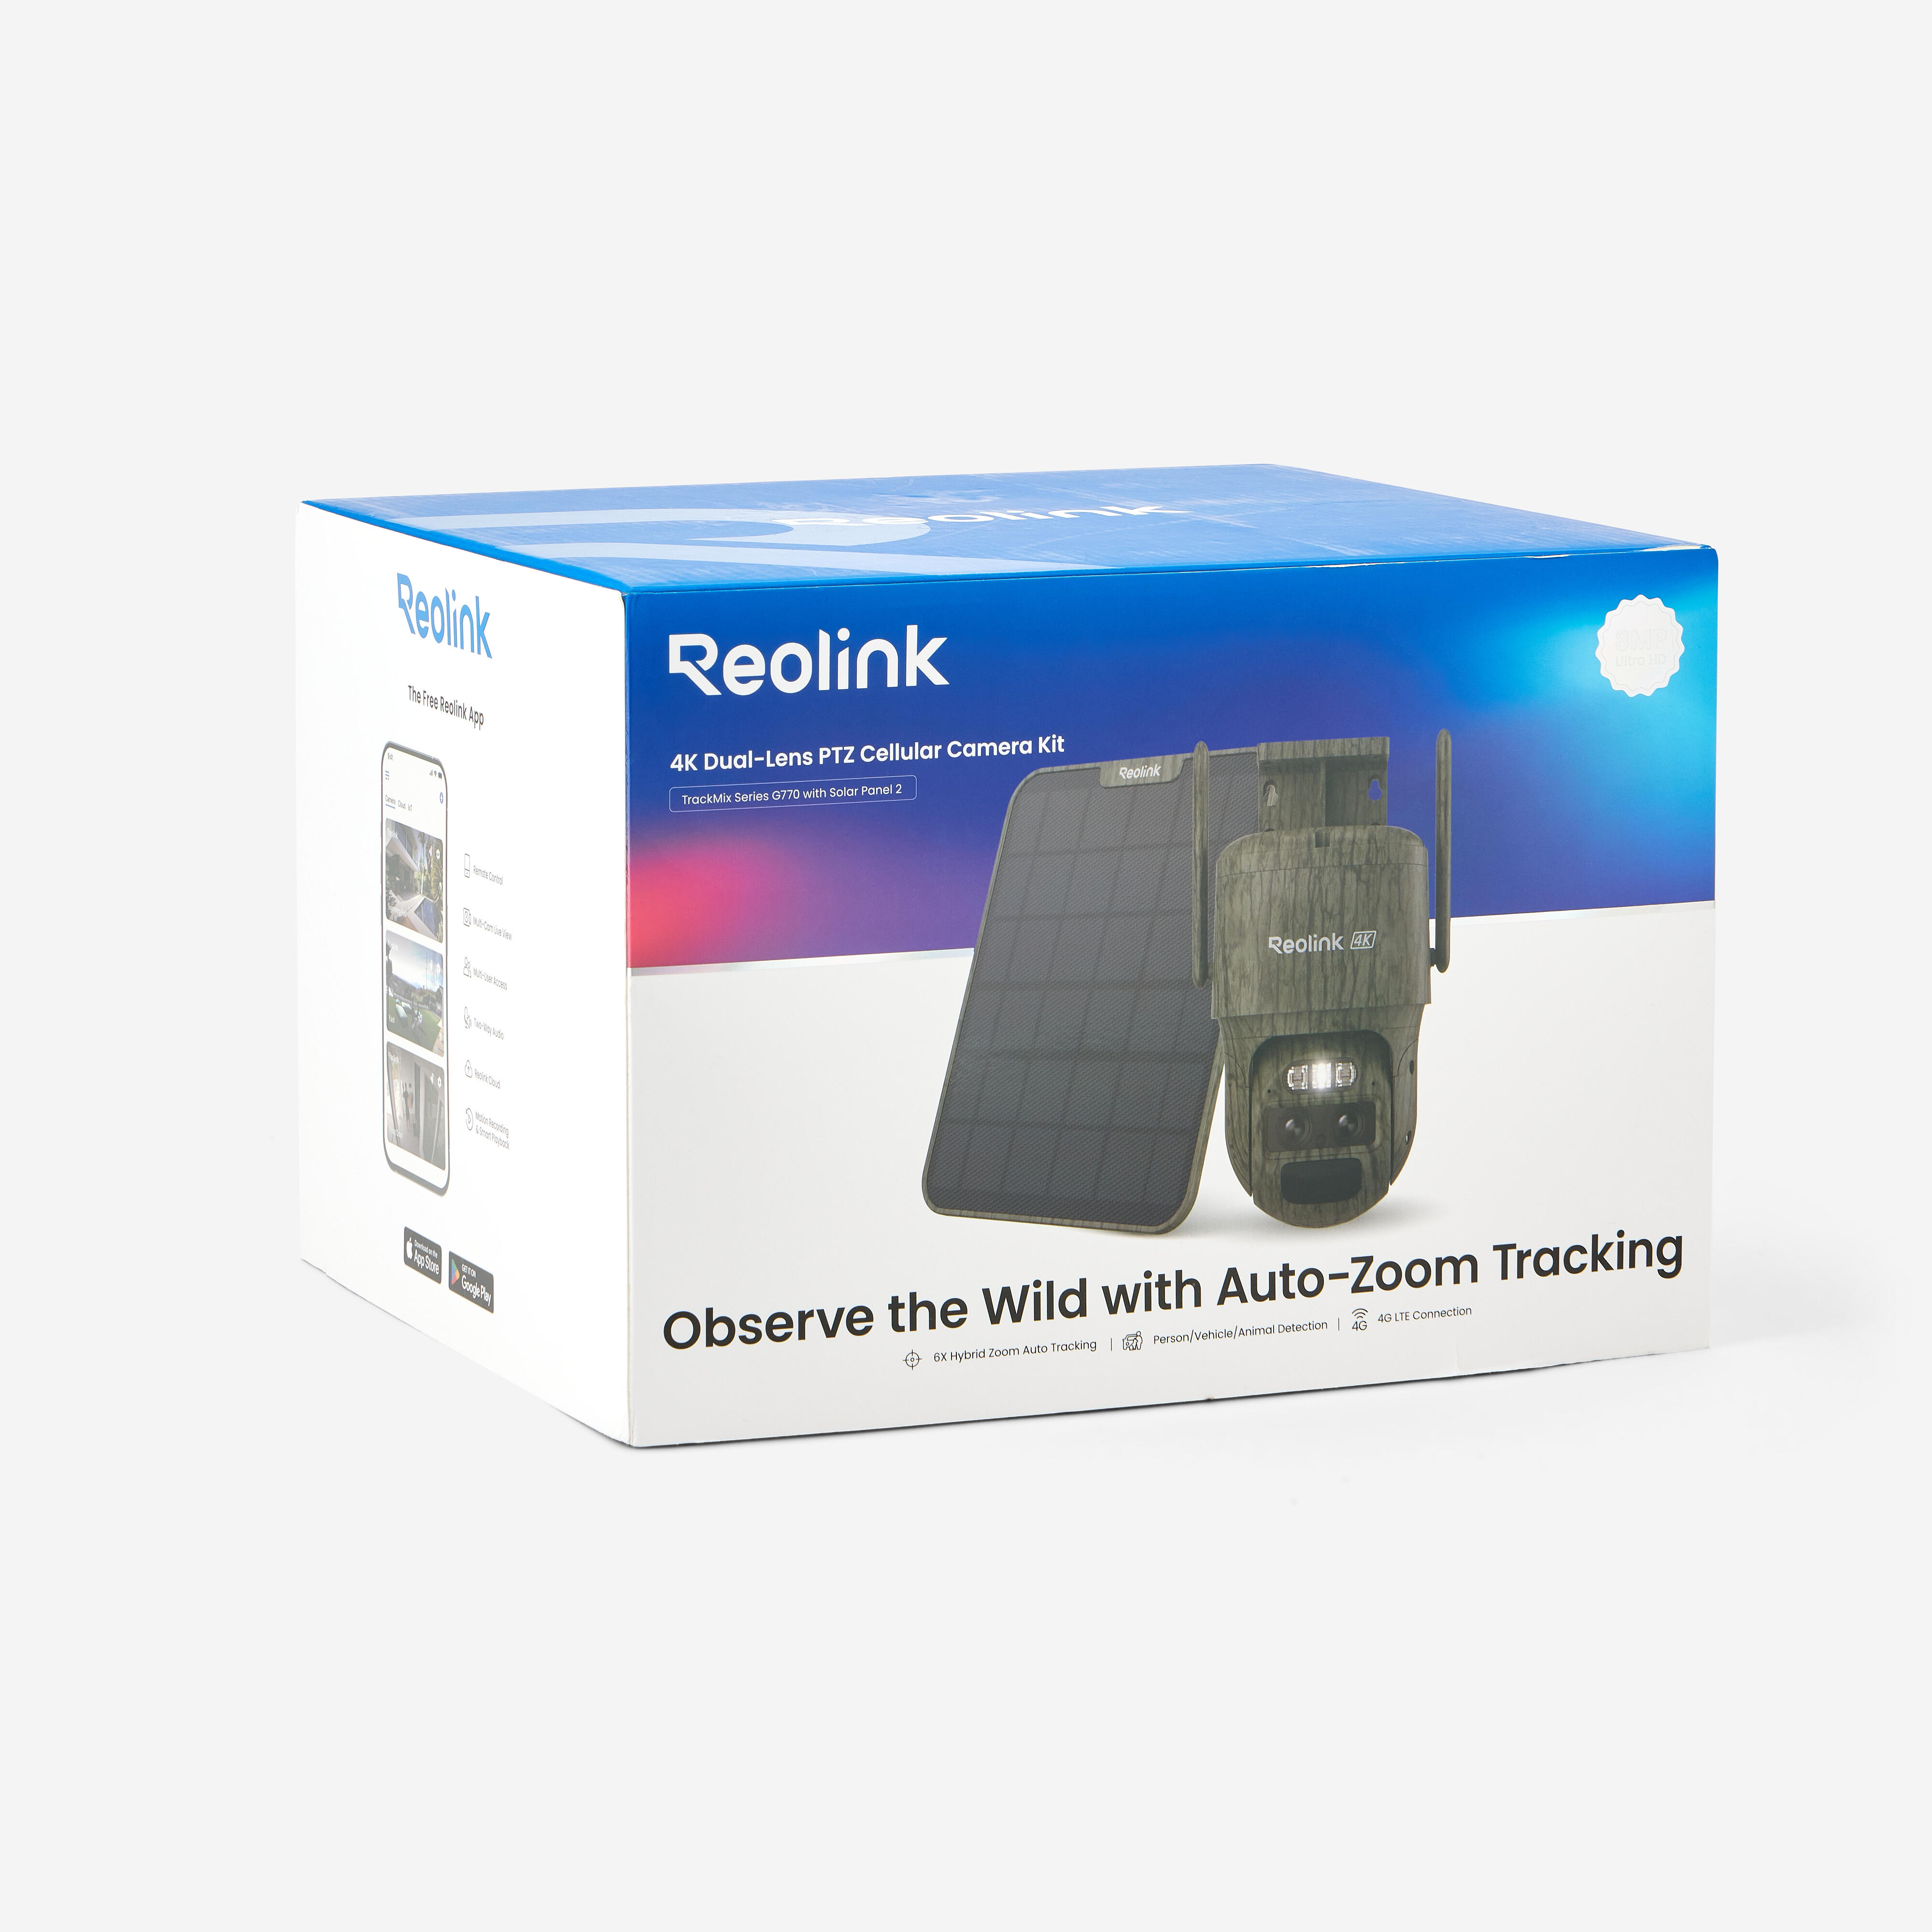
The box includes:
-the camera
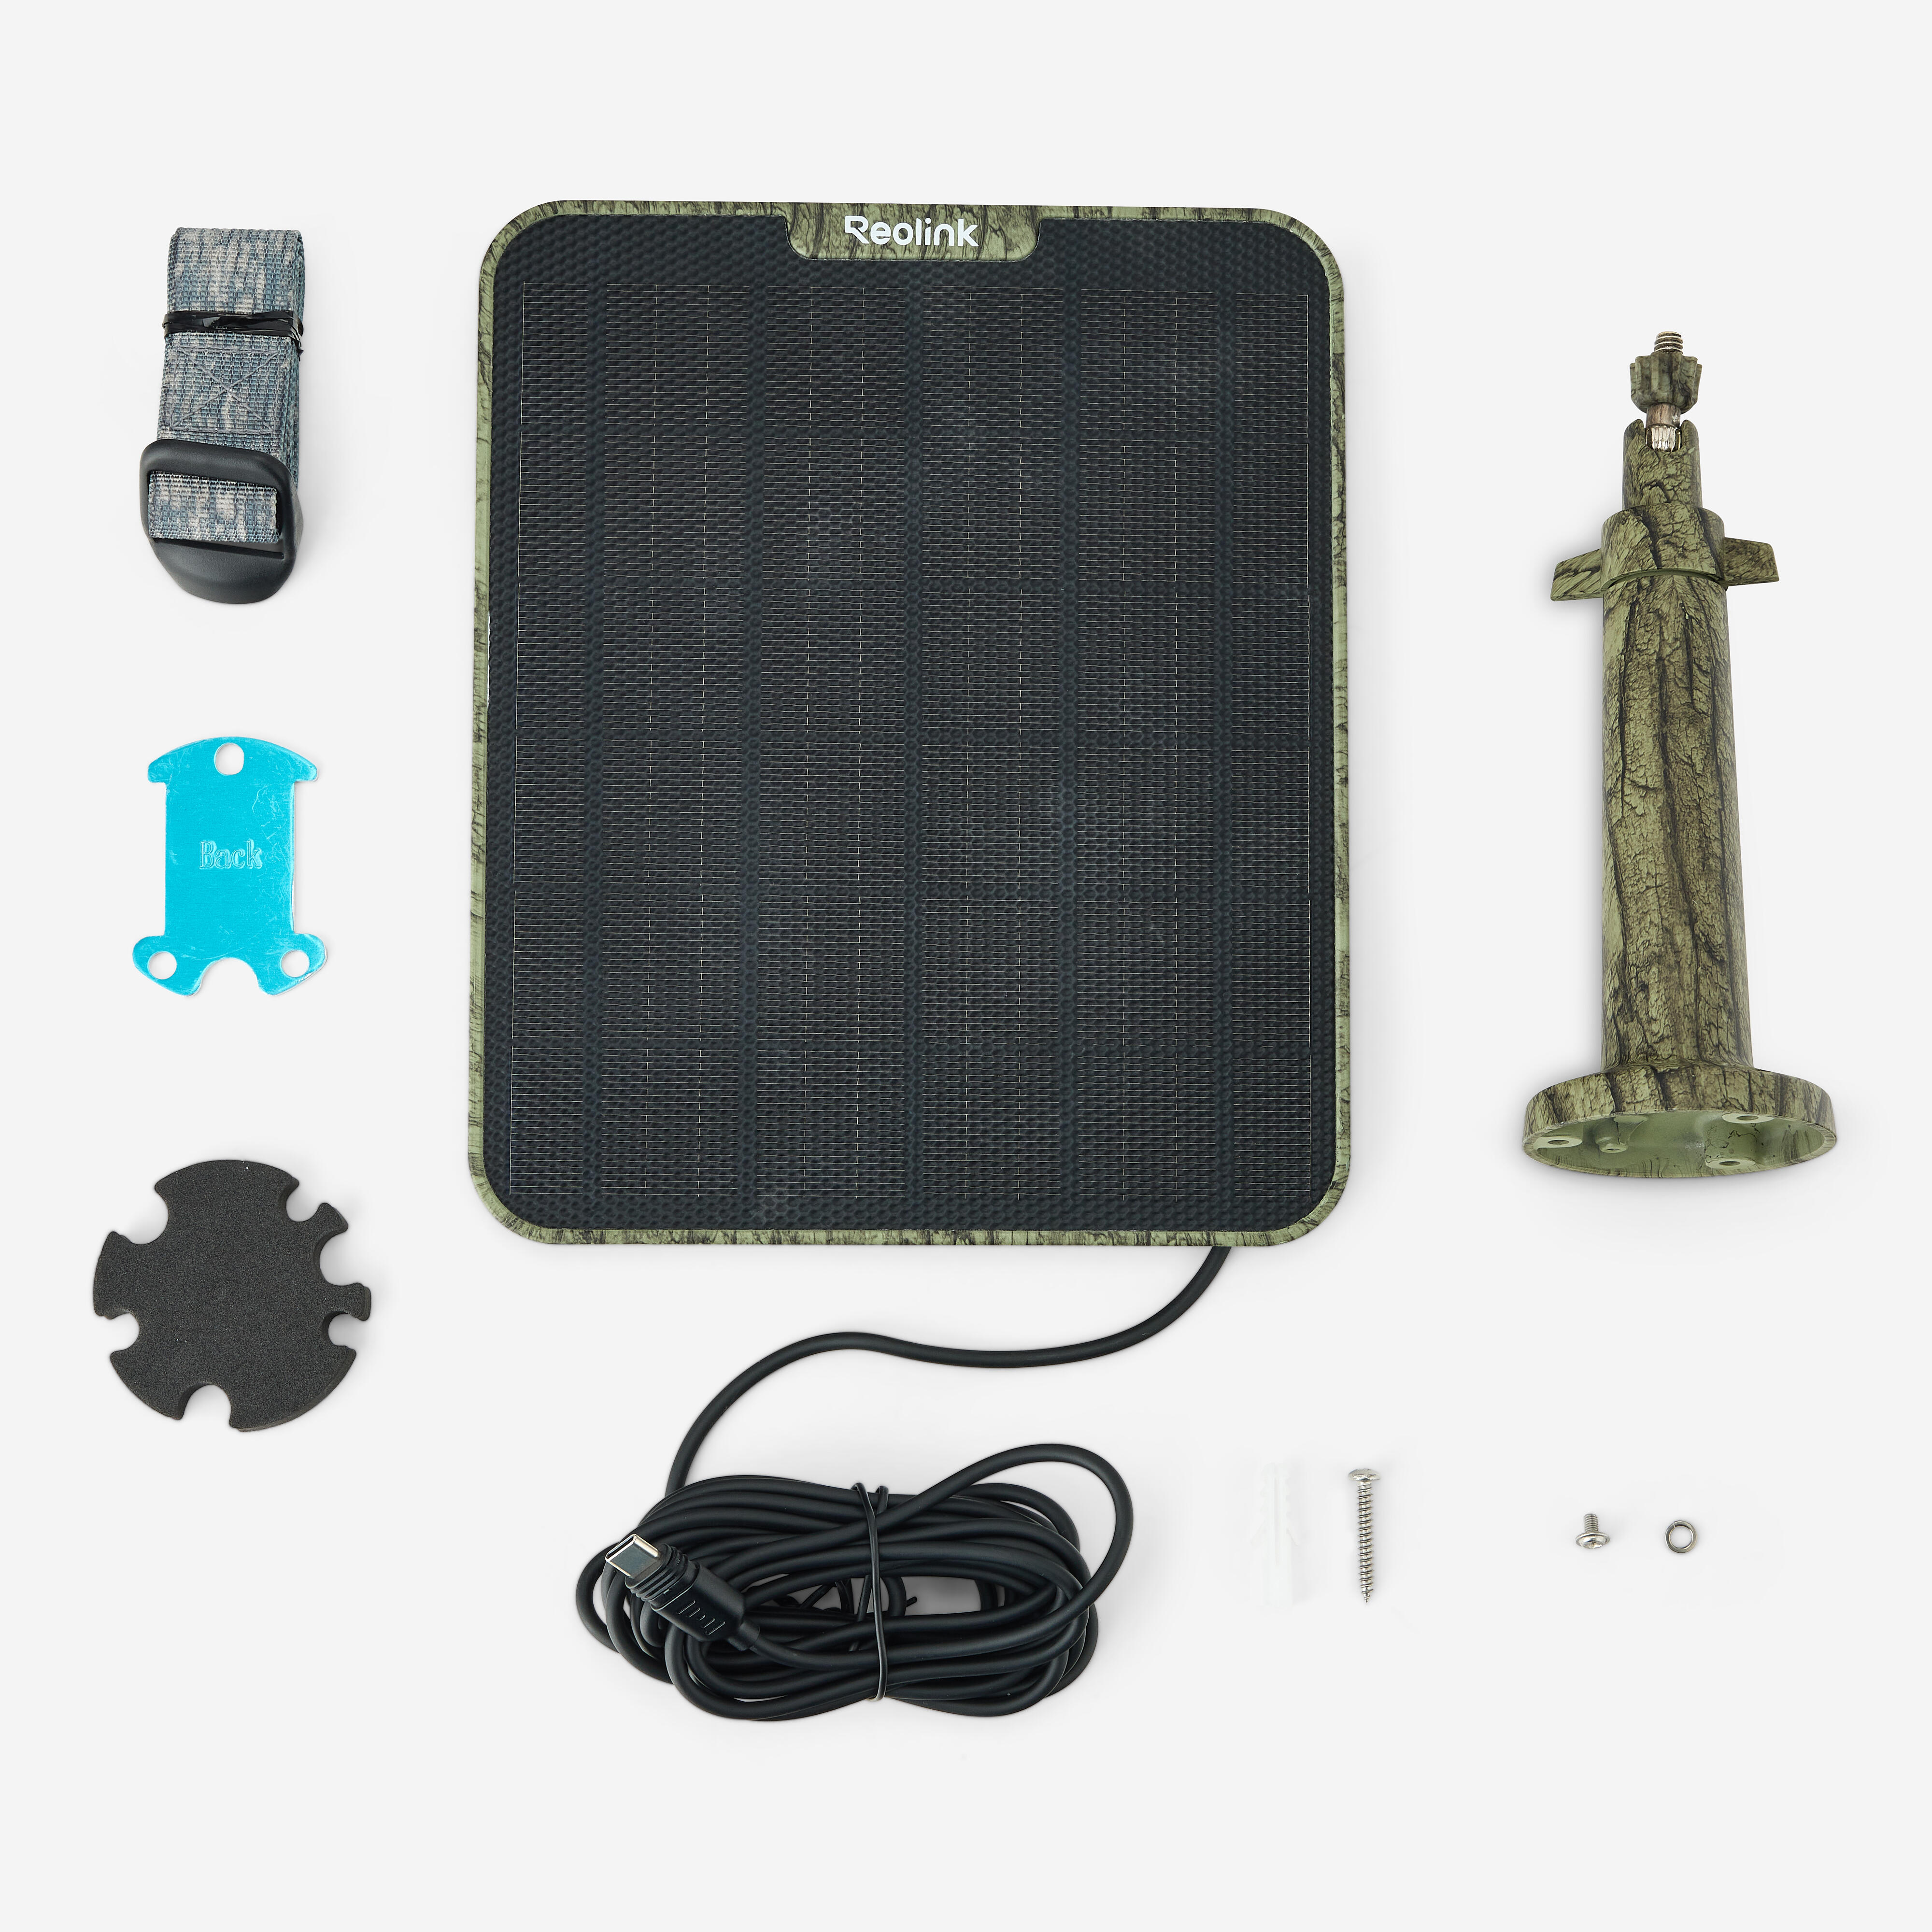
-the solar panel
-a bracket
-a pack of screws
-the mounting hole gauge
-a strap
-a mounting plate
-a USB-C to micro USB cable
-stickers
-a foam pad for the bracket
-the camera and solar panel installation guide
How do I install the solar panel using the screws? (part 1 of 2)
1/Make sure you choose a location with the most sunlight all year round for your solar panel. The Reolink needs a few hours of direct sunlight to provide sufficient power for the camera on a daily basis. Please note that the energy that the solar panel can produce is still affected by weather conditions, seasonal changes, geographical locations, etc.
Please note: the ideal angle for installing the panel = local latitude + 5°.
How do I install the solar panel using the screws? (part 2 of 2)
2/Mount the bracket using the mounting gauge and screws supplied in the pack.
3/Fix the solar panel in the bracket and make sure it is secure.
4/Loosen the adjustment button on the bracket and adjust the angle of the solar panel so that it receives direct sunlight, then tighten the adjustment button to secure your solar panel.
5/Connect the solar panel to the camera.
Please note: make sure the USB-C connector is fully plugged in for watertightness.
How do I install the solar panel using the strap?
If you want to attach the solar panel to a tree, we recommend using the strap.
1/Place the strap at the bottom of the bracket. Attach it to the mounting plate and secure it with screws. Attach the support to the tree and fasten the strap.
2/Insert the solar panel into the bracket, adjust the solar panel and connect it to the camera (you can refer to steps 3 to 5 in "How to install the solar panel with screws").
Important notes
Make sure there are no obstacles on the solar panel. The efficiency of energy collection decreases drastically, even when a small part of the solar panel is obstructed.
Wipe the panel regularly to remove any dust or debris.
Charge the batteries at a temperature between 0°C and 45°C (32-113°F). Below 0°C (32°F), the panel will not charge the camera.
Do not install the solar panel completely horizontally.
Troubleshooting
If your solar panel can no longer charge the camera, try the following:
-disconnect and reconnect the charging cable; make sure that the connection between the solar panel and the camera is stable
-check that your Reolink Solar panel faces the sun and is not obstructed by trees, buildings or other obstacles
-make sure that your camera does not operate in temperatures below 0°C (32°F) or above 45°C (113°F)
Download the Reolink application.
1/Install the Reolink application from App Store or Google Play.
2/While the application is downloading, insert the SIM card and switch on the camera. Notes:
-there is no power switch for cameras with a removable battery
-if you cannot find the button, scan the QR Code in the manual for detailed instructions
3/Press the + button in the Reolink application and select the camera. Follow the instructions for configuration.