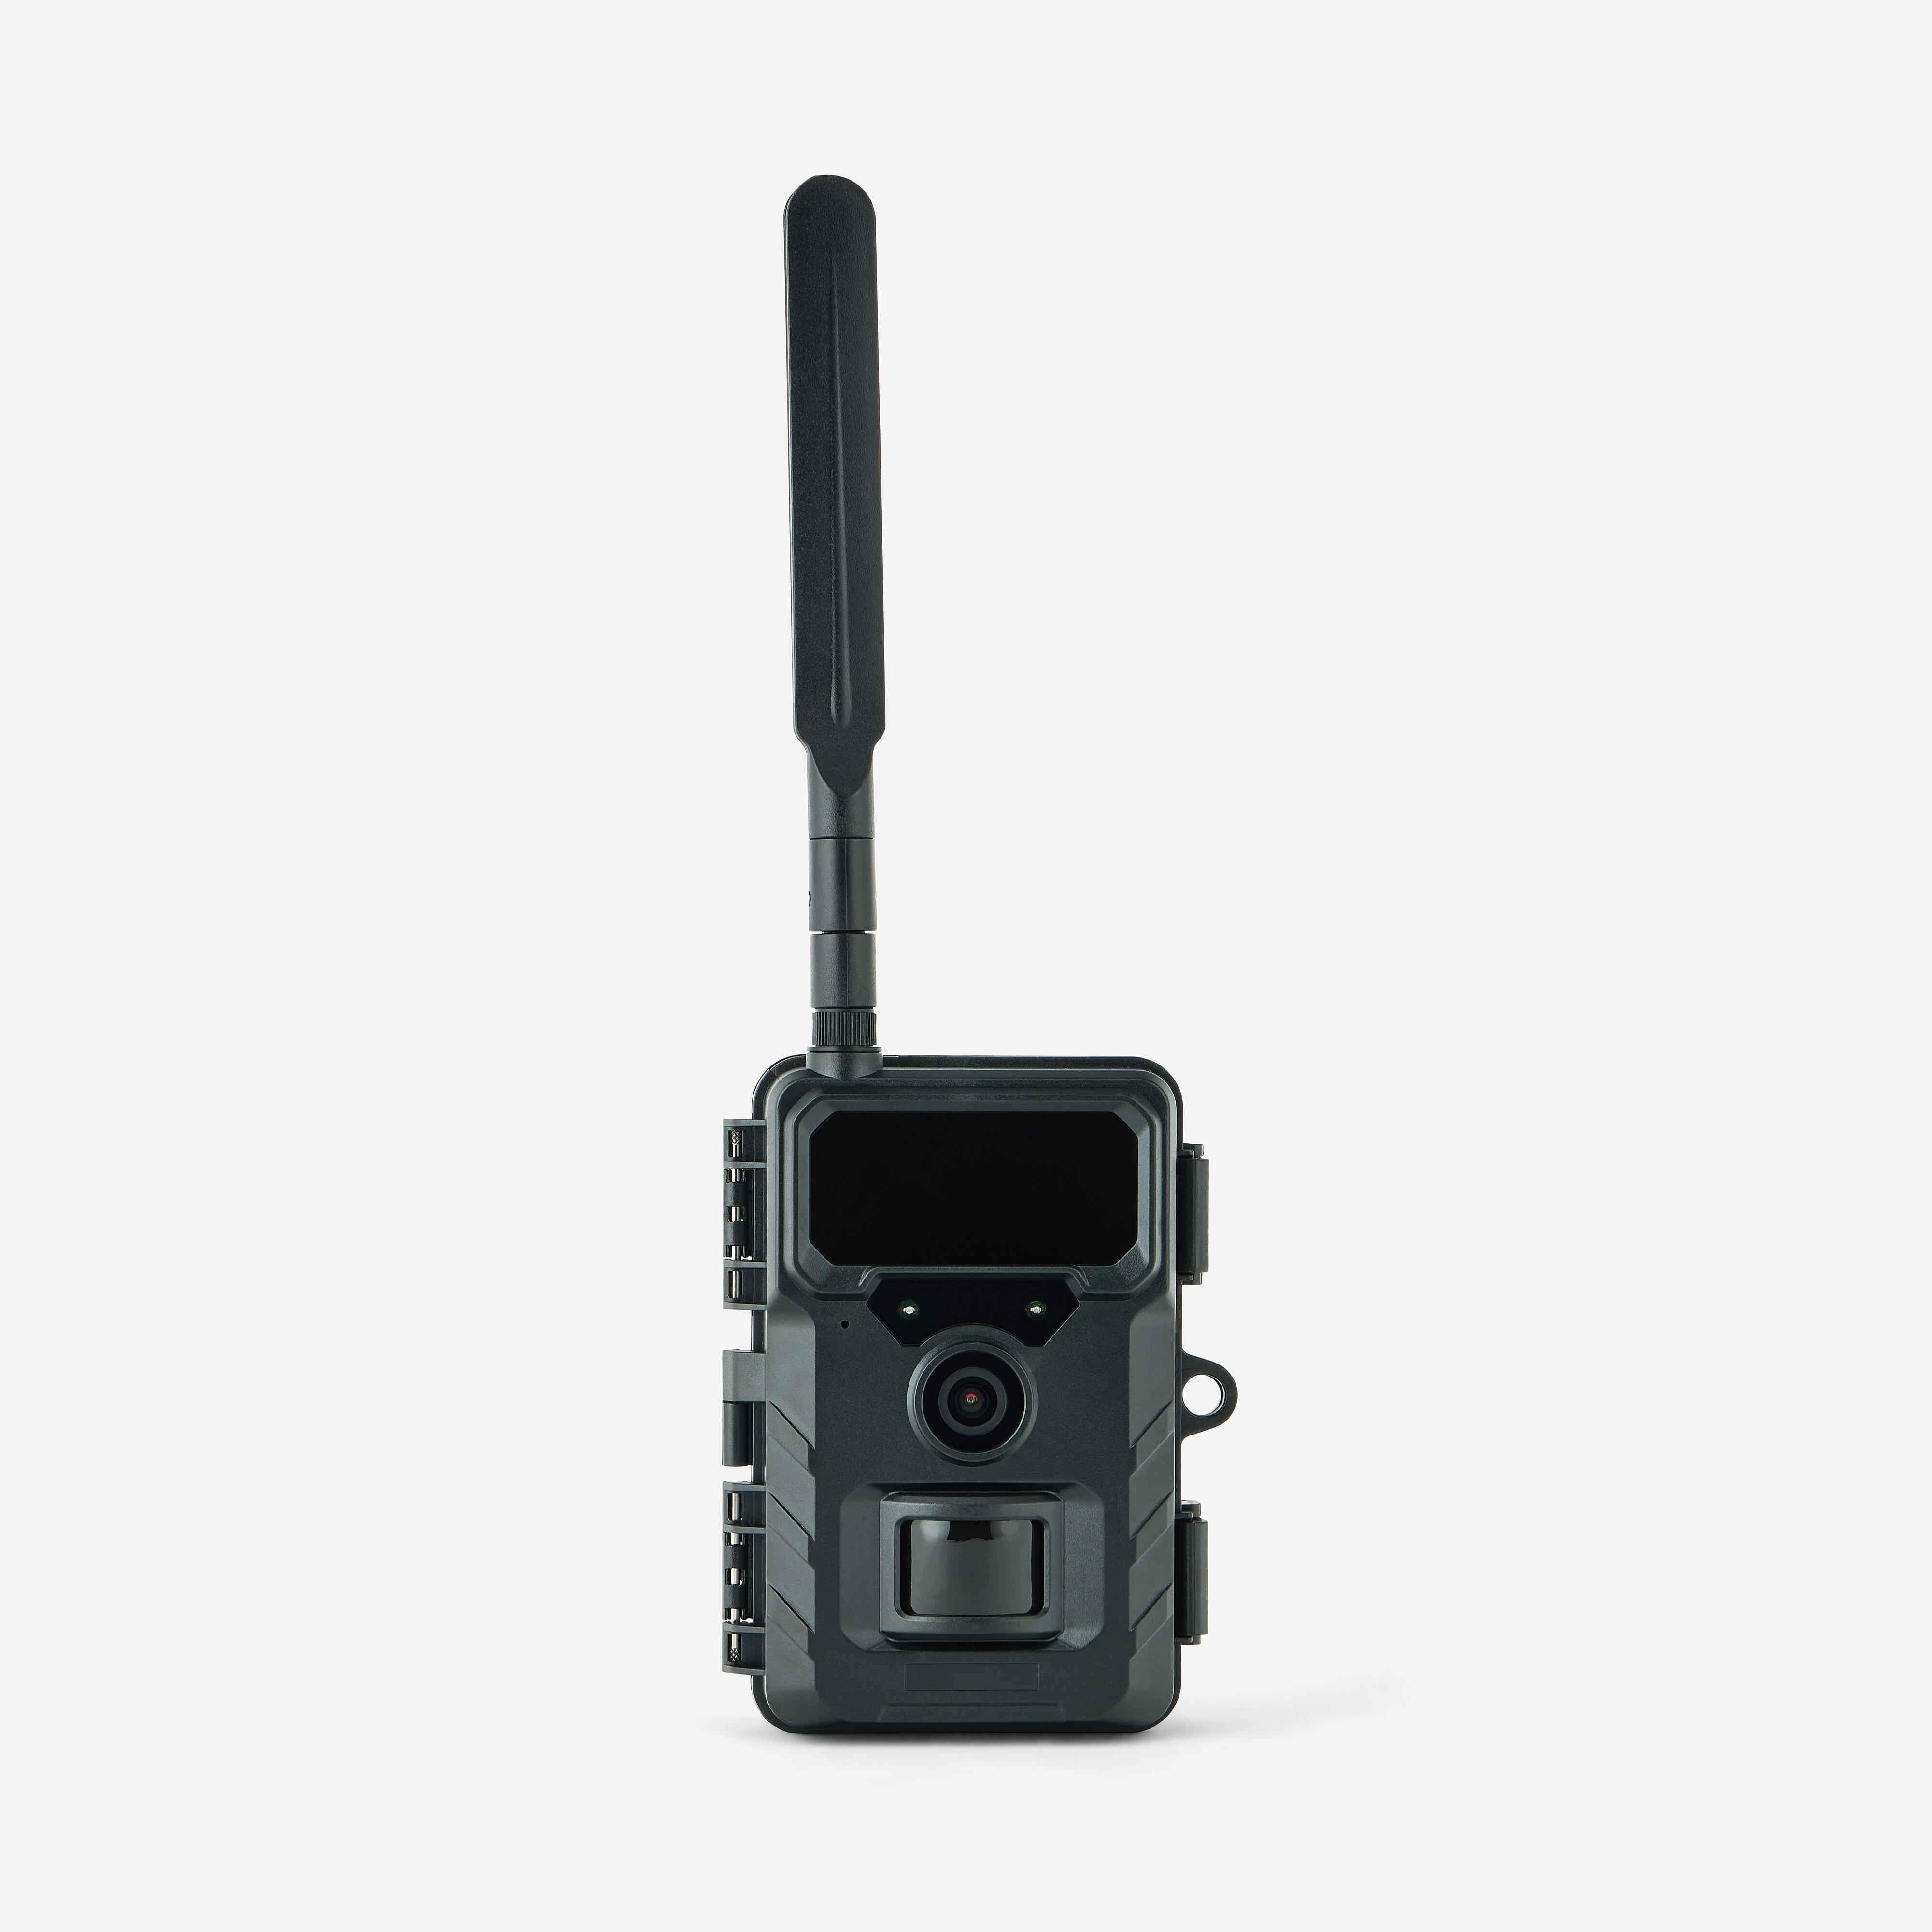
Technical characteristics
Trigger time:0.4 seconds
Field of vision:89°
Detection angle:60°
Infrared flash:2 high-intensity invisible infrared LEDs (wavelength 950 nm)
PIR signal range:approximately 20 metres
Operation:day/night
Image sensor:4-megapixel colour CMOS
Photo resolution:up to 32 MP
Video resolution:up to 2K
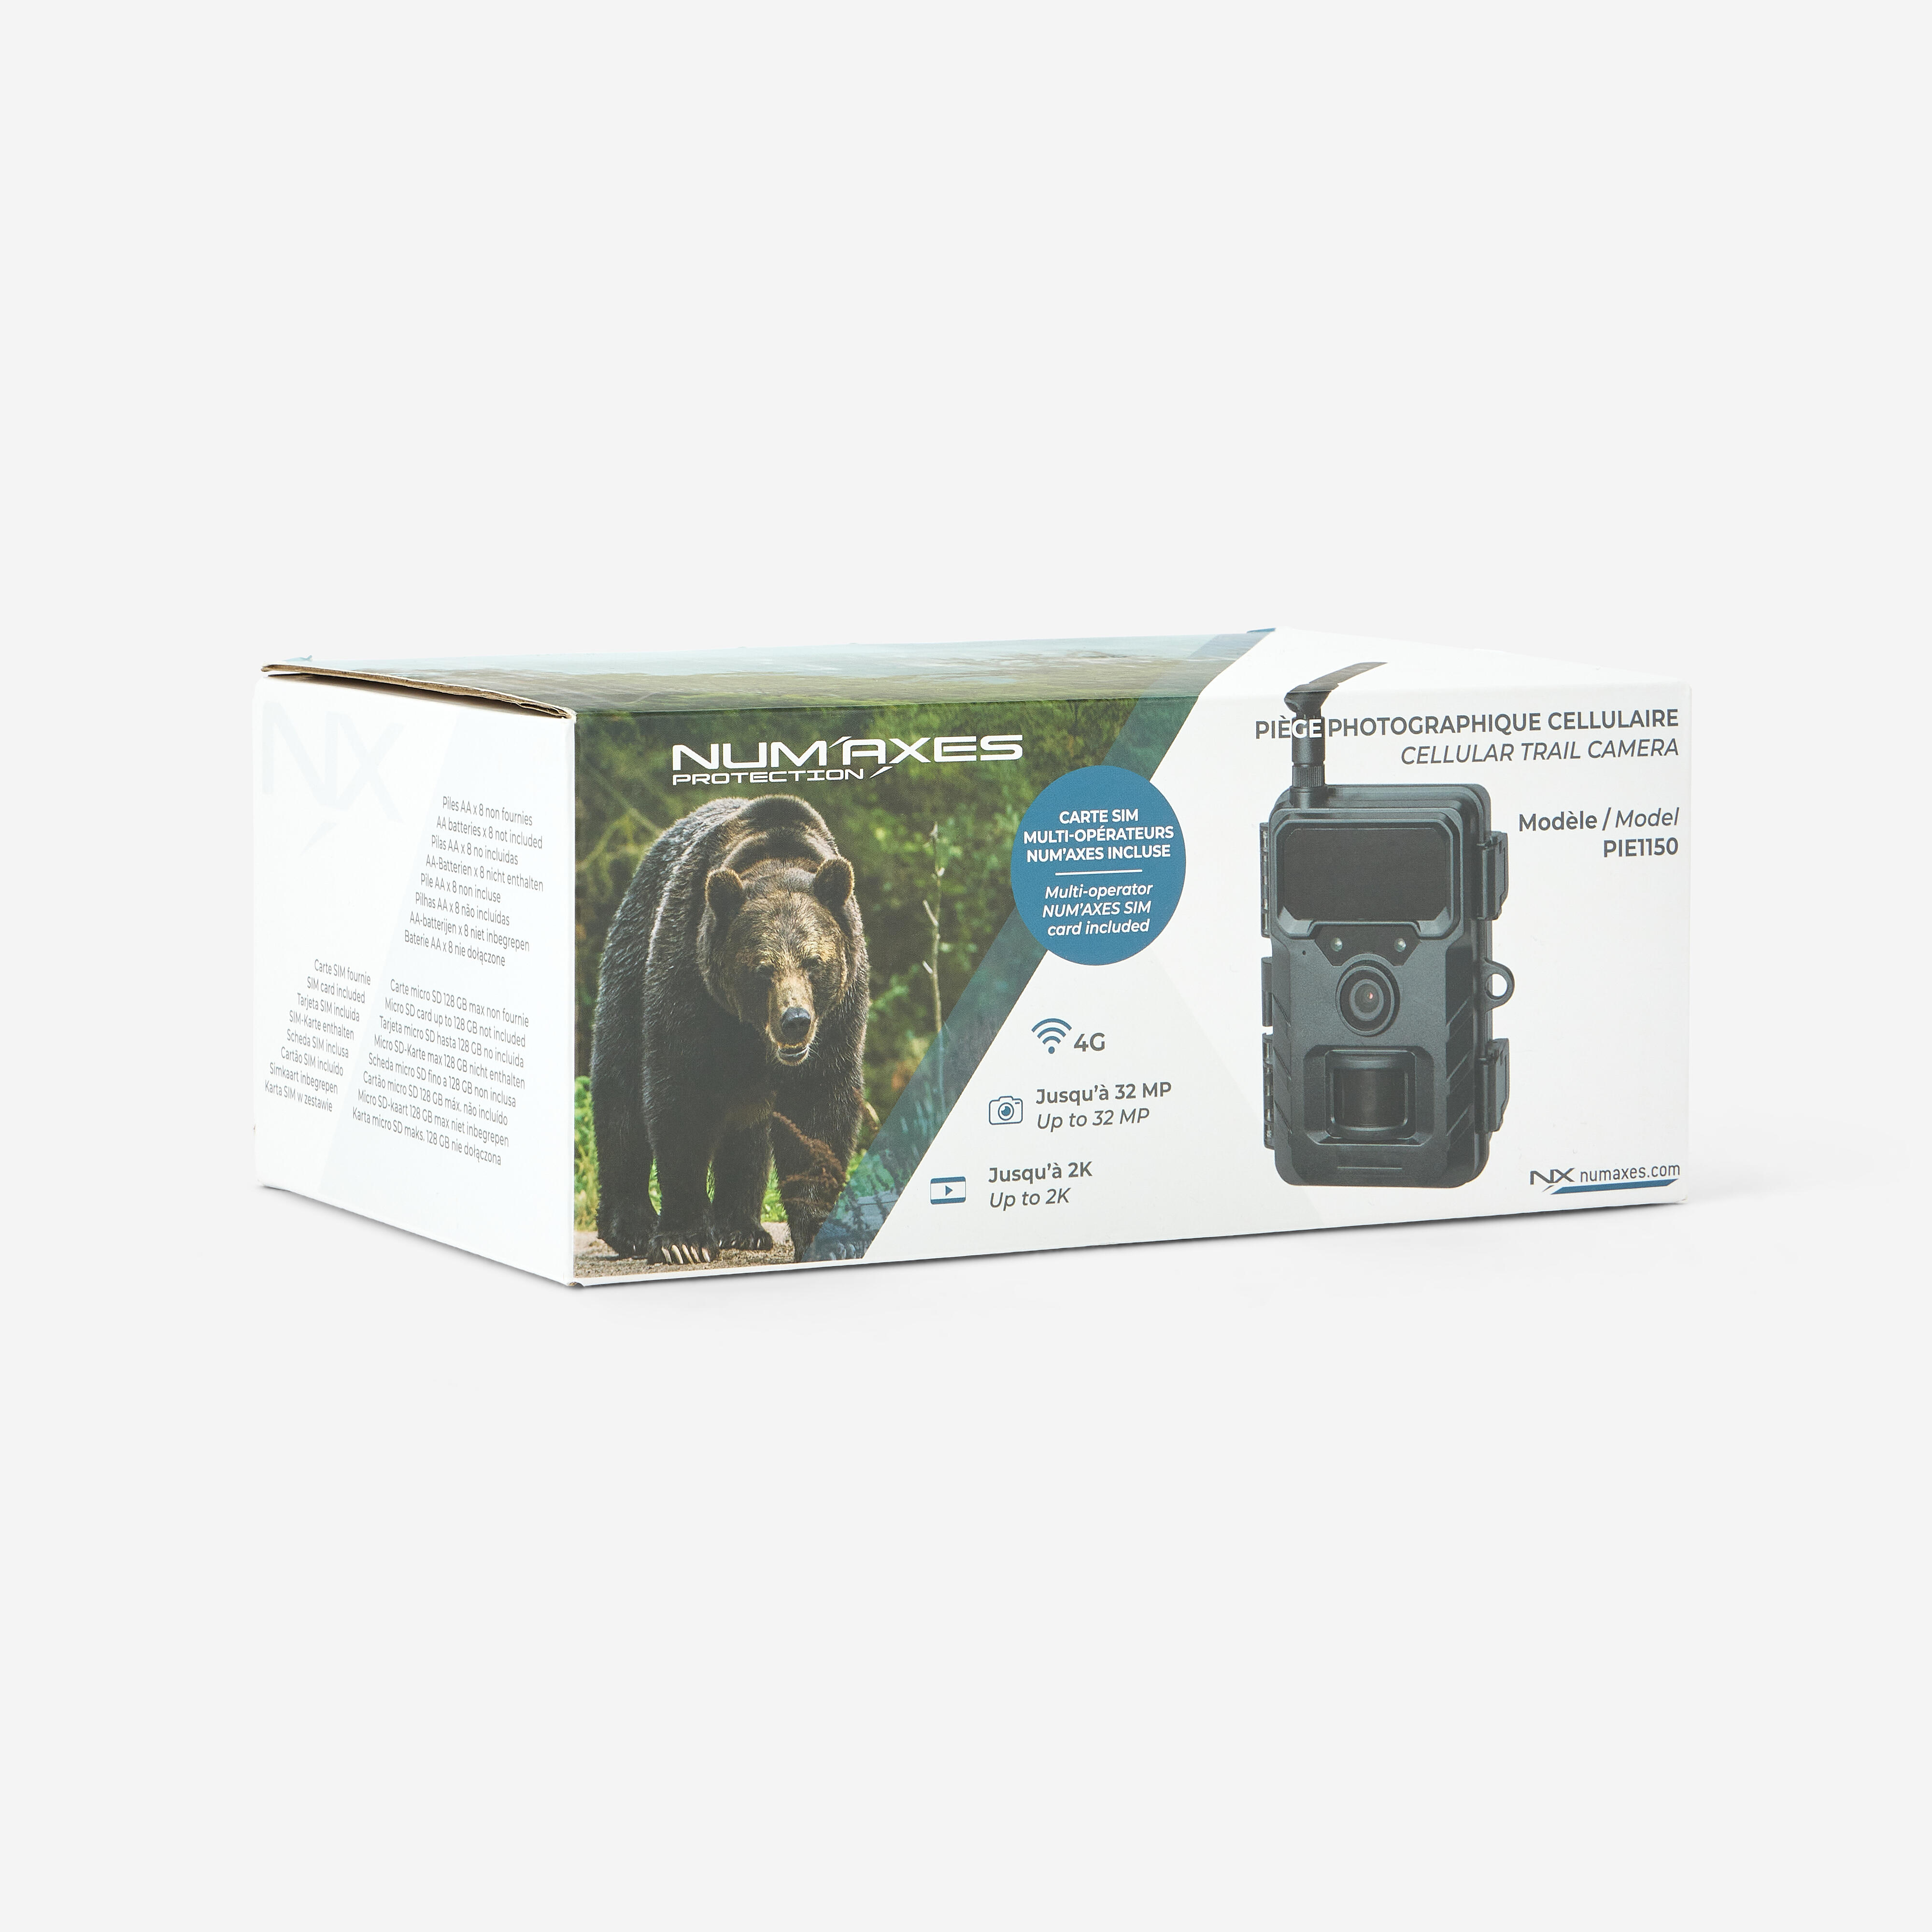
Networks:works with 2G, 3G and 4G
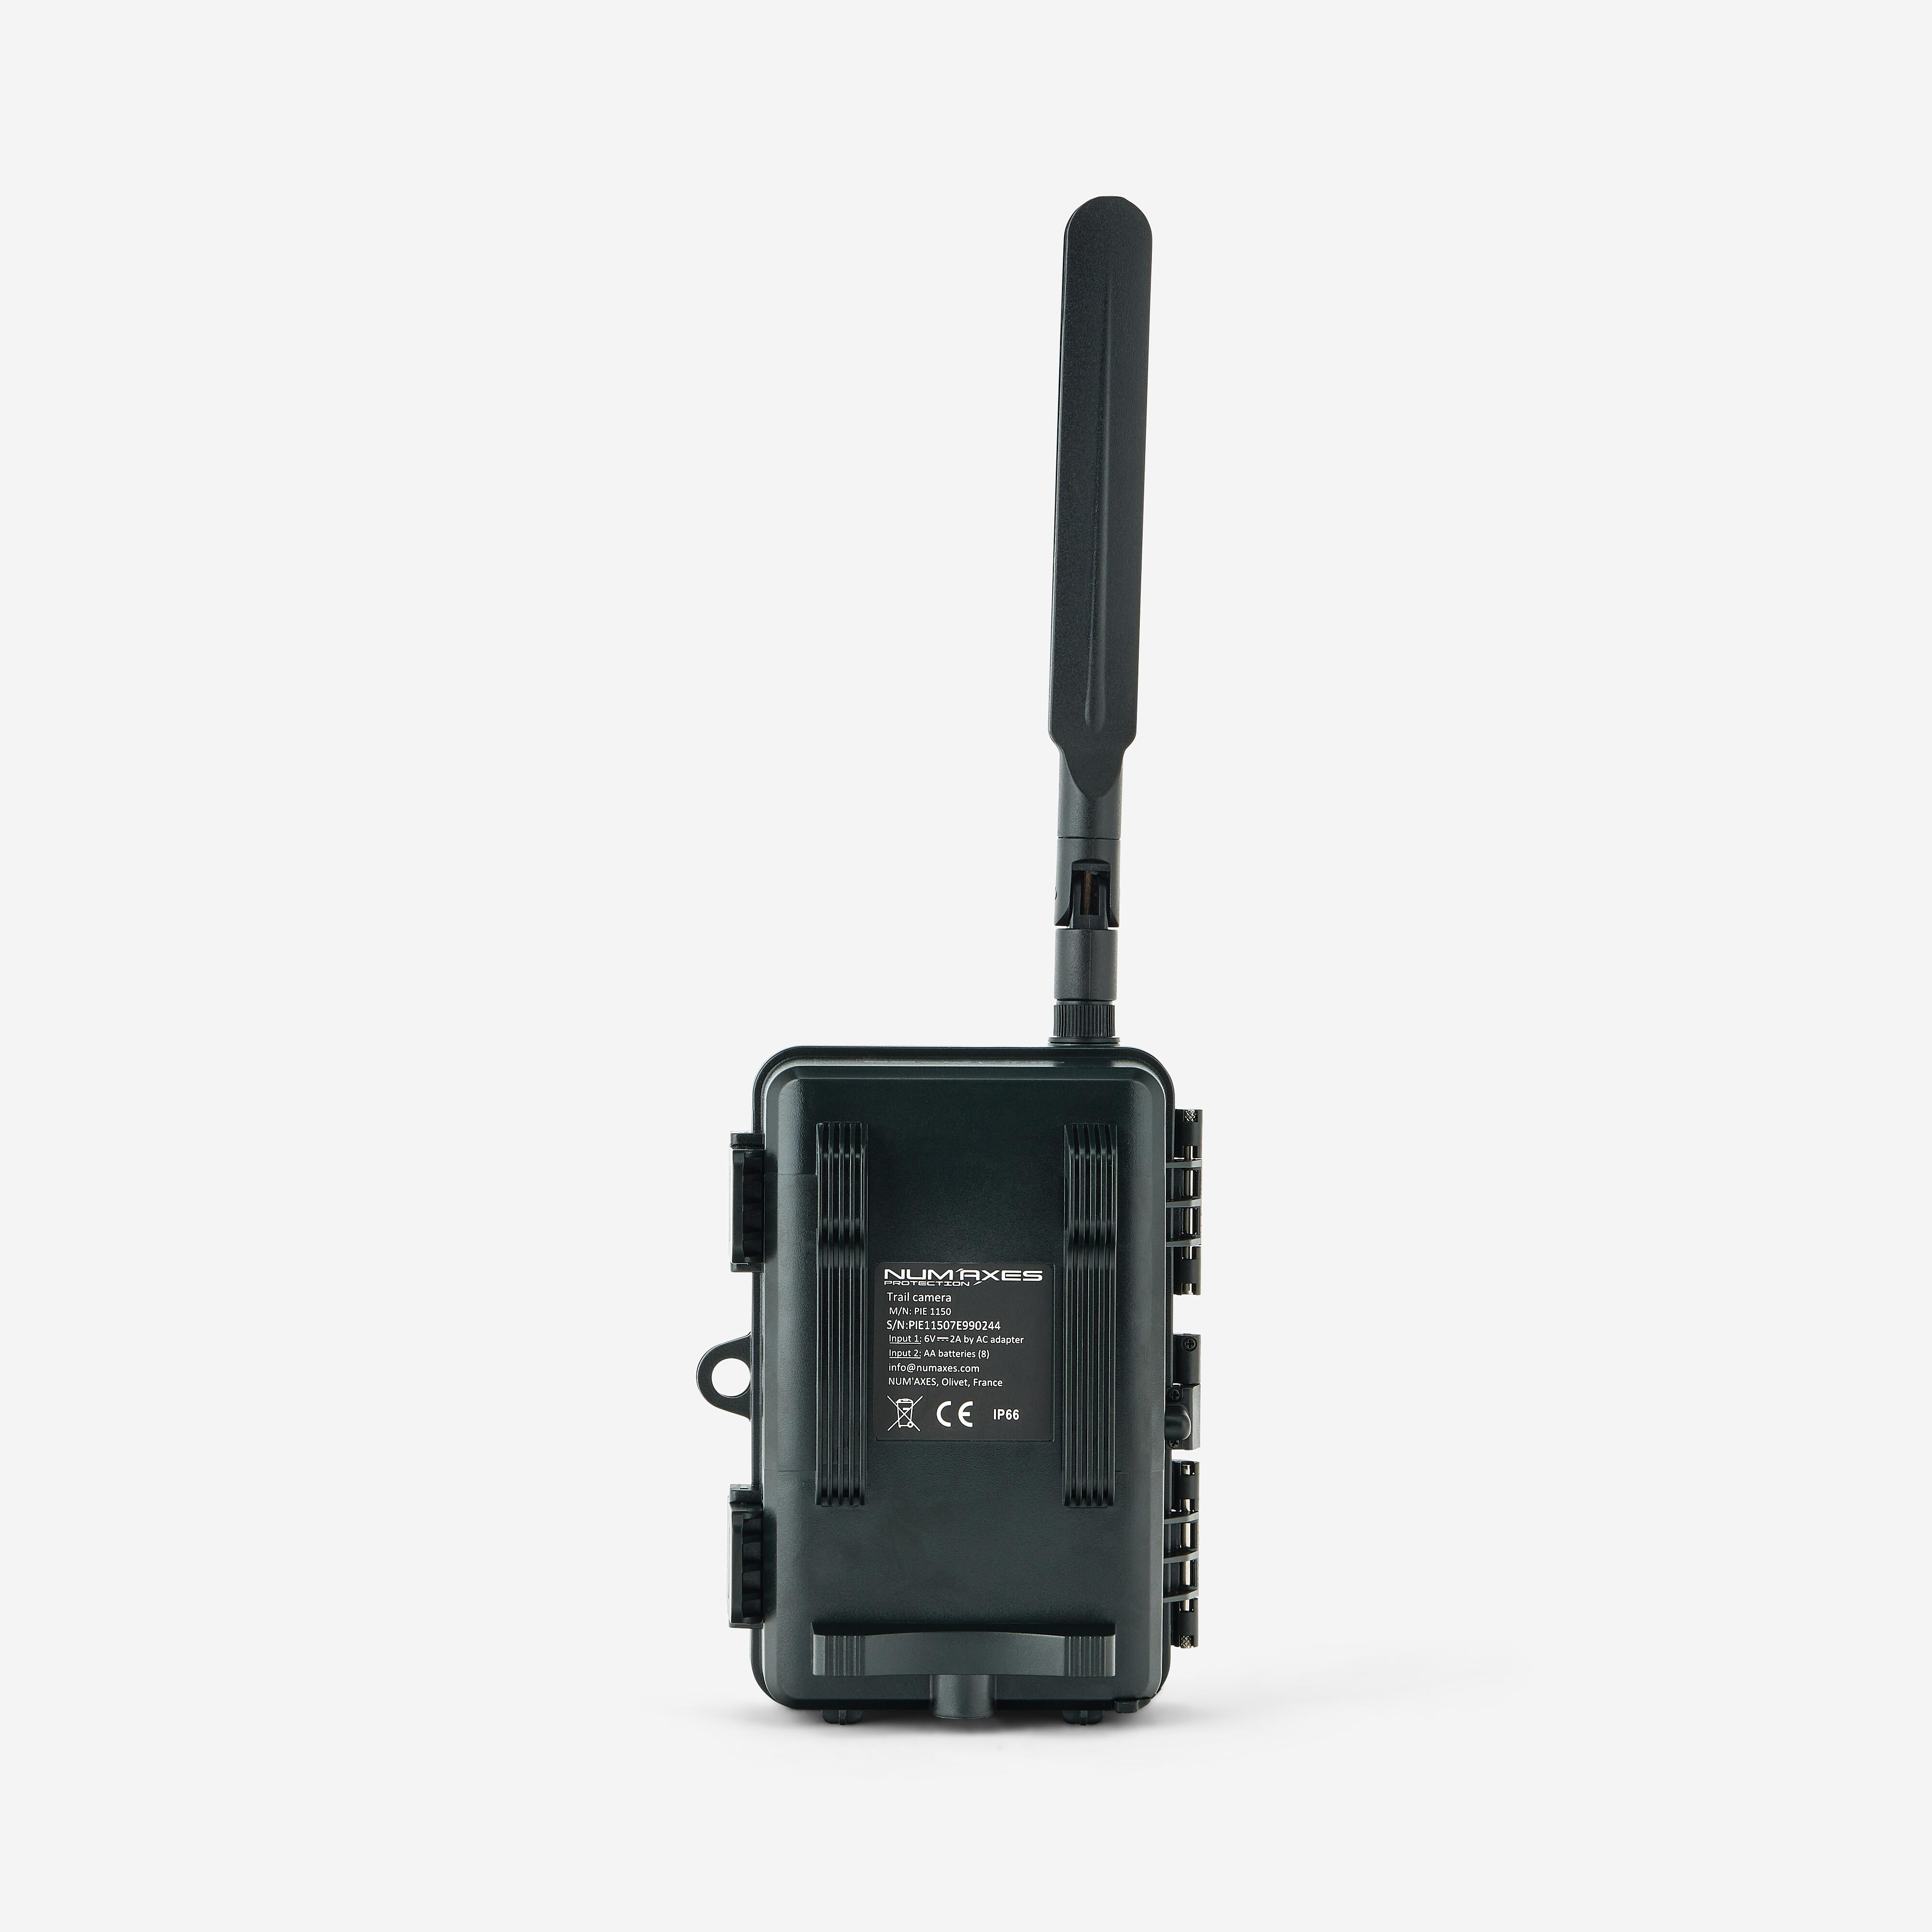
Waterproofing:IP66
Weight:290g (without batteries), 470g (with batteries)
Dimensions:135,5x103x70 mm
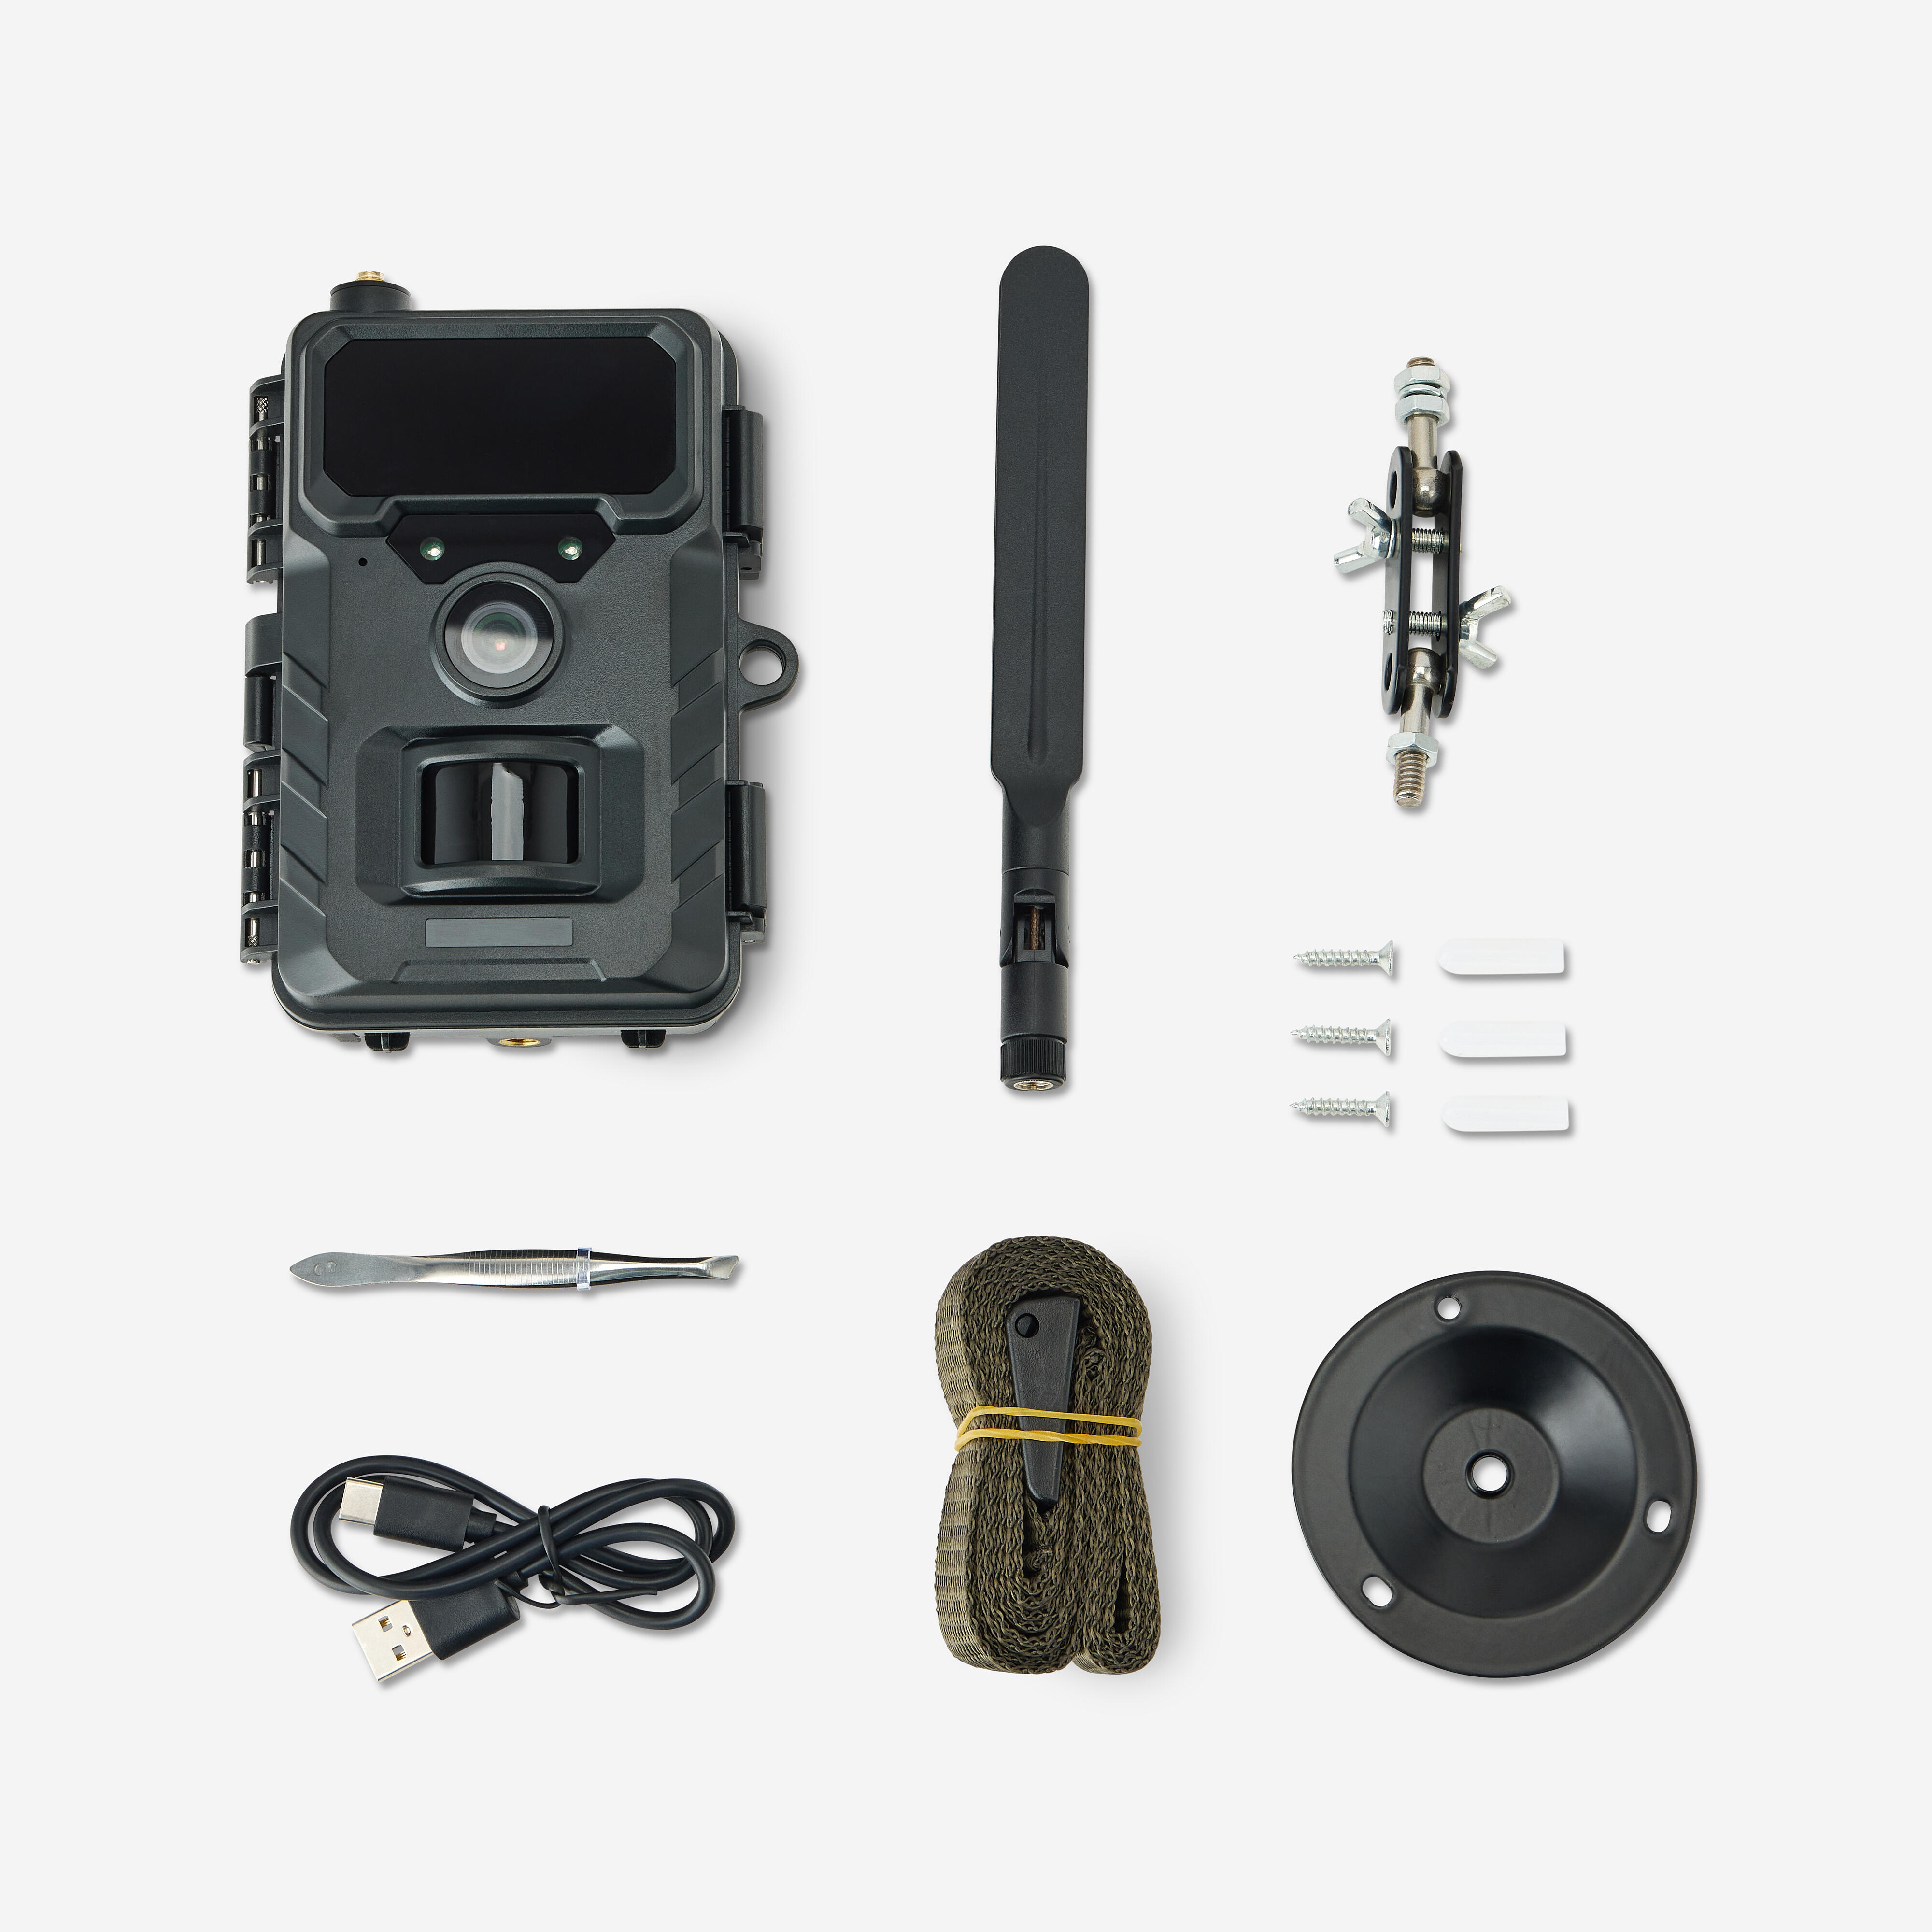
Pack contents
-1 camera
-1 NUM'AXES SIM card
-1 mobile phone antenna
-1 USB cable
-1 wall-mounting kit
-1 mounting strap
-1 user guide
Notes:
-the micro SD card (up to 128 GB) is not included;the 8 AA LR6 batteries are not included
- The device only works with the SIM card provided;all photo transfer packages are available on the Num'Axes website.
Setup and power supply
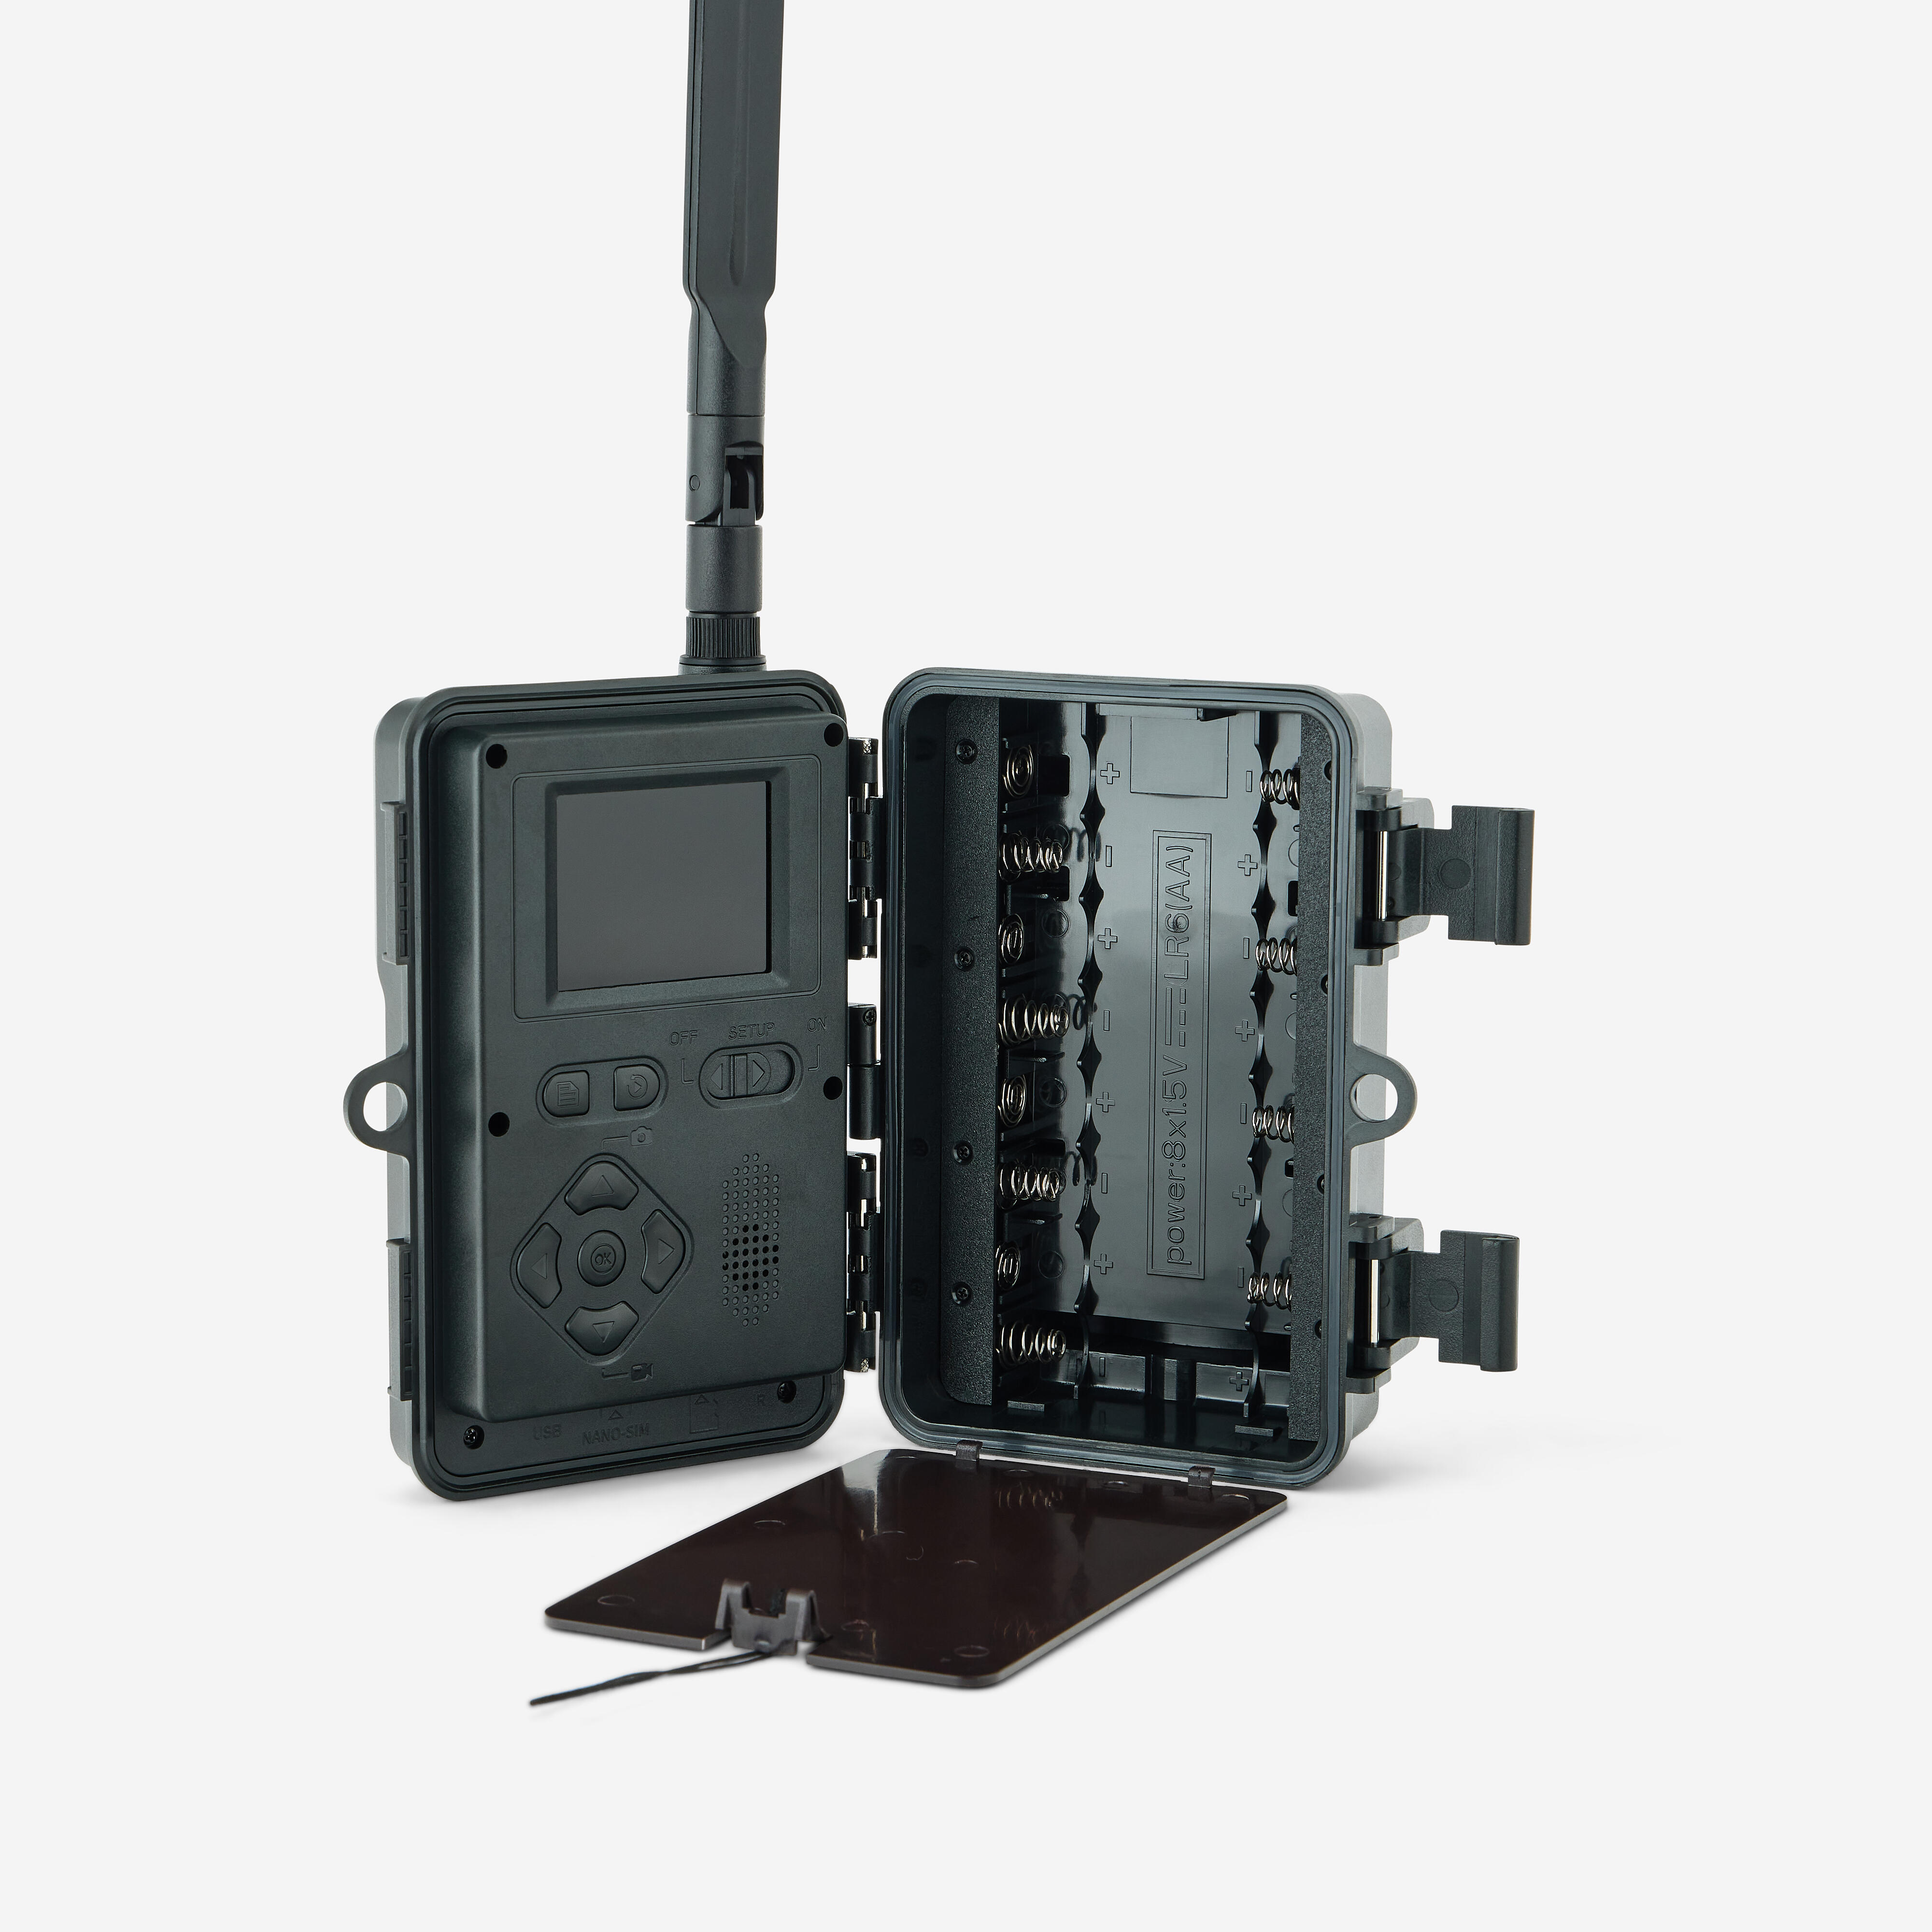
The device runs on 8 AA batteries.You can use alkaline, lithium or rechargeable Ni-MH batteries.Before inserting the batteries, the camera trap must be switched off (with the switch in the OFF position).Please ensure you observe the correct polarity and do not mix different types of batteries.If the camera is not used for a period of 3 months or more, it is recommended that you remove the batteries.Finally, please note that the device can also be powered by an external 6V/2A power supply
Inserting the memory card
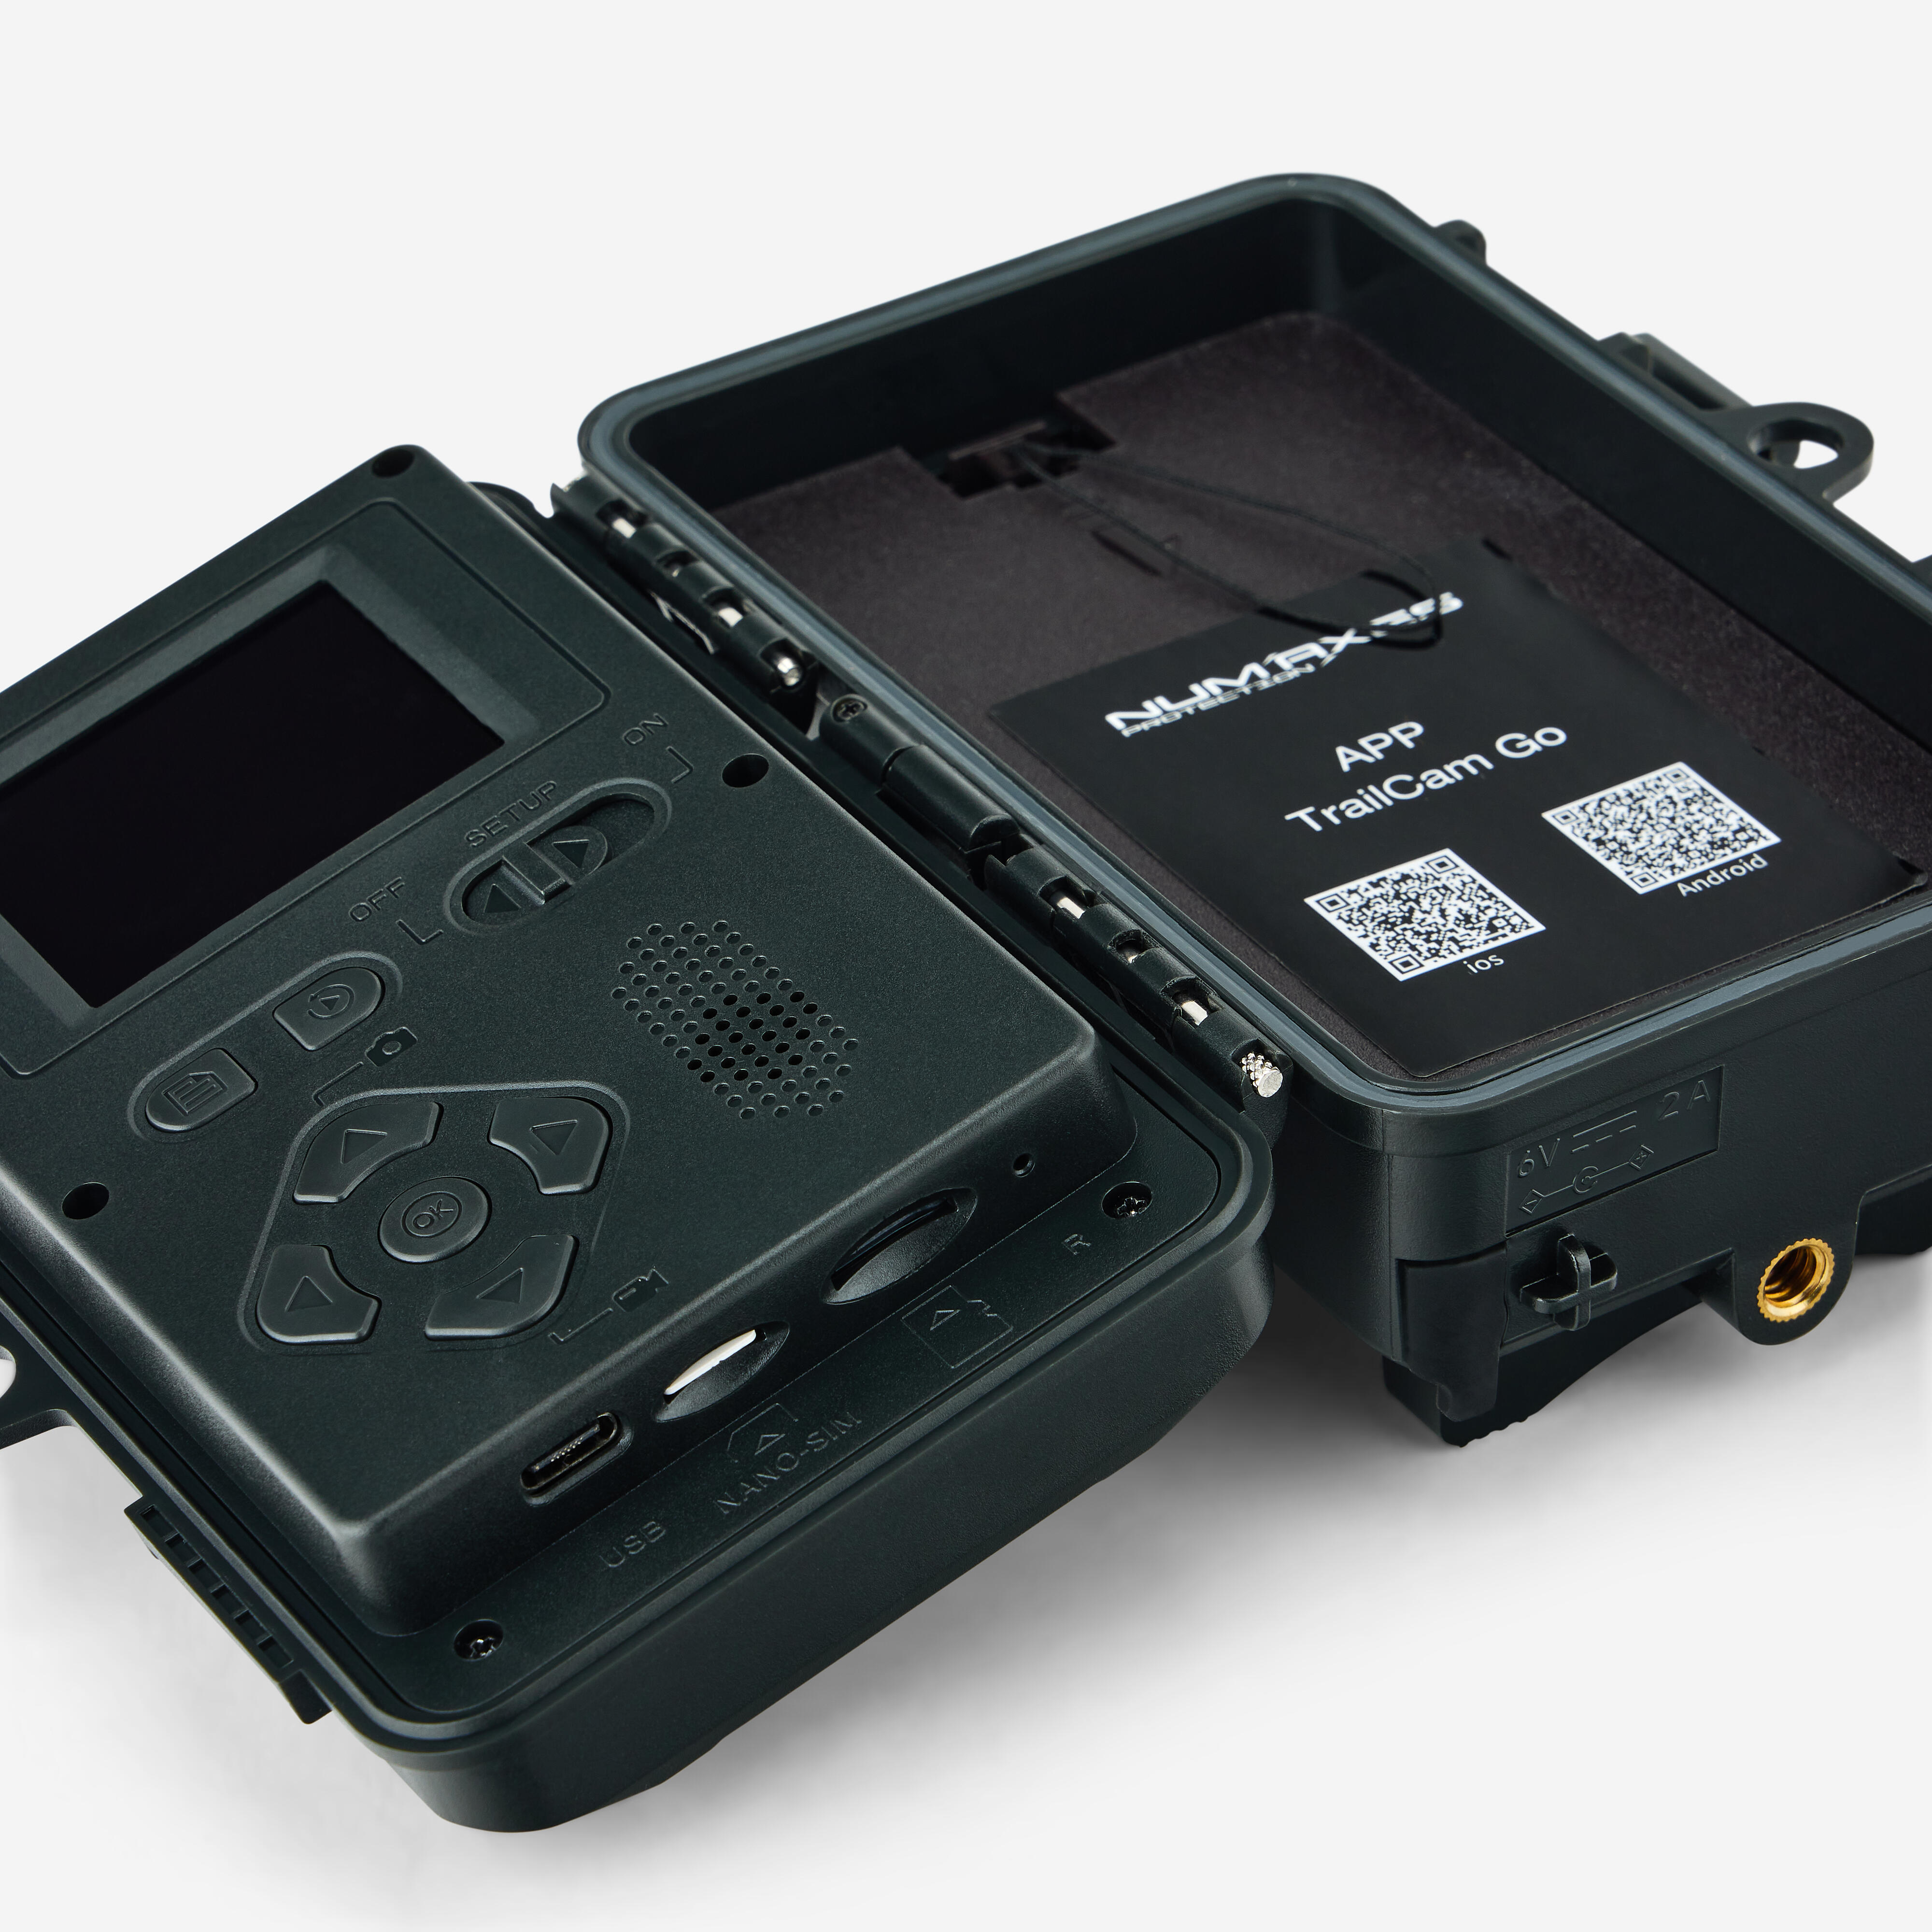
The camera does not have any internal memory.You will therefore need to insert a micro SD memory card with a capacity of between 4 GB and 128 GB (maximum), and a minimum speed class of 10, for the device to work.Before inserting or removing the memory card, the camera must be switched off (with the power switch in the OFF position).We recommend that you format the memory card in the wildlife camera trap before using it for the first time, especially if the card has been used in other devices.
Setting up the SIM card and mobile app
Before inserting or removing the SIM card (Nano SIM format), the camera must be switched off (switch in the OFF position).
The wildlife camera trap works with a free mobile app available for Android and iOS.This app (TrailCam Go) allows you to adjust all the camera settings and view the photos sent by the camera on your smartphone.
Operation (part 1 of 2)
Start-up:
- to switch on the camera, set the switch to the ON position;the red power indicator light on the front of the camera will flash and the LCD screen will count down from 5 seconds;this interval allows enough time to close the camera lid and then leave the monitored area.Please note:the camera is supplied pre-programmed with the factory default settings
Shutdown:
-Slide the switch to the OFF position to switch the camera off.
Operation (part 2 of 2)
Please note that even when switched off, the camera continues to consume a very small amount of power.Therefore, it is recommended that you remove the batteries if you are not going to use the product for an extended period.OFF mode is the safety mode that allows you to perform a range of tasks, such as replacing the memory card, SIM card and batteries, or moving the camera.
Installing the product on site (part 1 of 2)
Install the camera facing north or south.Do not point it towards the east or west, as sunrise and sunset can cause unwanted shutter releases and result in overexposed images.To monitor a game trail, point the camera along the length of the game trail rather than at right angles to it (this allows you to see several animals at once if they are moving in single file).
Installing the product on site (part 2 of 2)
Clear away any branches or weeds in front of the camera.In windy conditions or high temperatures, they could cause false triggers.Also check the battery charge level before installing the device.Please make sure the memory card is properly inserted and that there is enough free space on it.Make sure you have also inserted the SIM card properly, then switch the power switch to the ON position before you leave.