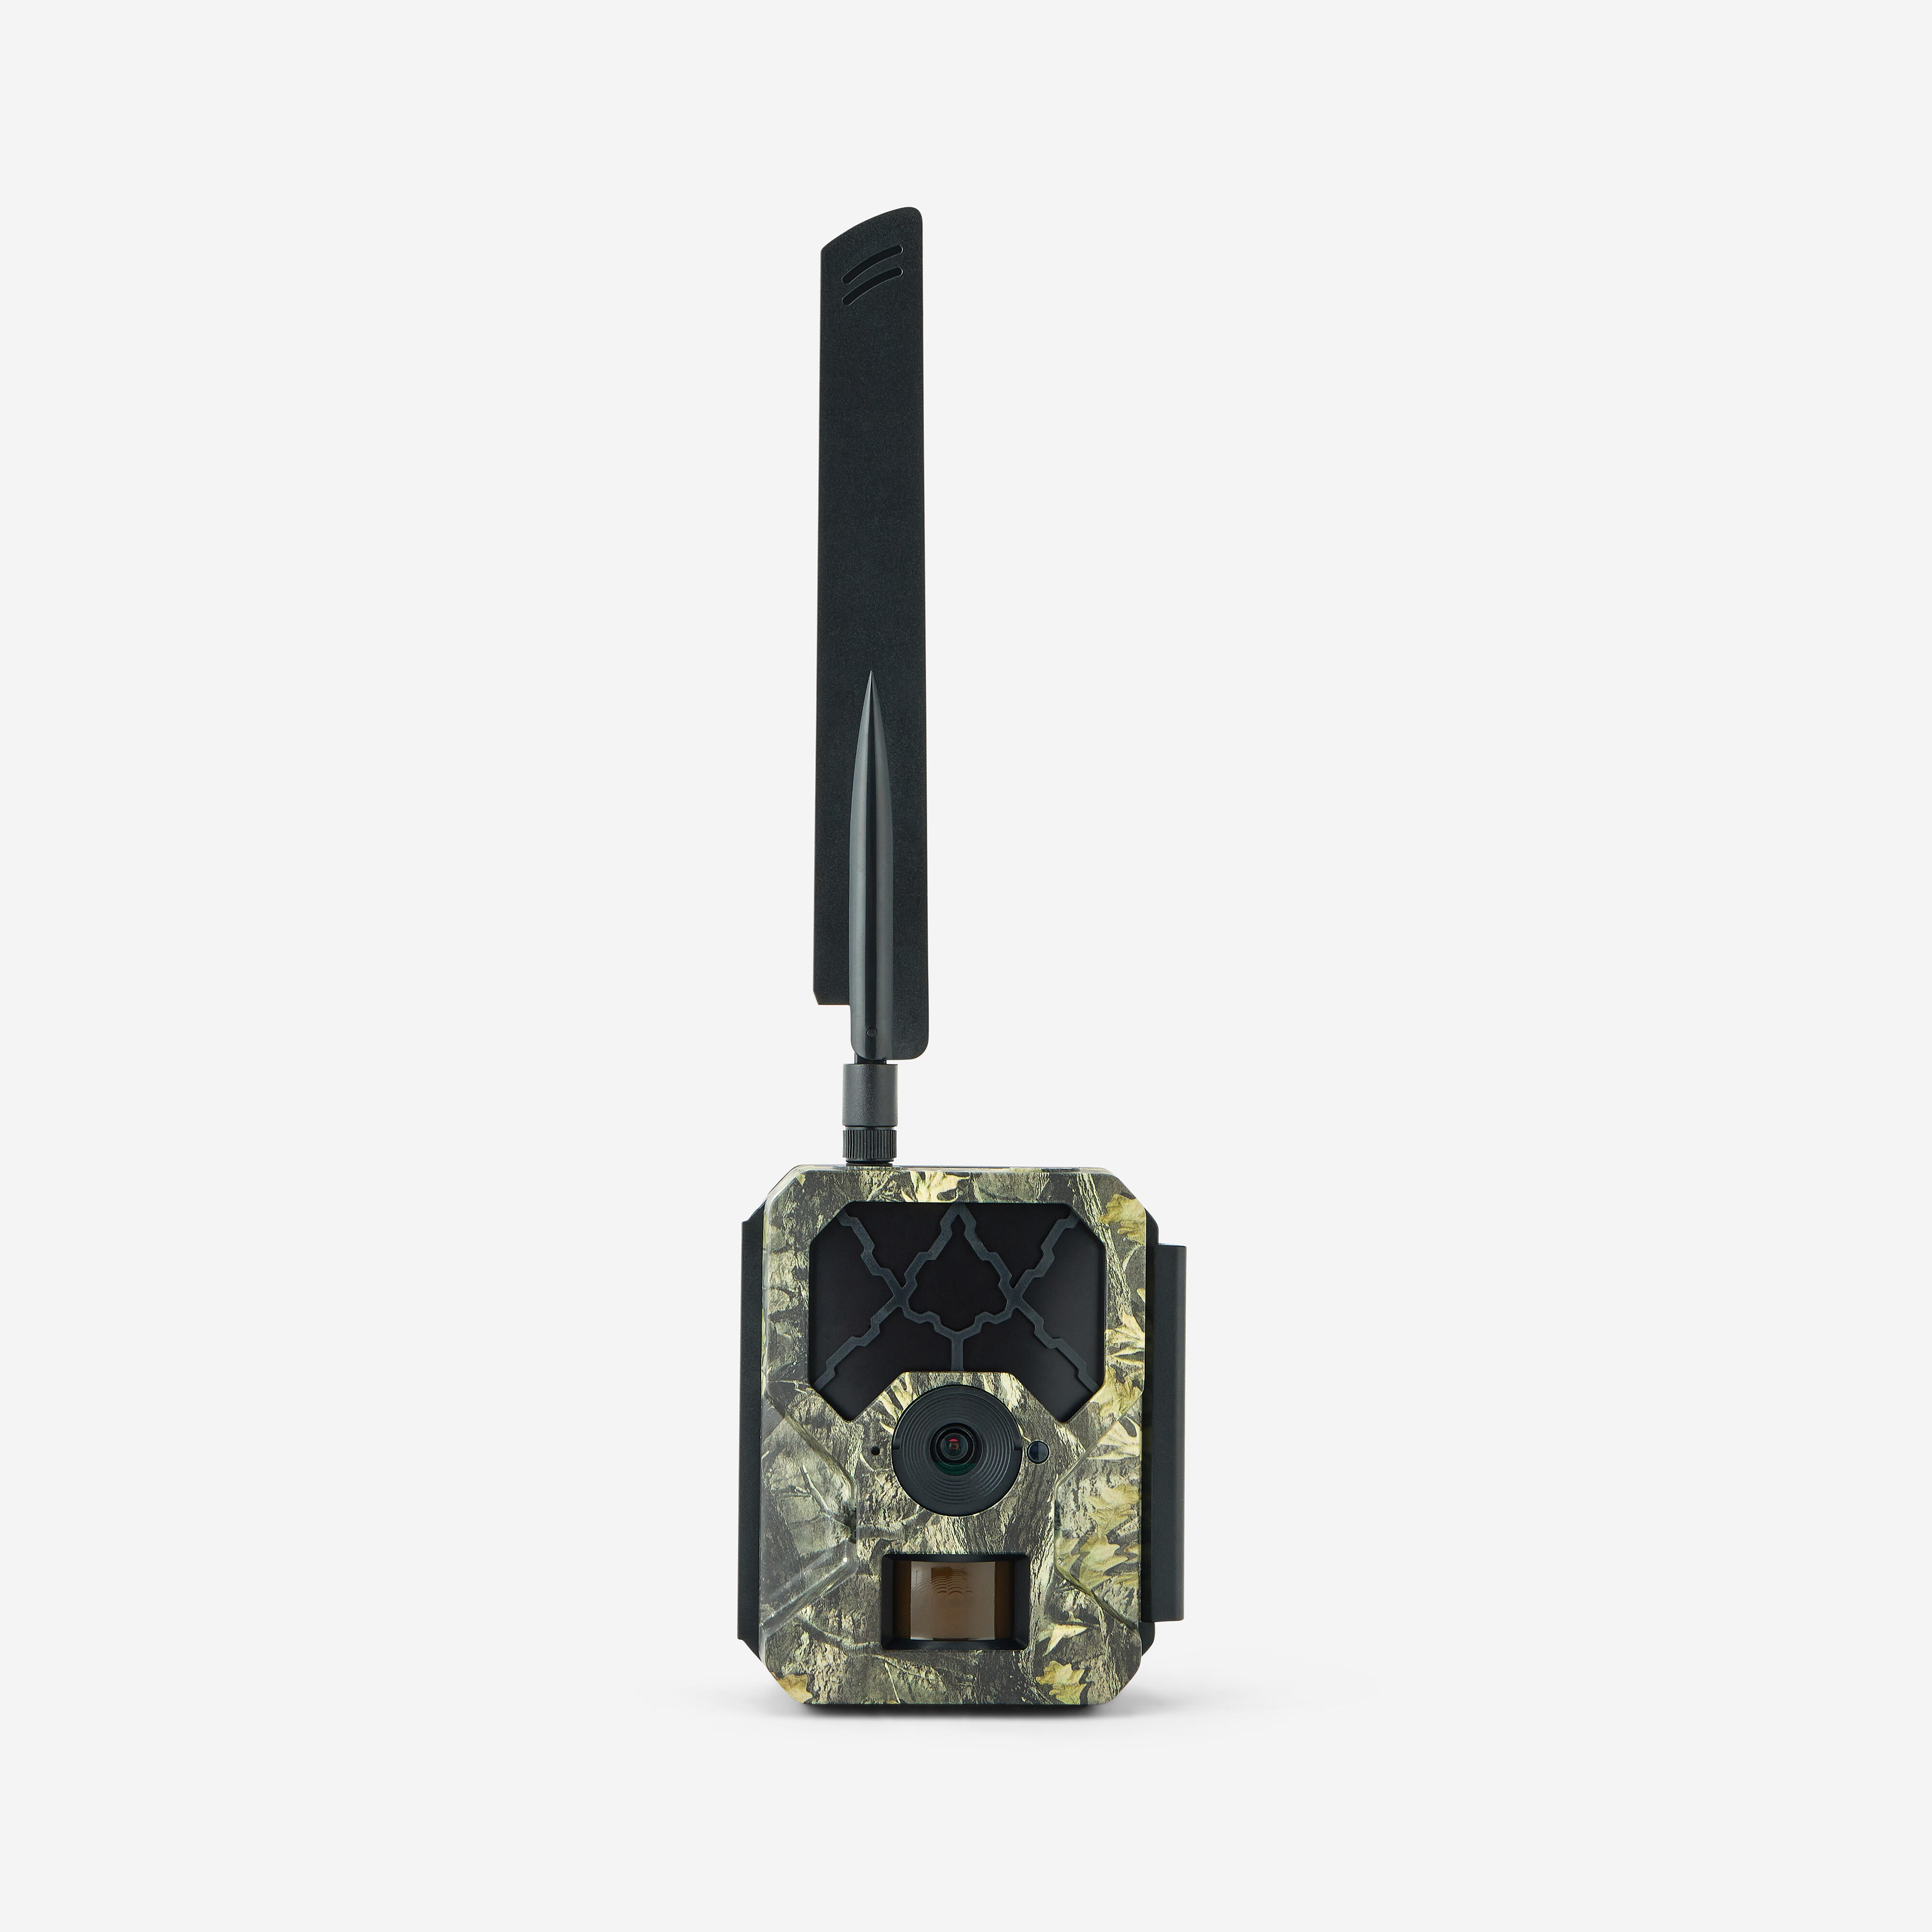
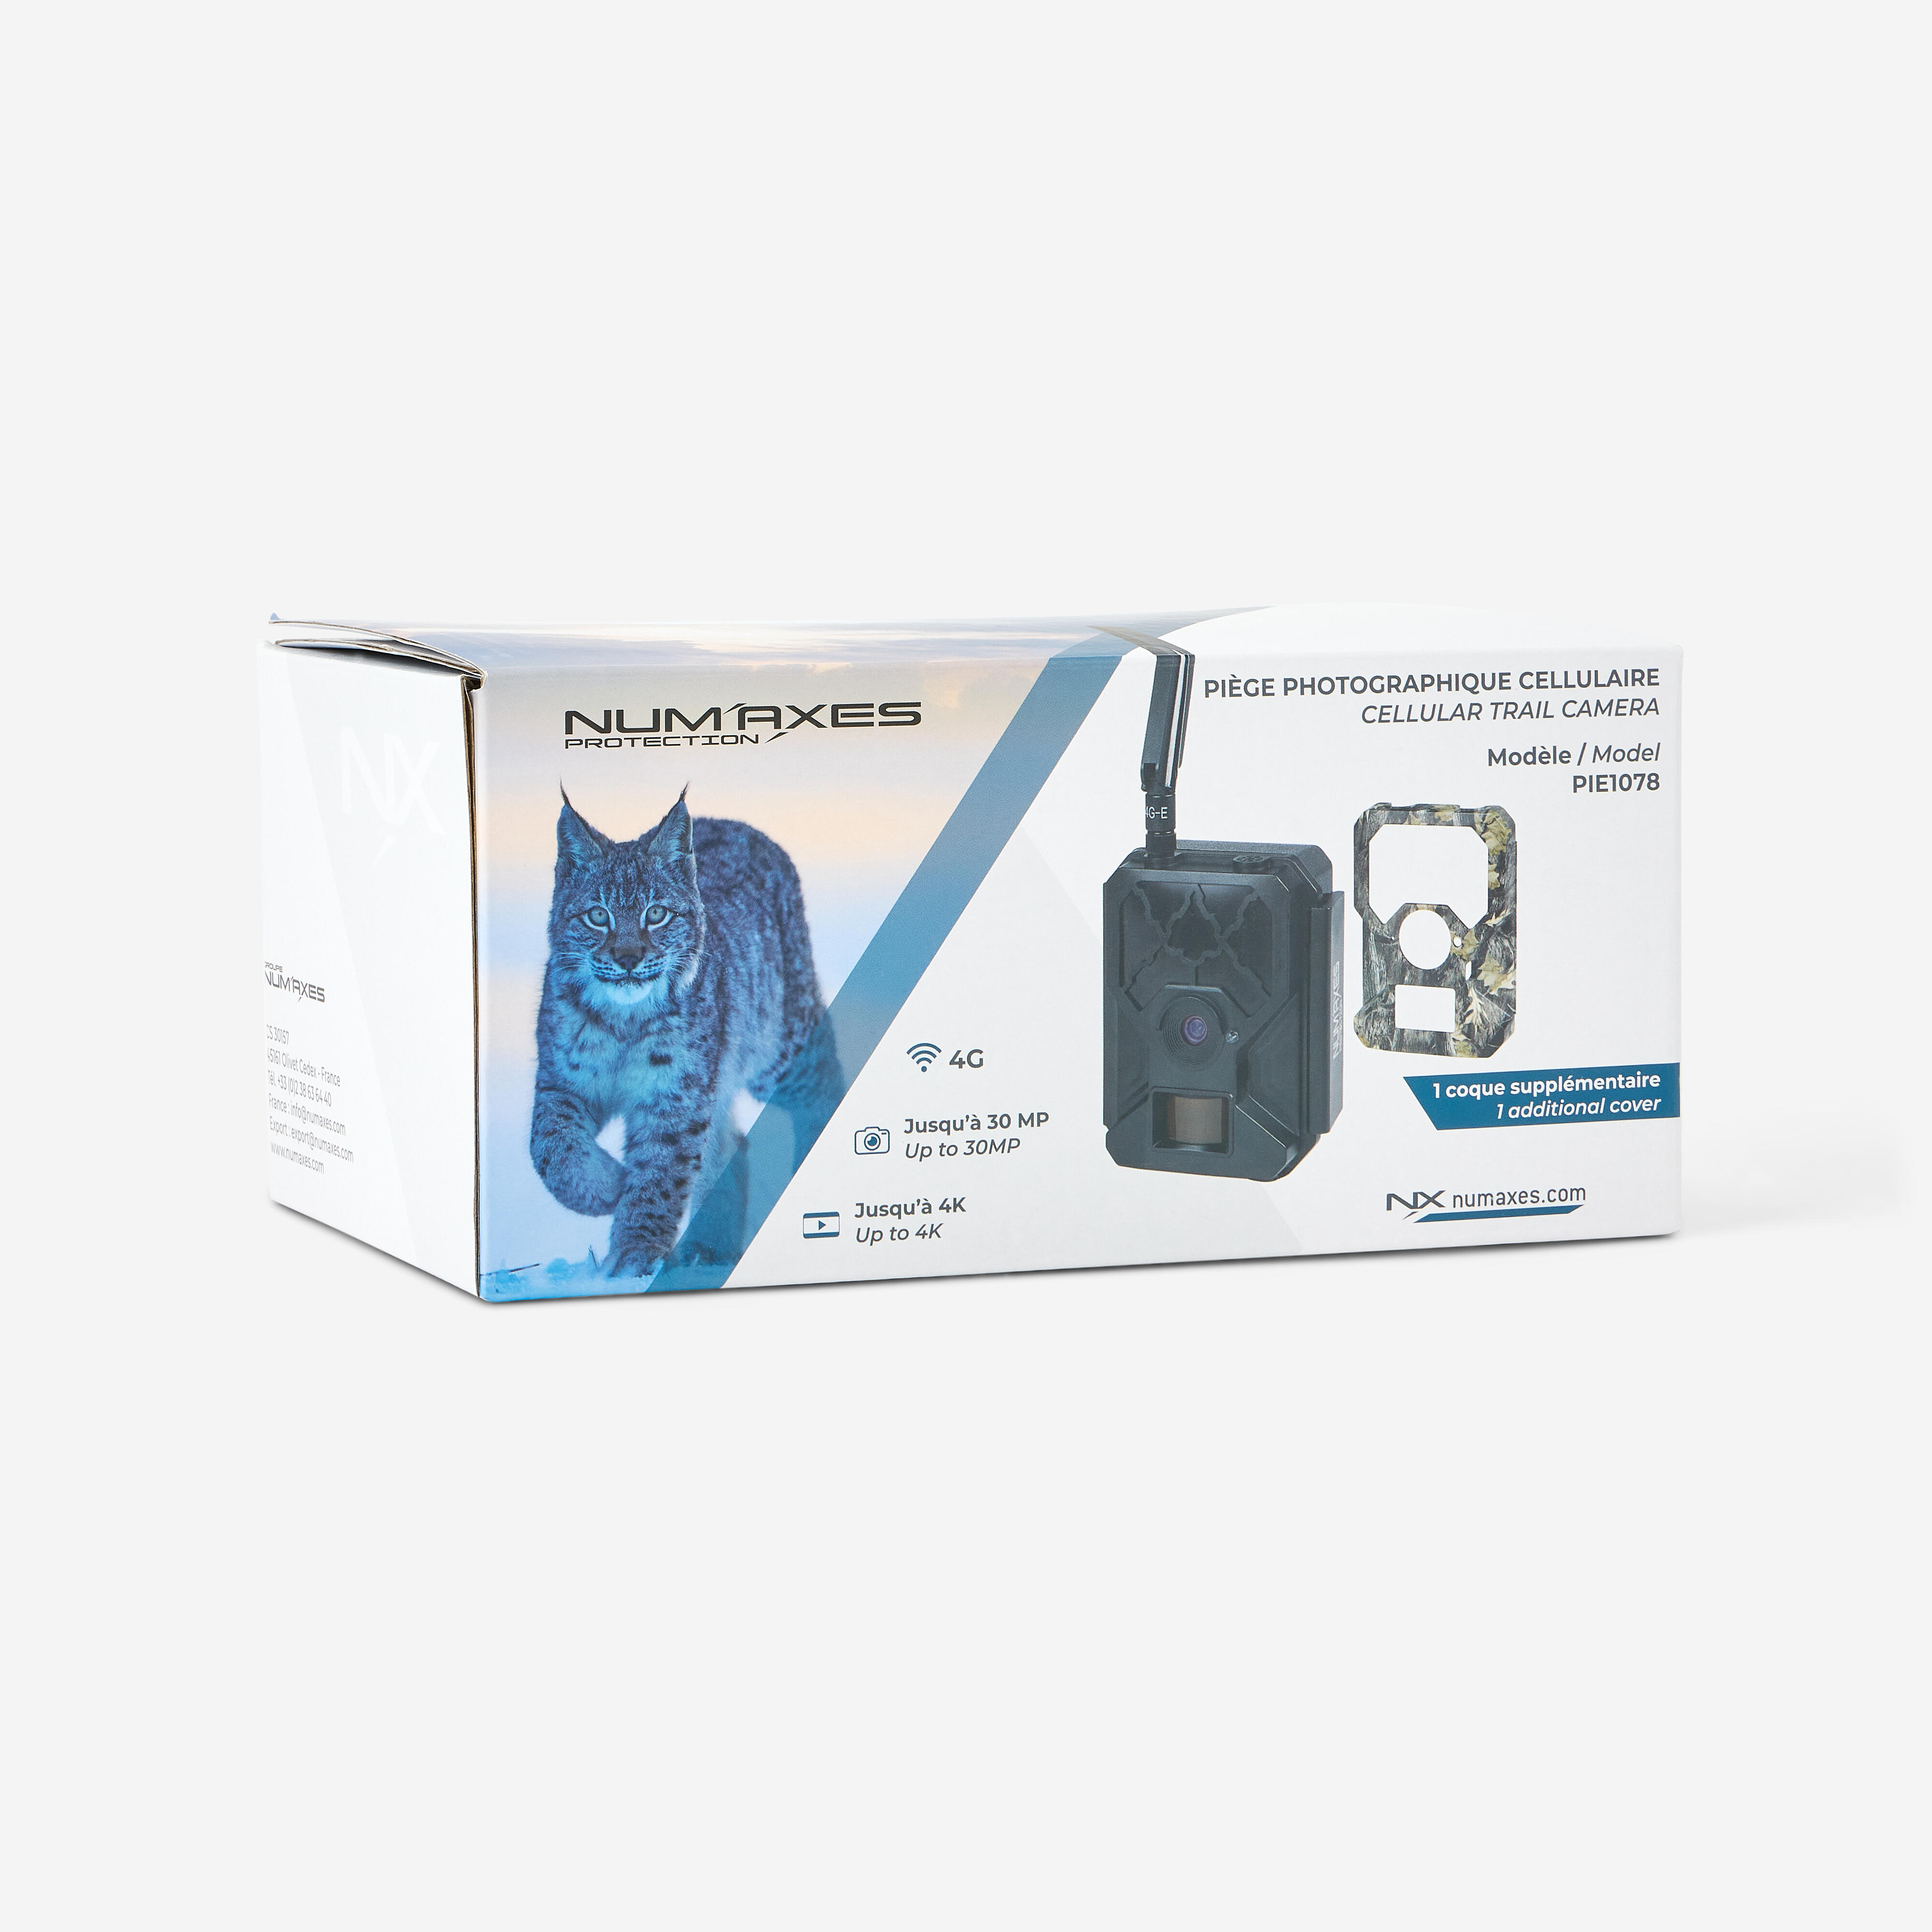
Technical characteristics
Trigger time: 0.1 seconds
Field of vision: 53°
Detection angle: 60°
Infrared flash: 6 invisible infrared LEDs (wavelength 940 nm)
PIR signal range: approximately 20 metres
Operation: day/night
Image sensor: 5-megapixel colour CMOS
Photo resolution: up to 30 MP
Video resolution: up to 4K
Networks: works with 2G, 3G and 4G
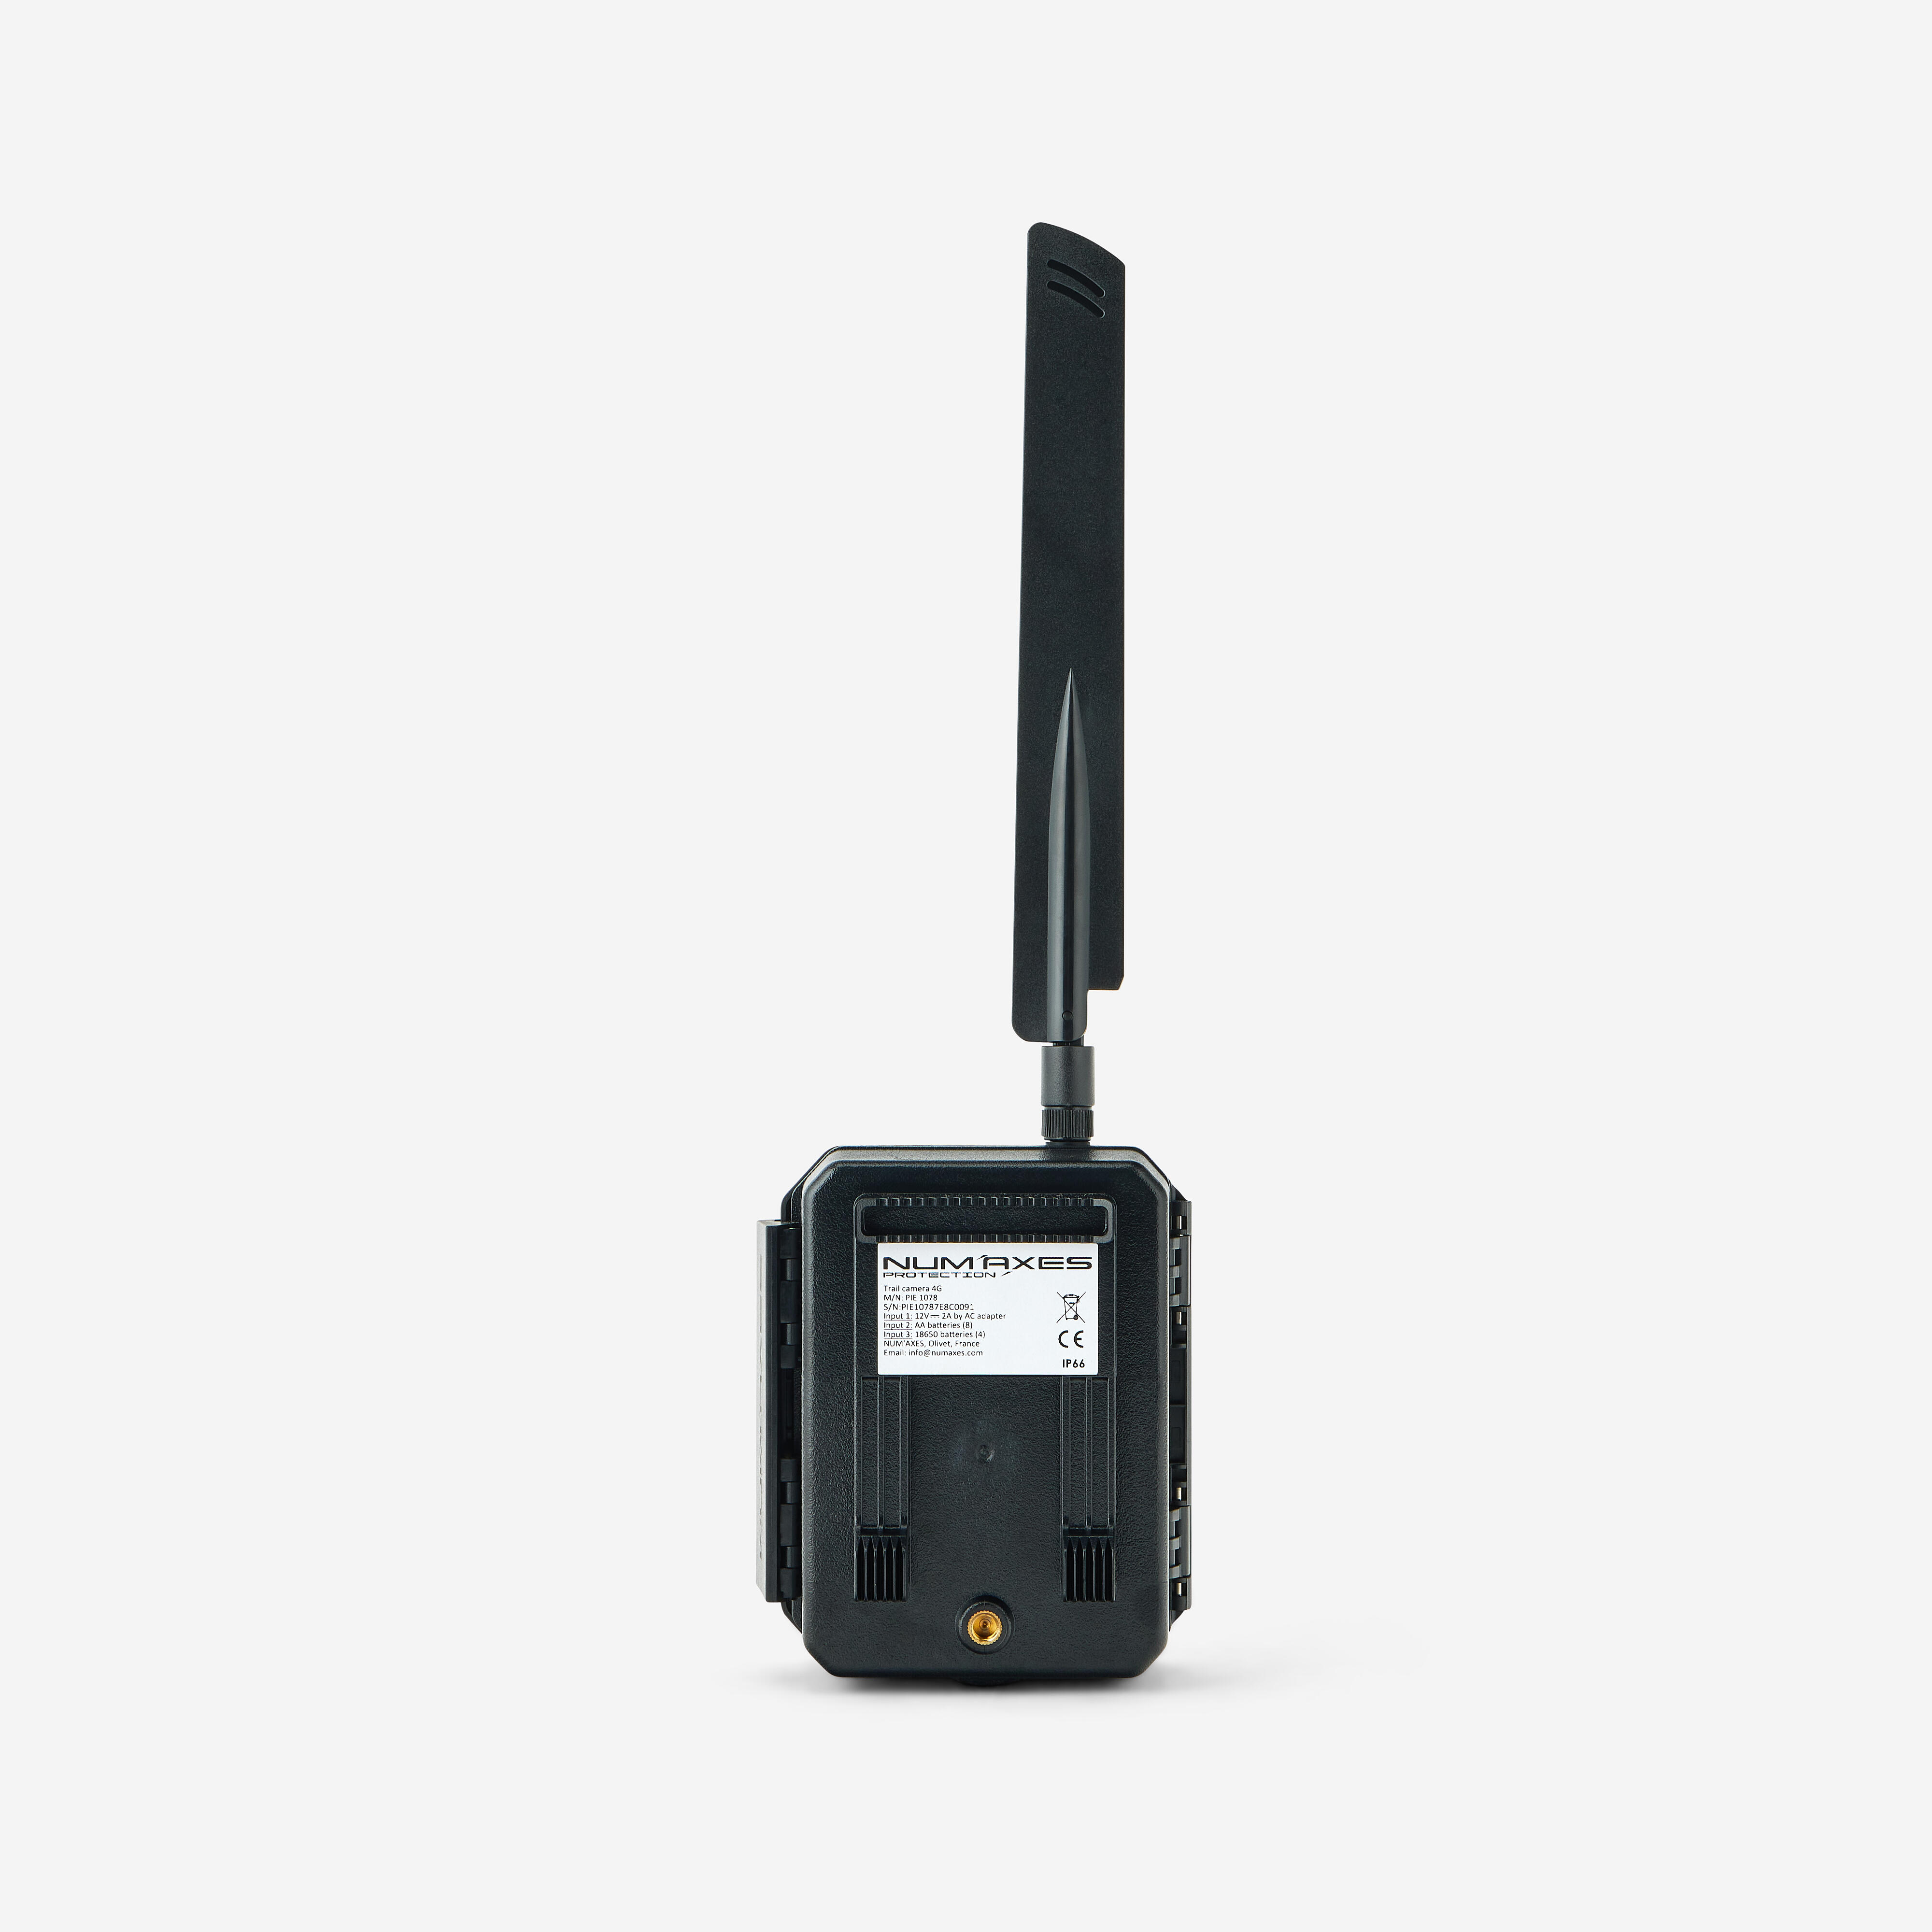
Waterproofing: IP66
Weight: 440 g (without batteries), 623 (with batteries)
Dimensions: 127,5x103x79 mm
Pack contents
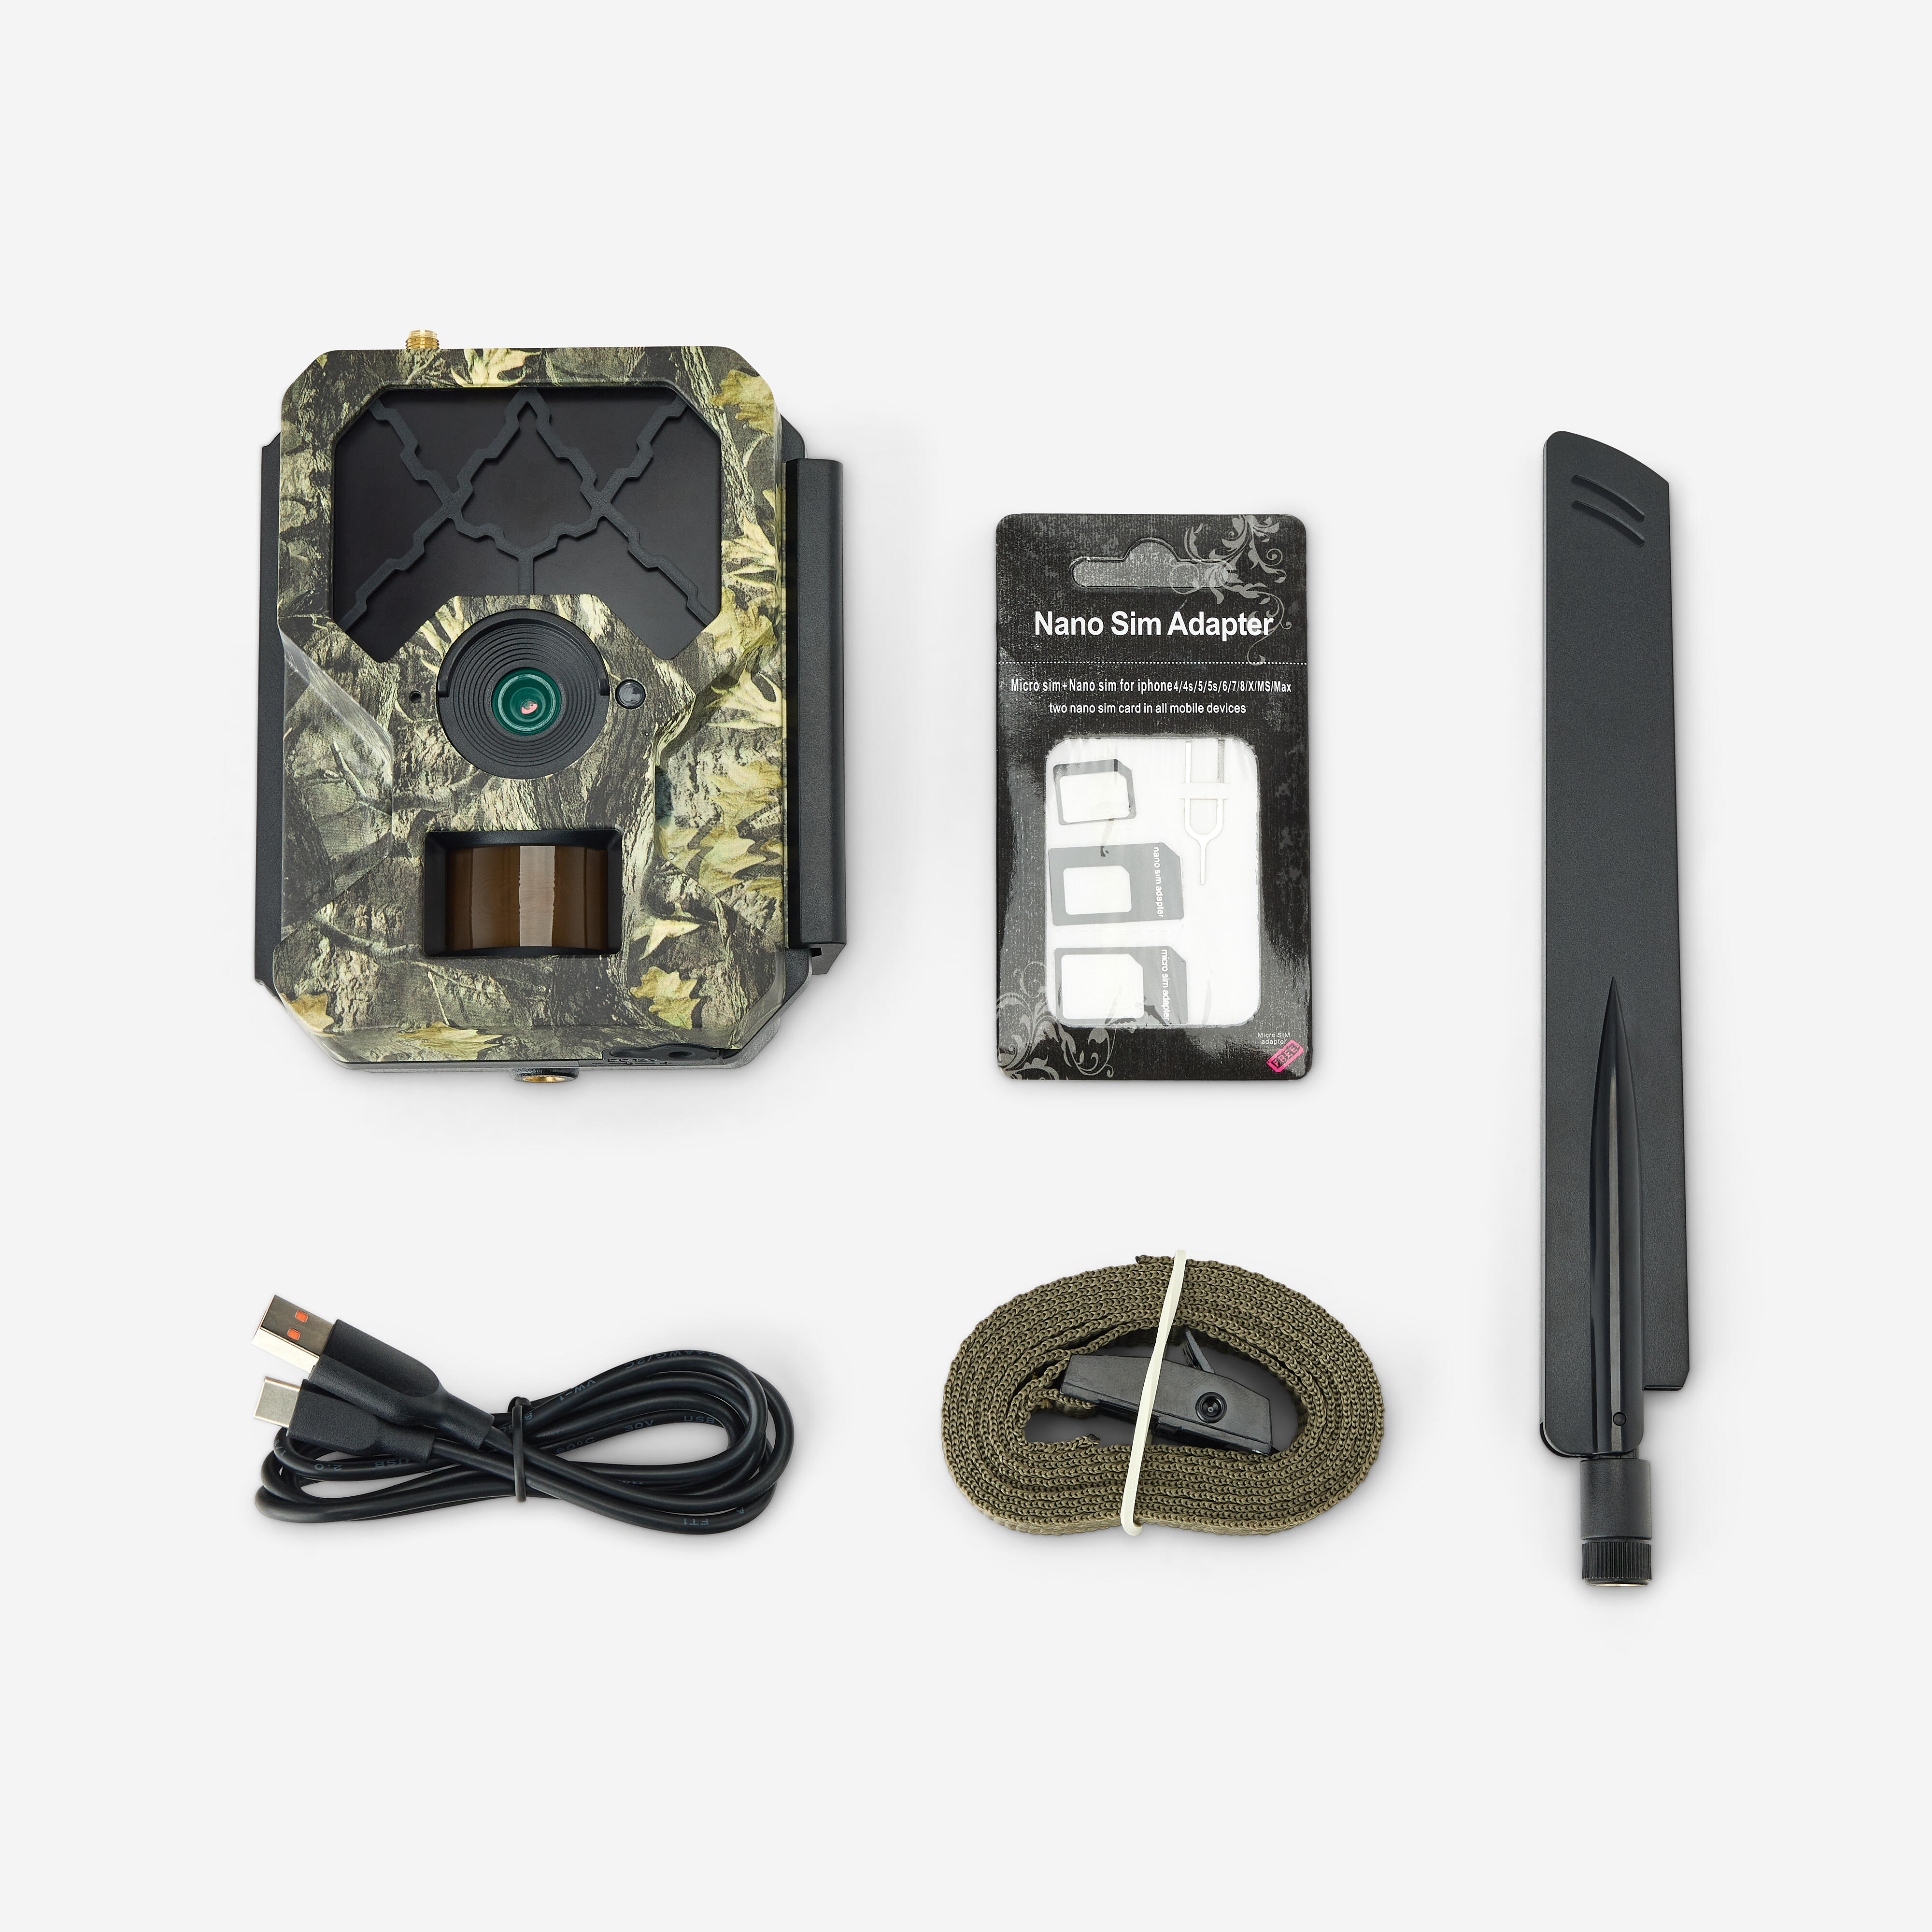
-1 camera
-1 4G antenna
-1 USB cable
-1 spare case
-1 mounting strap
-1 user guide
Notes:
-the SIM card is not included, nor is the SD card (up to 256 GB) or the 8 AA LR6 batteries or the 4 18650 batteries
Power source
The camera can be used with:
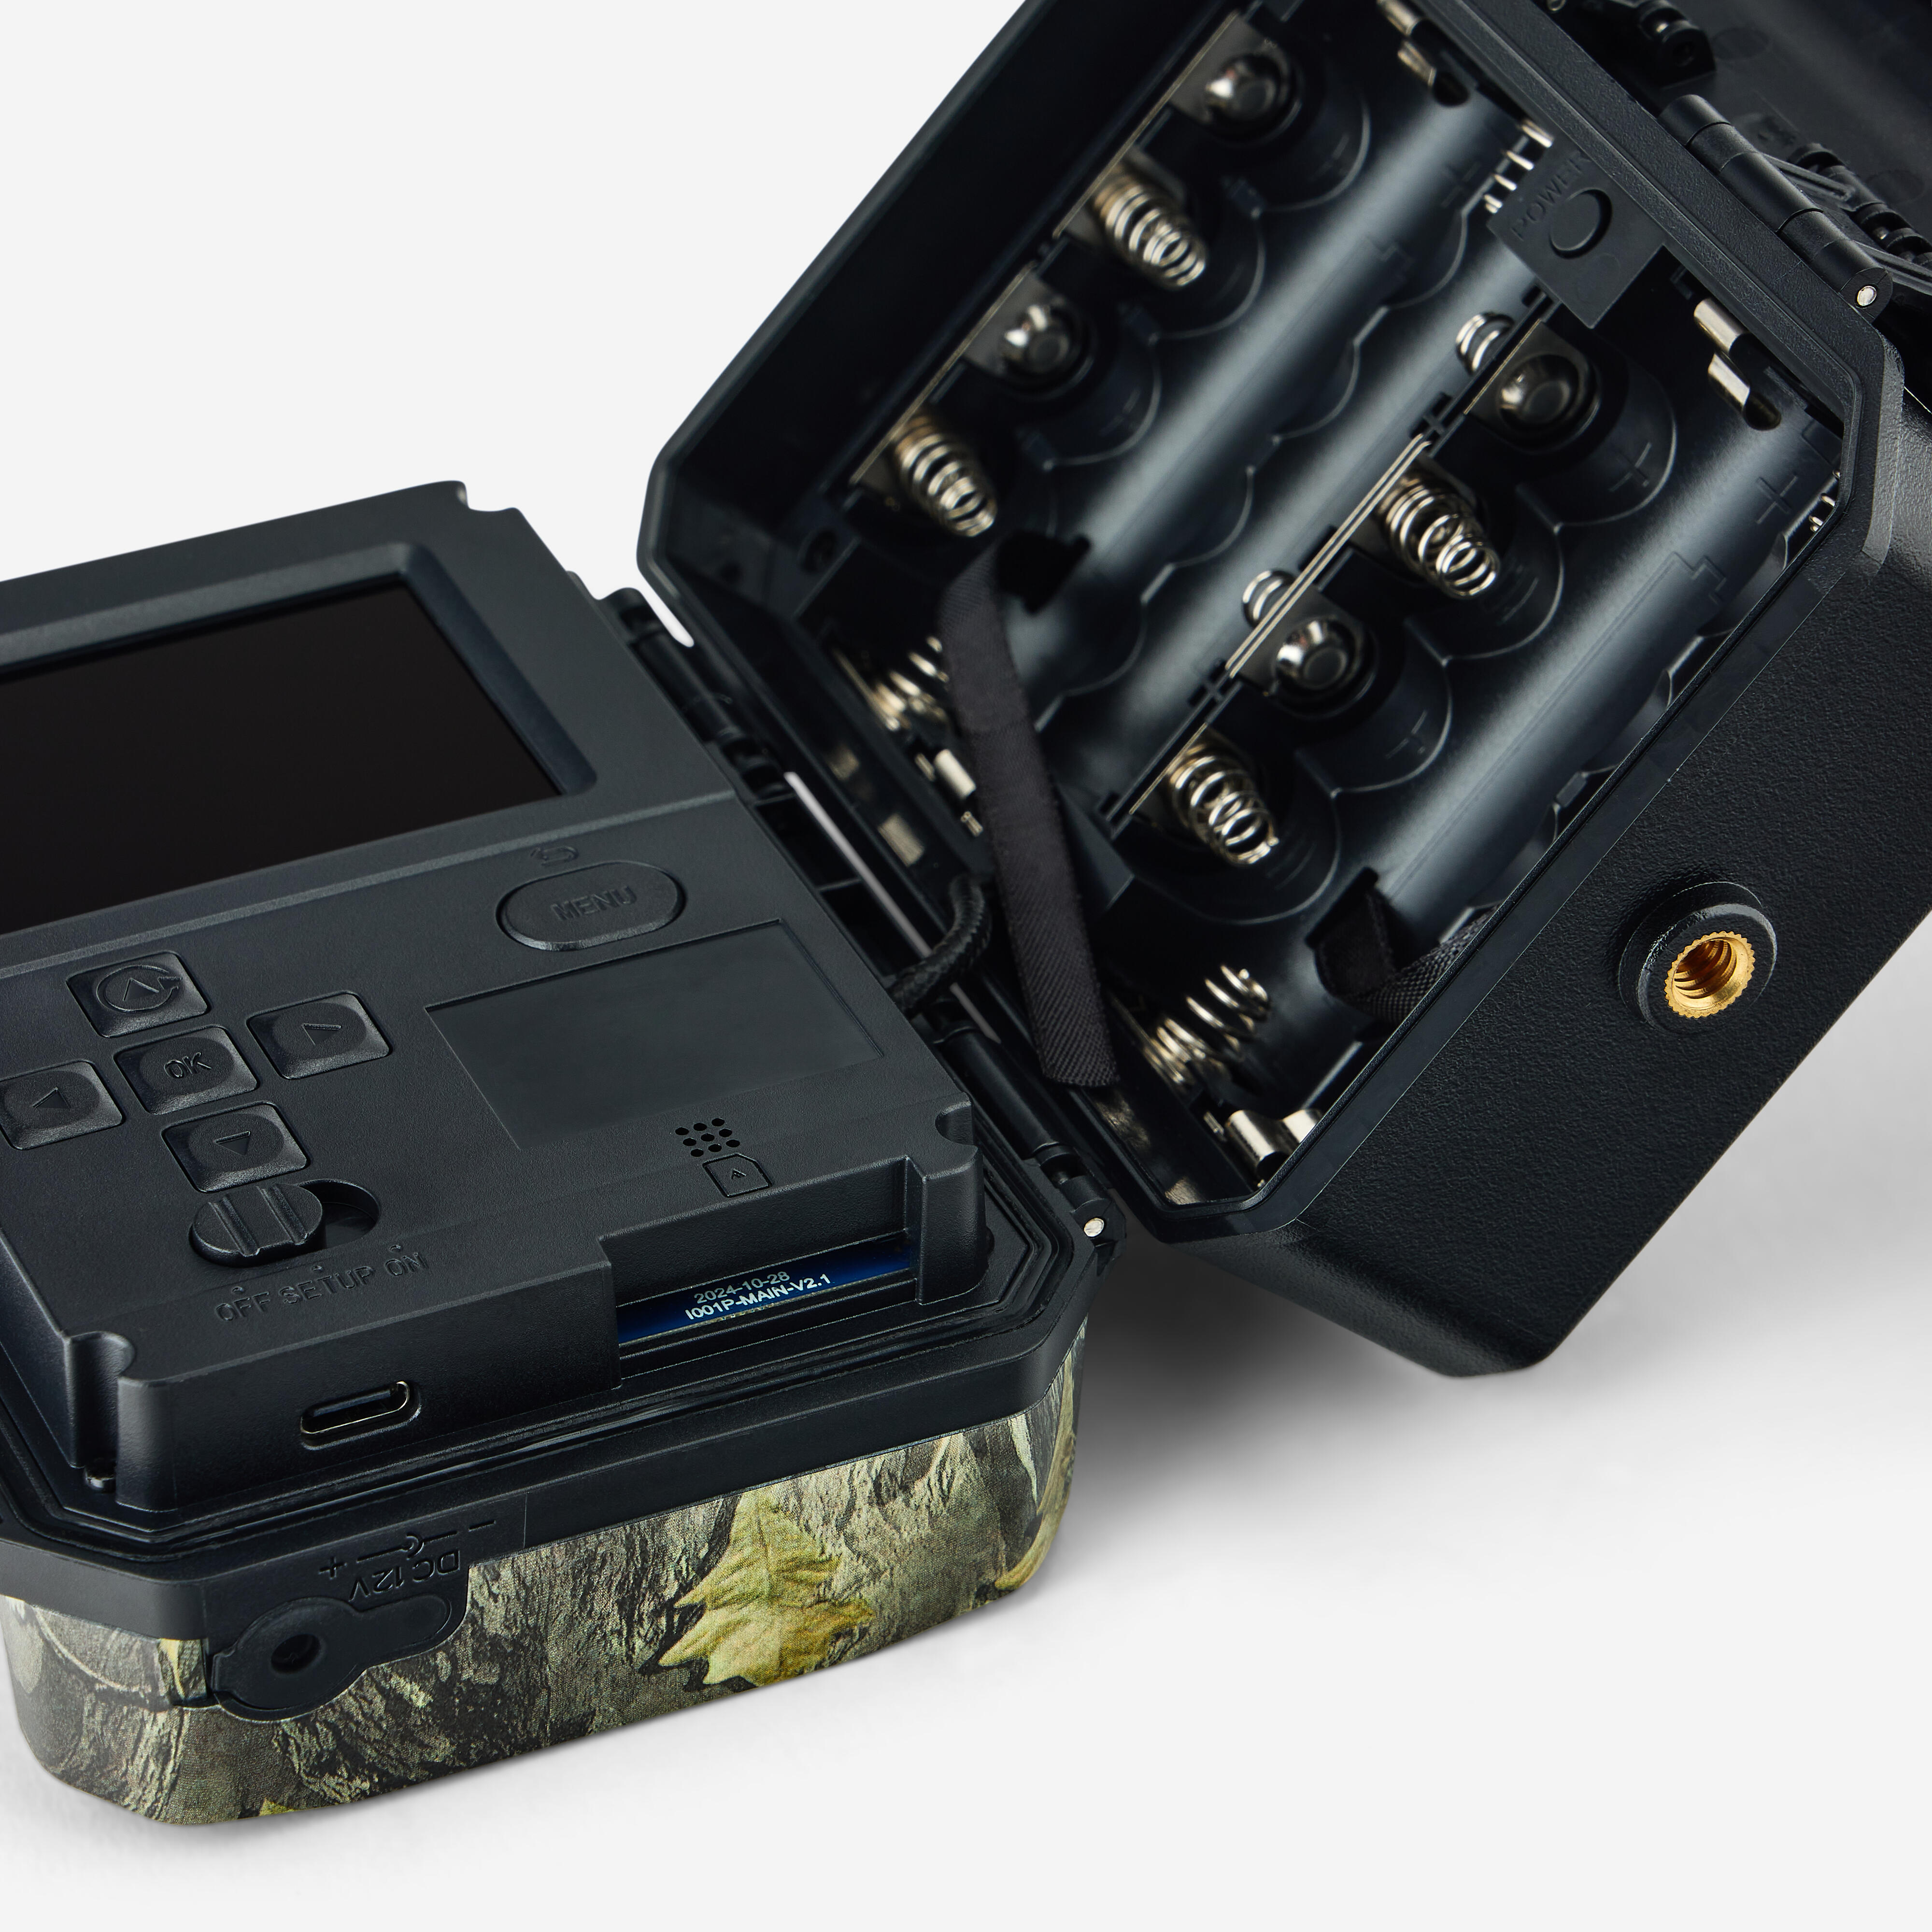
- 8 x 1.5 V AA batteries; you can use alkaline batteries or rechargeable Ni-MH batteries
OR
- 4 rechargeable 3.7 V 18650 Li-ion batteries with a protection circuit; these batteries offer the longest battery life
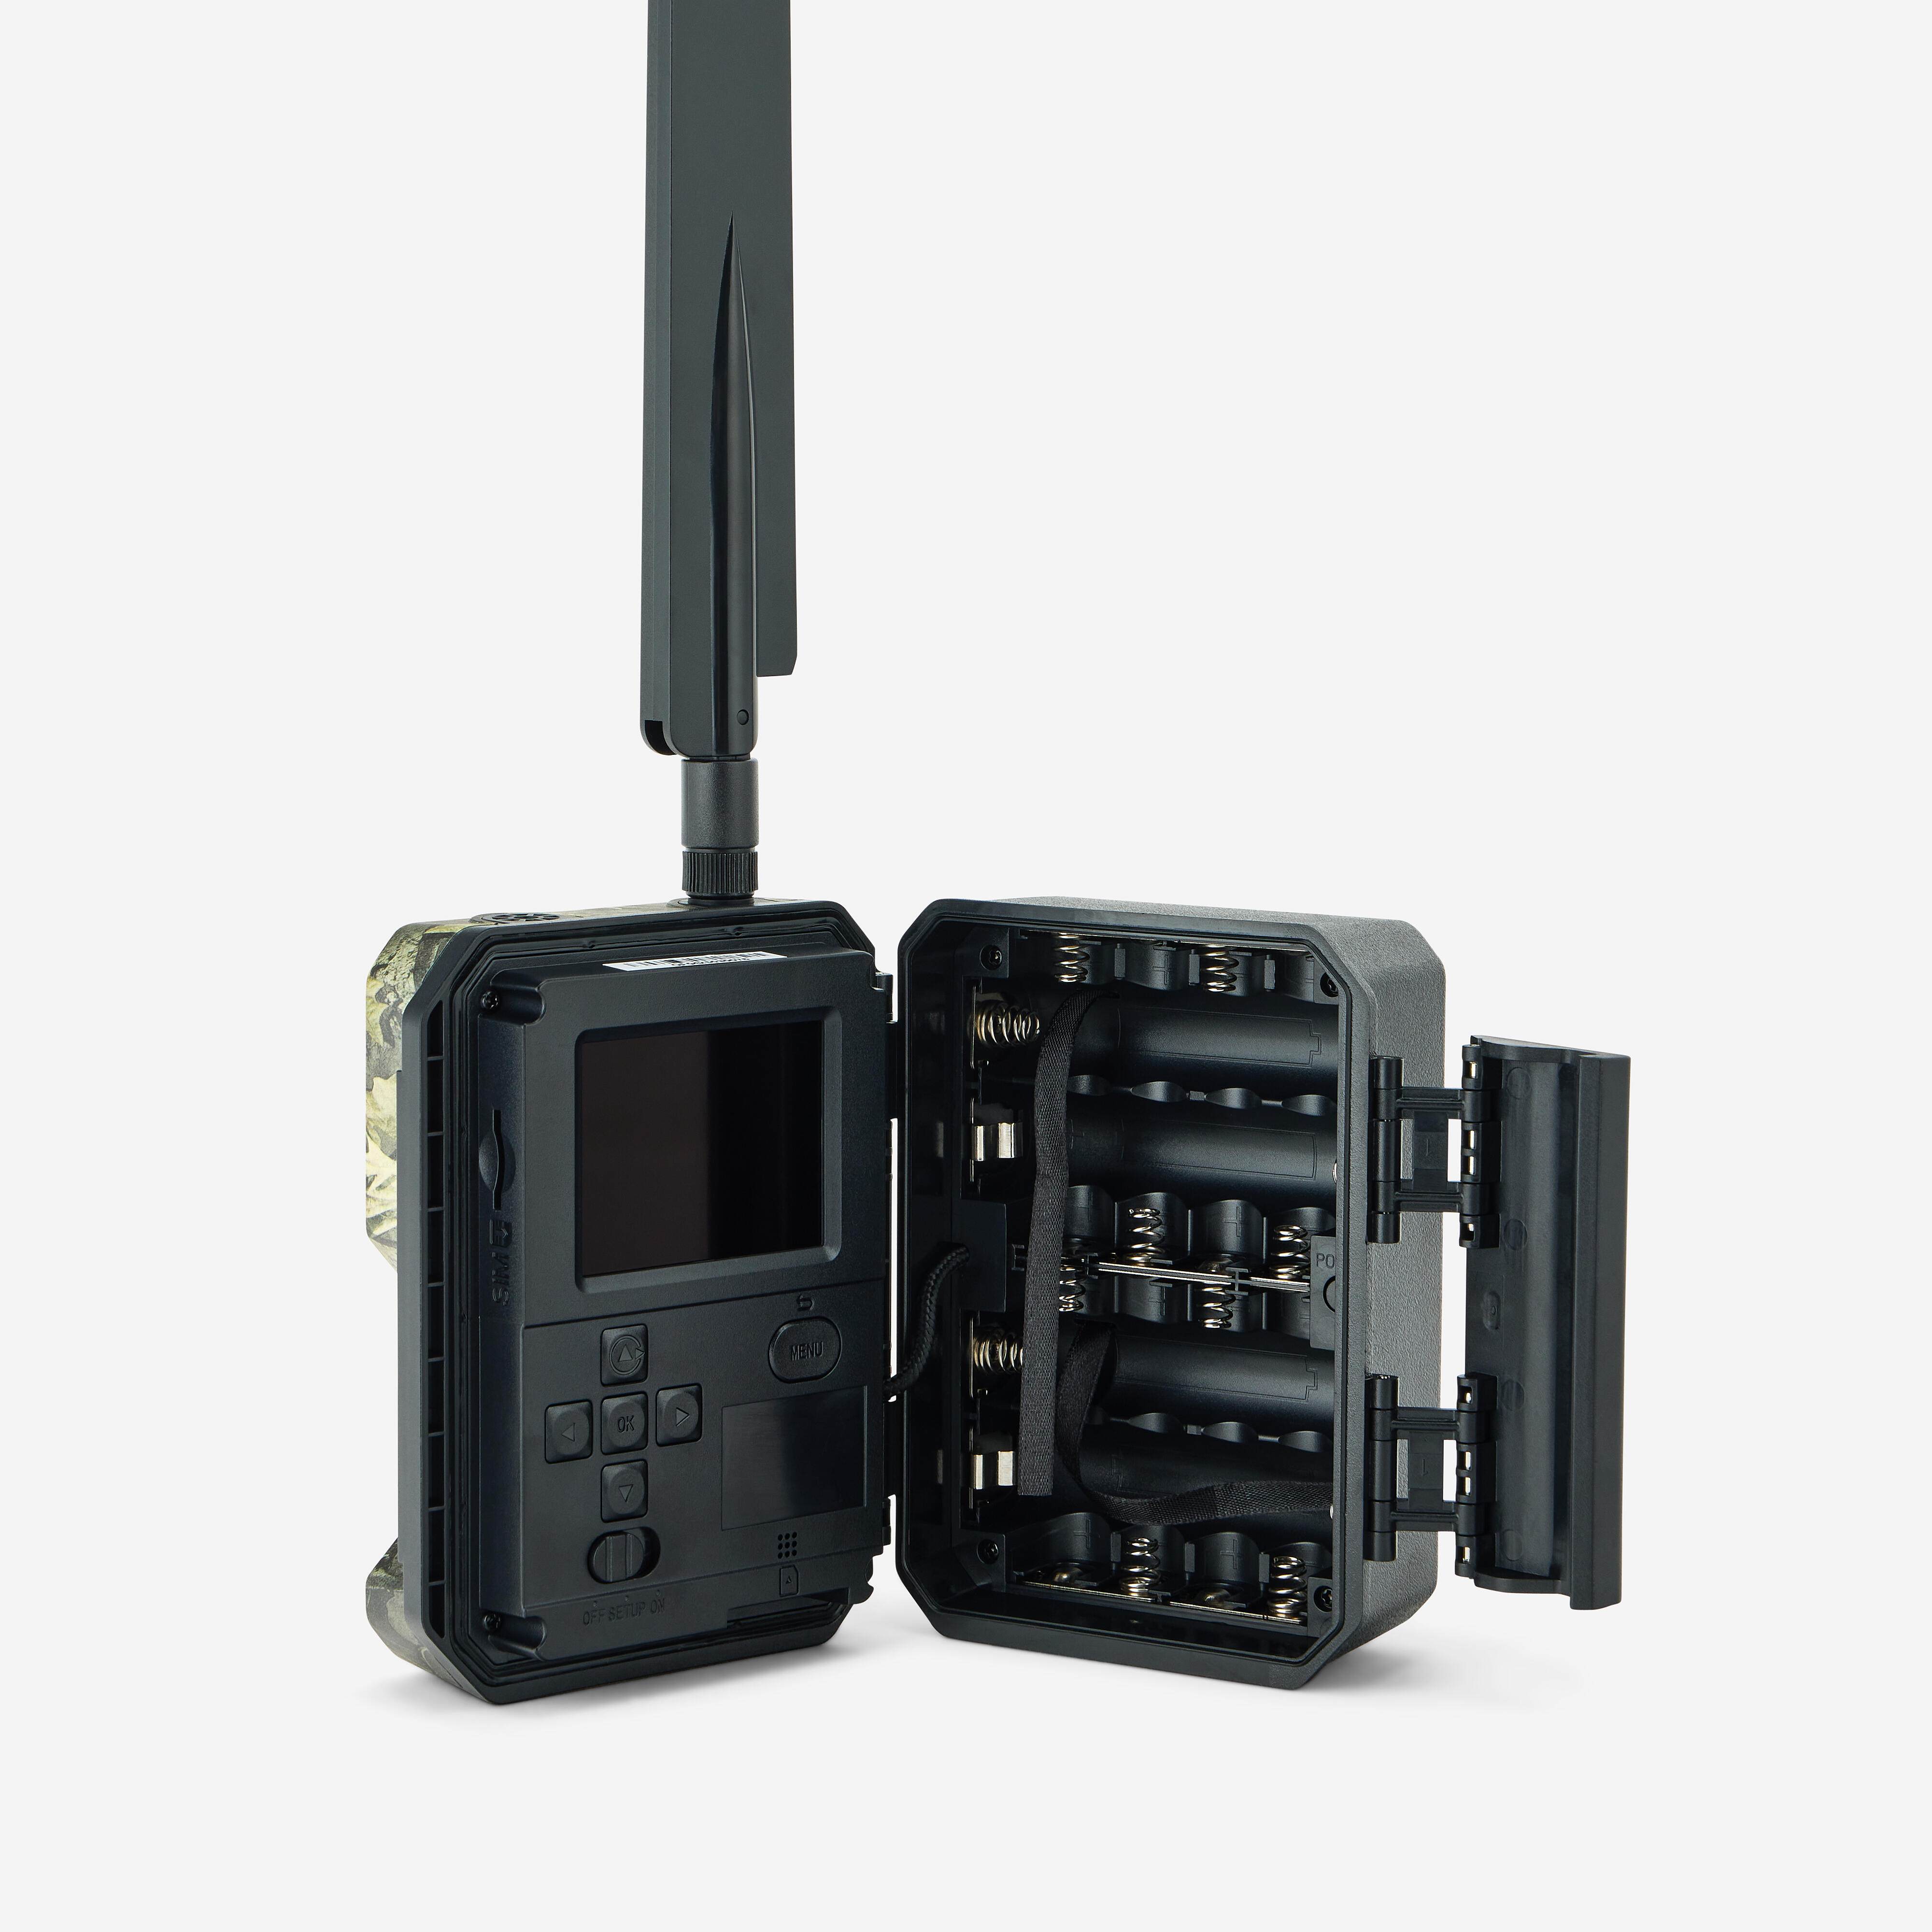
Before inserting or removing the batteries, the camera must be switched off (switch in the OFF position). Do not mix different types of batteries. This may cause permanent damage to the camera, and such damage is not covered by the warranty.
Solar panel and mains adapter
The camera can be powered by a solar panel with a built-in lithium battery (12 V/2 A). It can recharge 18650 batteries placed in the camera’s battery compartment, but it cannot recharge AA Ni-MH batteries.
The camera trap can also be powered by a mains adapter (12 V/2 A). However, we recommend that you remove the batteries when using the mains adapter.
Inserting the memory card
A memory card must be installed for the camera to work (SD card with a capacity of 8 GB to 256 GB maximum – Class 10 minimum). Before inserting or removing the memory card, the camera must be switched off (with the power switch in the OFF position). If you do not do this, files already stored on the card may be lost or damaged. It is also recommended that you format the memory card with the trap before using it for the first time.
Inserting the SIM card
Before inserting or removing the SIM card (Mini SIM format: (25 mm x 15 mm), the camera must be switched off (switch in the OFF position). When the camera is in SETUP mode, if no SIM card is inserted, the message "No SIM card" appears on the screen.
Power
Switch on (ON):
To switch on the camera, set the switch to the ON position. The red indicator light on the front of the unit will flash red and the LCD screen will count down from 5 seconds. This gives you enough time to close the lid of the device and then leave the monitored area. Once activated, the camera trap will take photos and/or videos depending on the settings selected.
Switch off (OFF):
Turn the selector switch to the "OFF" position
Connect the camera to the mobile network
When you set the switch to the SETUP position, if a SIM card is inserted into the camera, it automatically begins searching for a signal. If one or more signal strength bars appear on the LCD screen and the message "Online" appears after about 30 seconds, this means that the device has automatically connected to the network. Fill in the "Recipients" field in the "Network Settings" tab to receive photos and/or videos that have been taken.
Installing the product on site (part 1 of 2)
Install the camera facing north or south. Do not point it towards the east or west, as sunrise and sunset can cause unwanted shutter releases and result in overexposed images. To monitor a game trail, point the camera along the length of the game trail rather than at right angles to it (this allows you to see several animals at once if they are moving in single file).
Installing the product on site (part 2 of 2)
Clear away any branches or weeds in front of the camera. In windy conditions or high temperatures, they could cause false triggers. Also check the battery charge level before installing the camera. Please make sure the memory card is properly inserted and that there is enough free space on it. Check that the date and time are correct. Remember to switch the selector to the ON position before you leave.